Do-335 "pfeil"
Current project is a 1/5 scale Do-335 from an Engel kit made in Germany.
click here for the kit distributor: Fighteraces
Kit specs:
1/5.5 scale
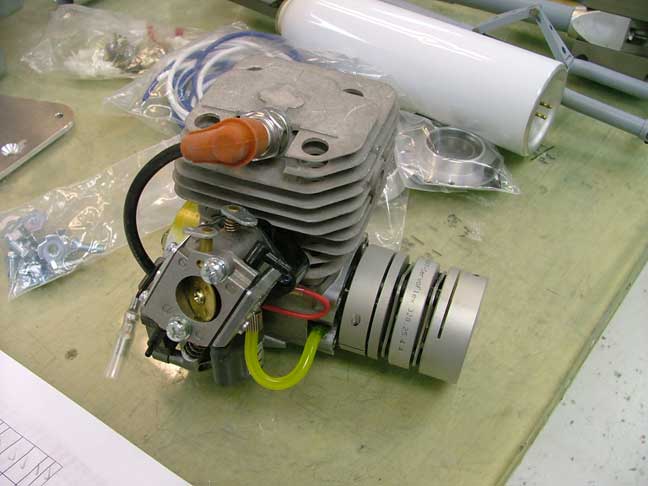
Power: 3w-80iTS front
G45 rear with driveshaft
Gear: Hawe
Wheels/brakes: Glennis
Radio: Futaba
Finish: PPG
Weight 45 lbs
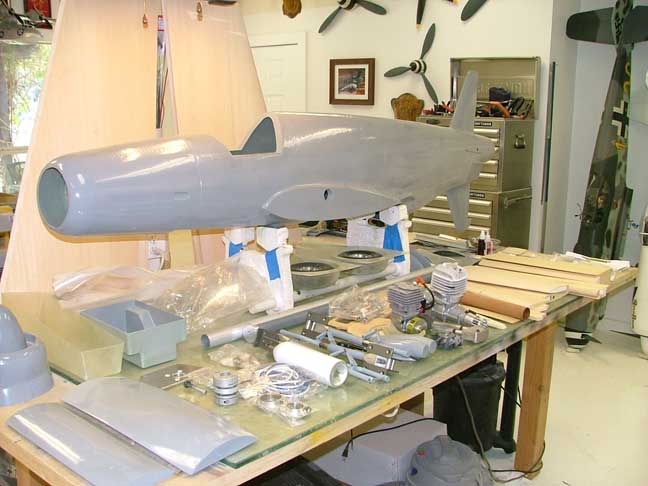
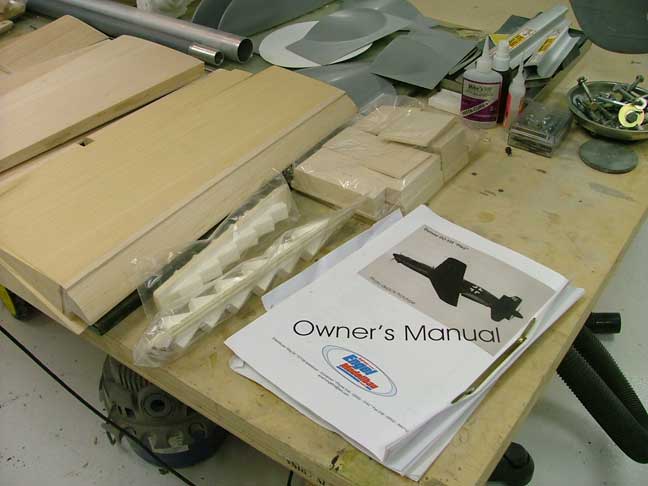
Kit contents. Fuse is one piece molded gelcoated fiberglass. Wings and tail are foam core and balsa sheeted.
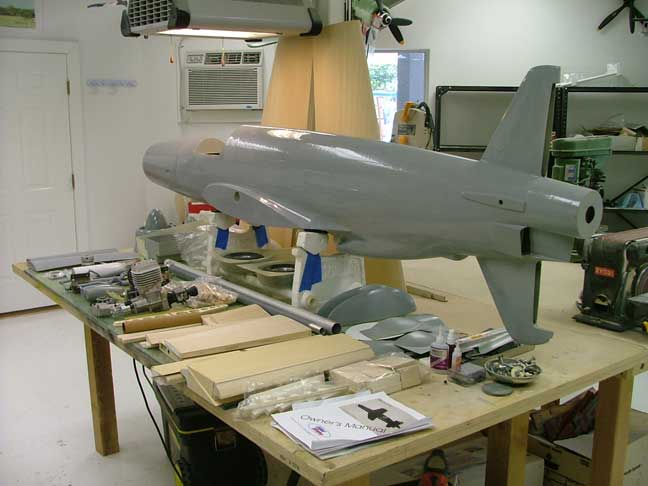
The kit is very complete, only lacking building materials, engines and radio.
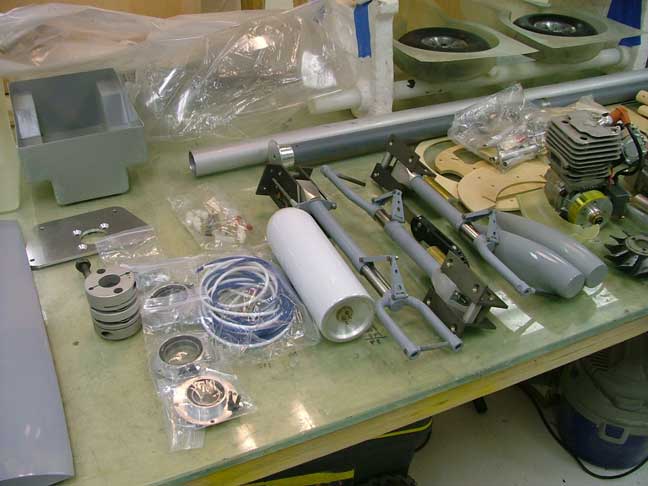
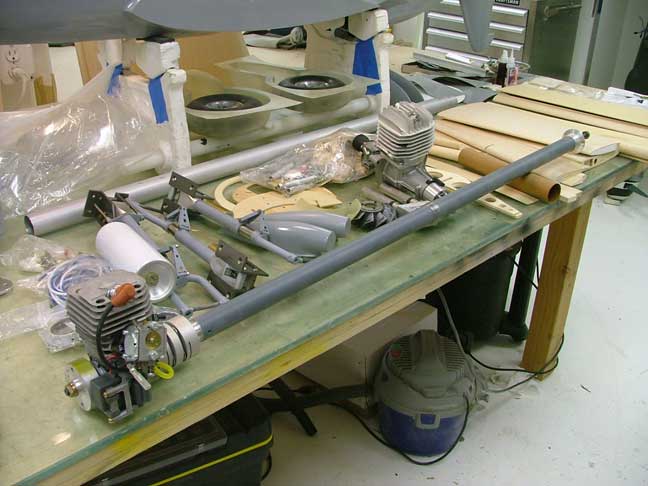
Kit components. Gear, driveshaft, bearing blocks etc.
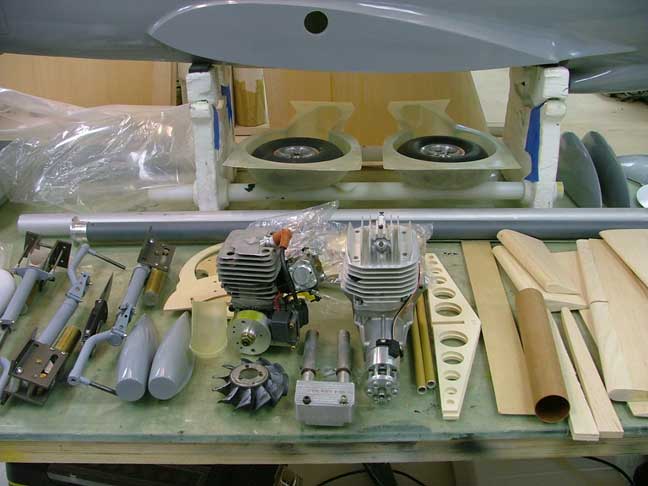
3w-80, wheel bay liners, various kit components
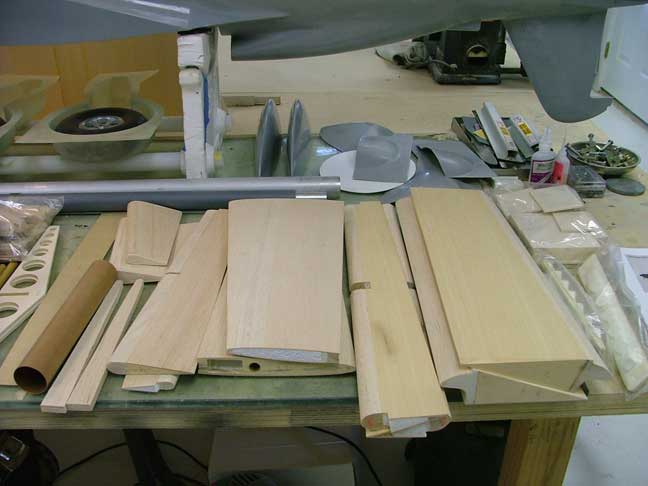
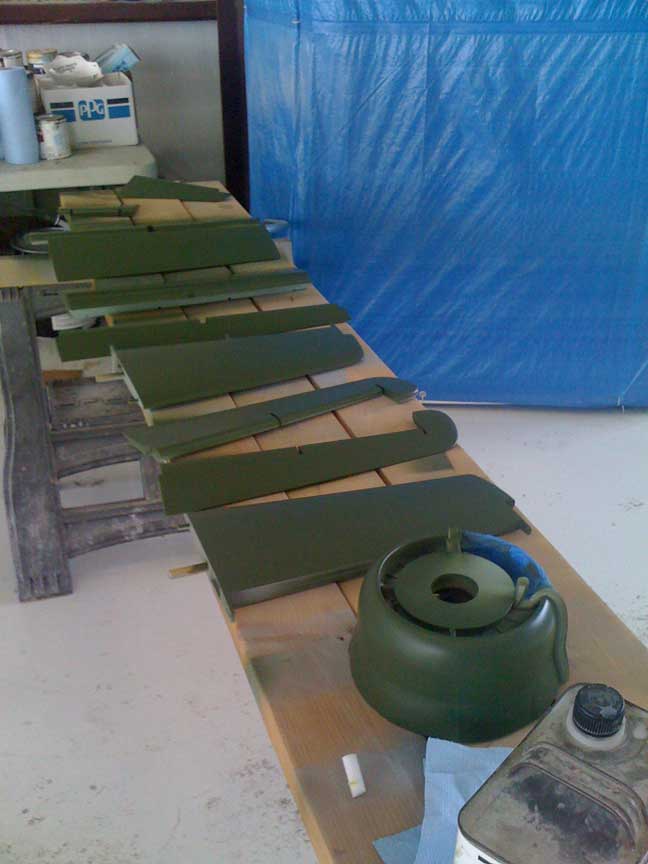
Tail feathers, ailerons and flaps
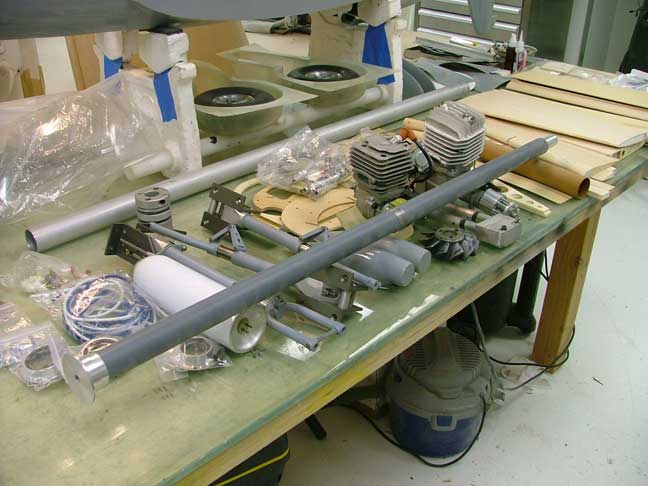
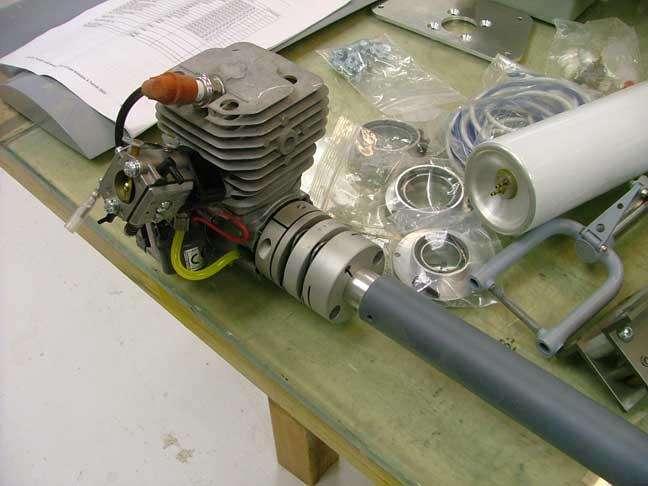
Some pics of the G45 rear powerplant and its driveshaft and flex coupler.
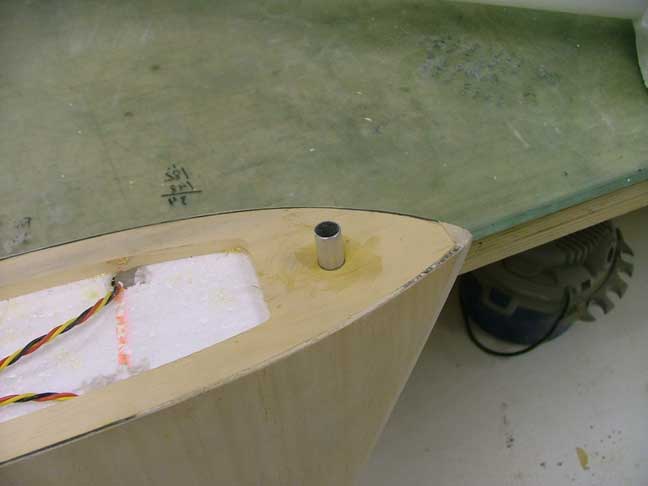

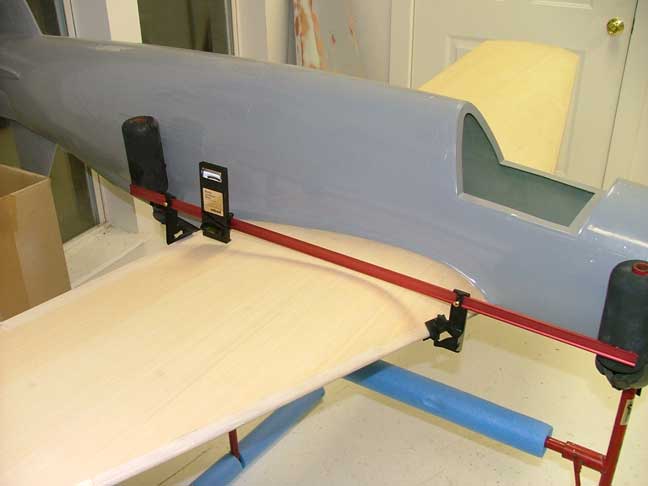
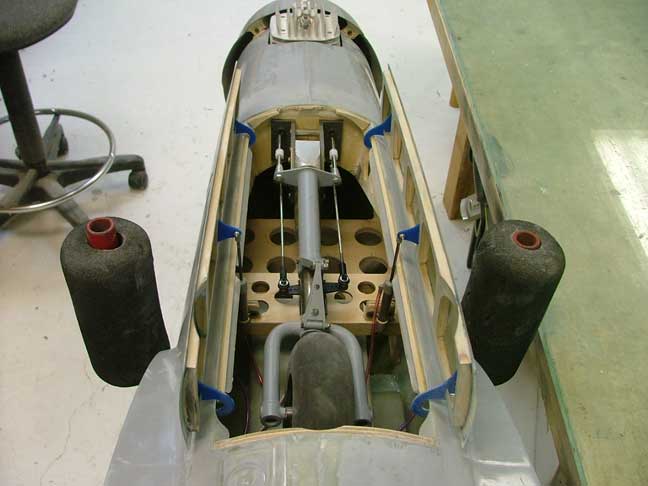
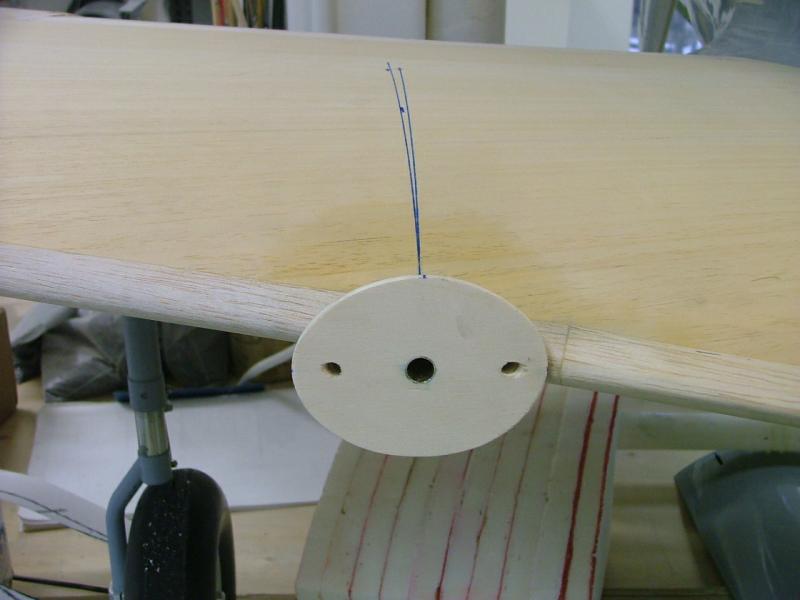
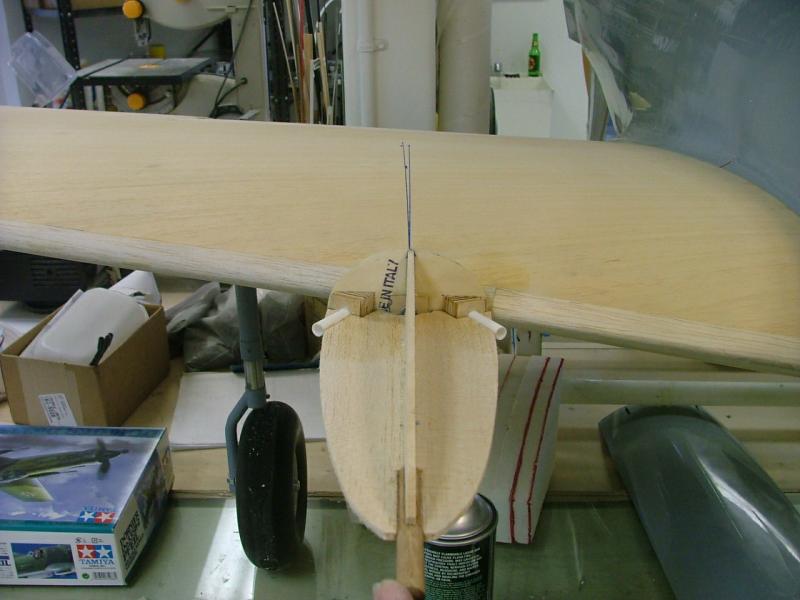
First job is to set the wing anti-rotation pins into the leading edge and set the incidence.
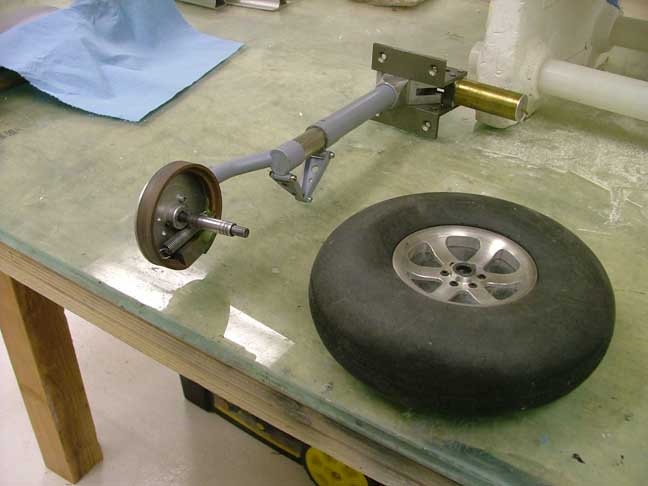
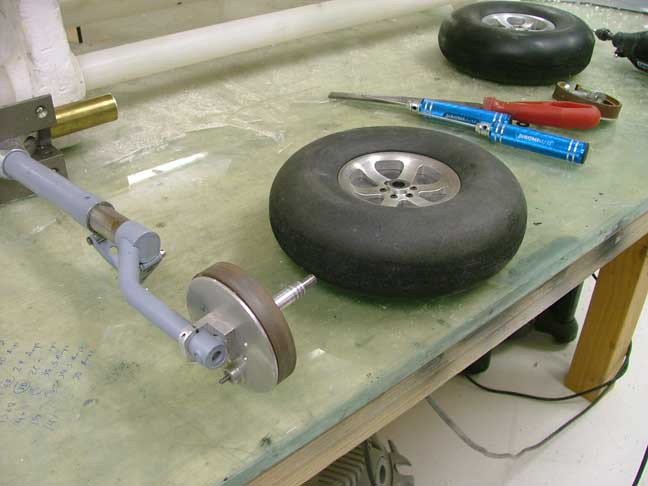
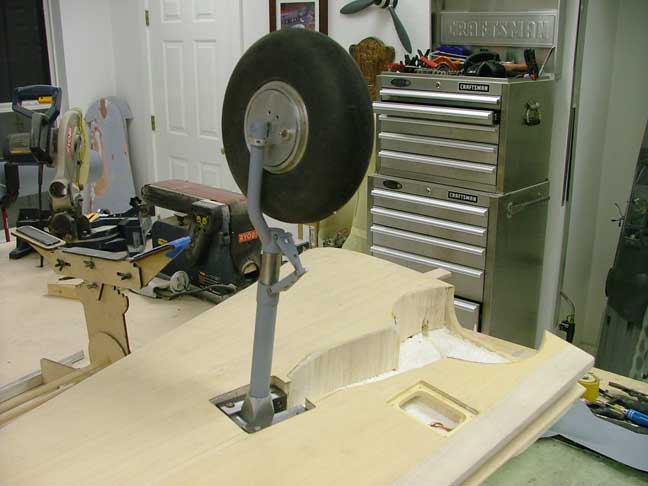
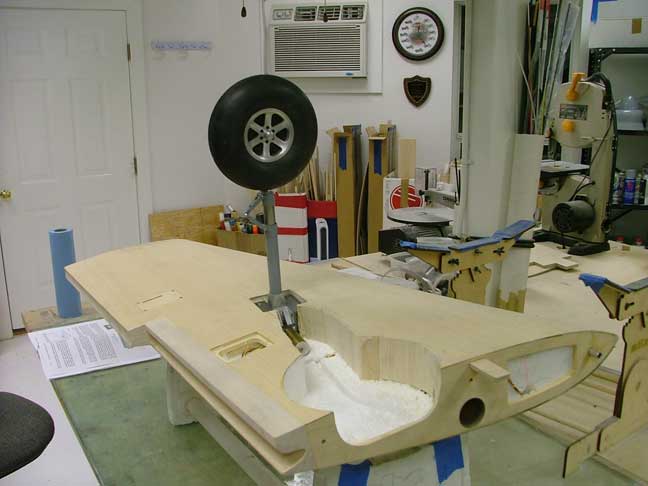
The included retracts are then fitted out with brakes and trial fitted into the wing.
Main wheels are 7" diameter

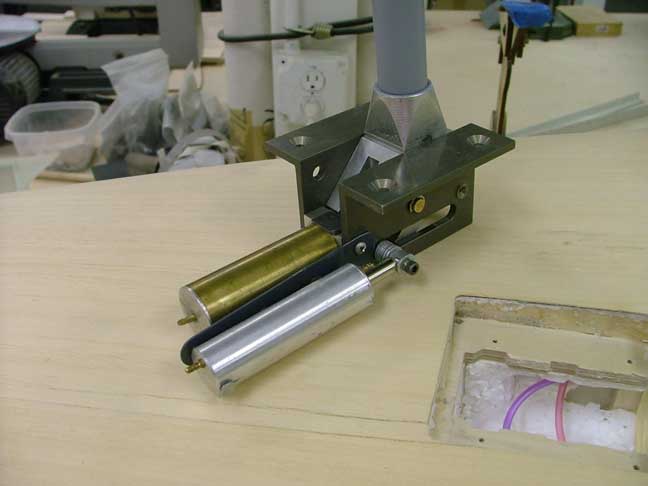
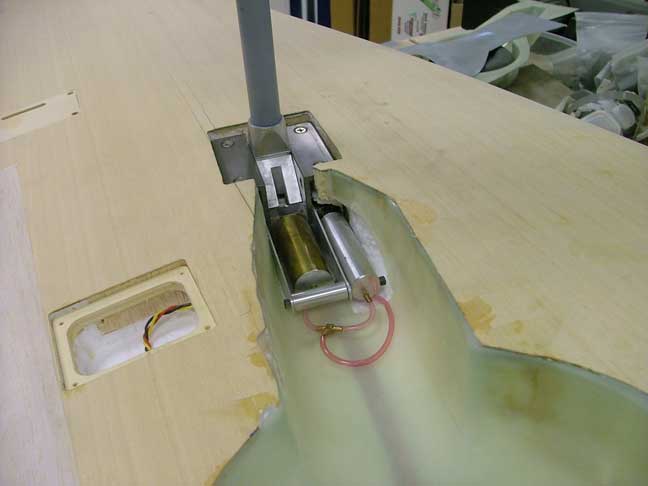

Wheel bay liners installed and flaps hinged. I added an extra air cylinder to the retracts to give more force to overcome air loads on the landing gear doors.
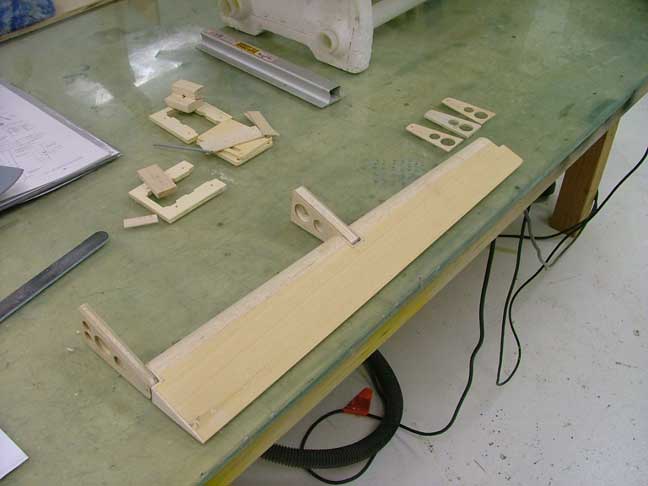
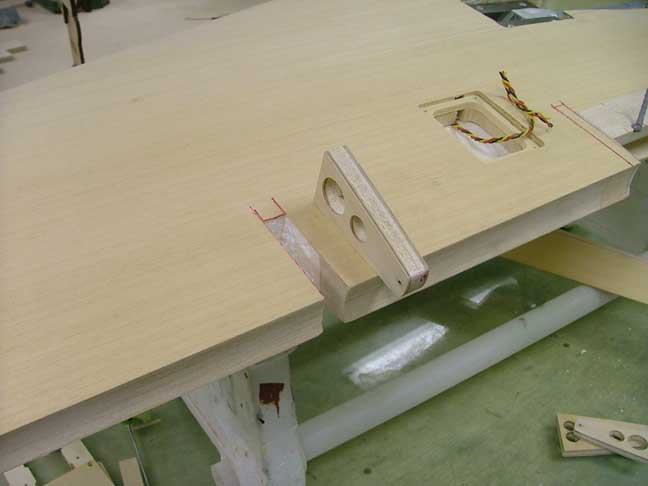
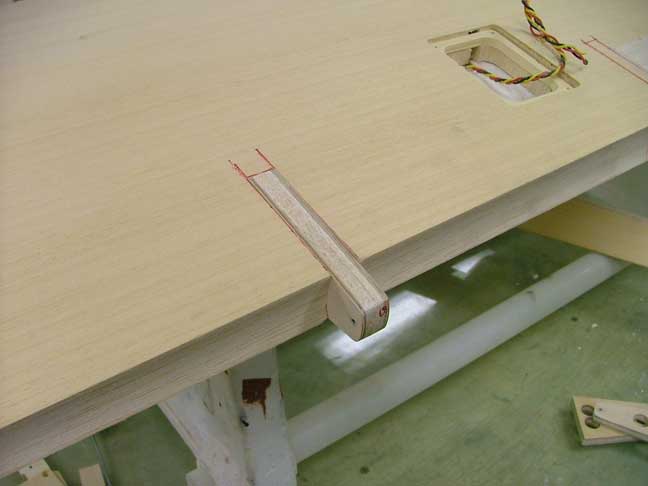

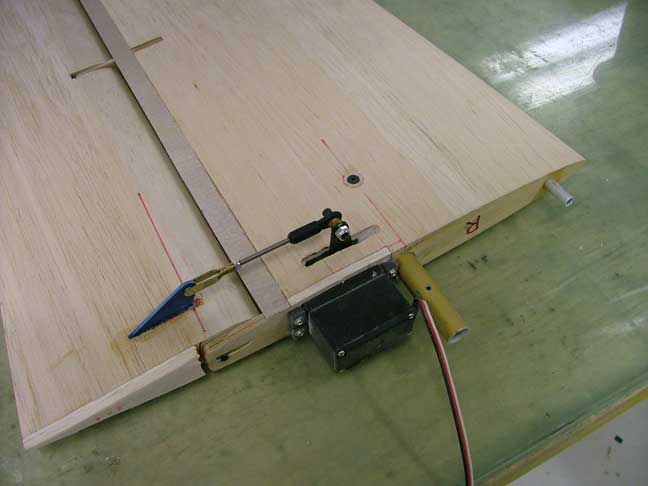
Ailerons are center hinged with a piece of music wire. Hinges are built up from balsa and ply and sandwiched into the wing.
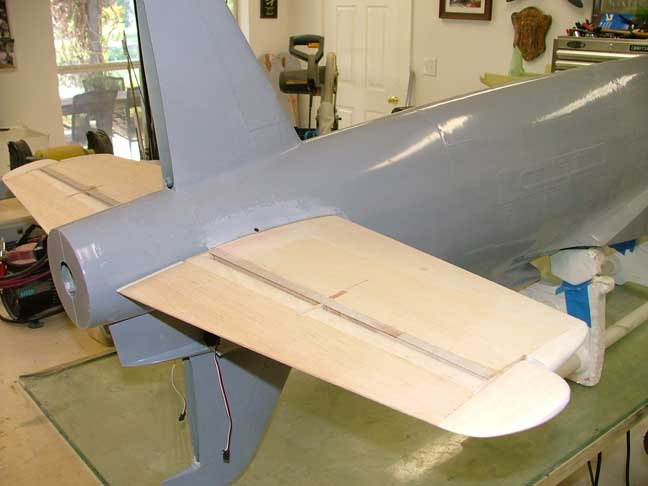
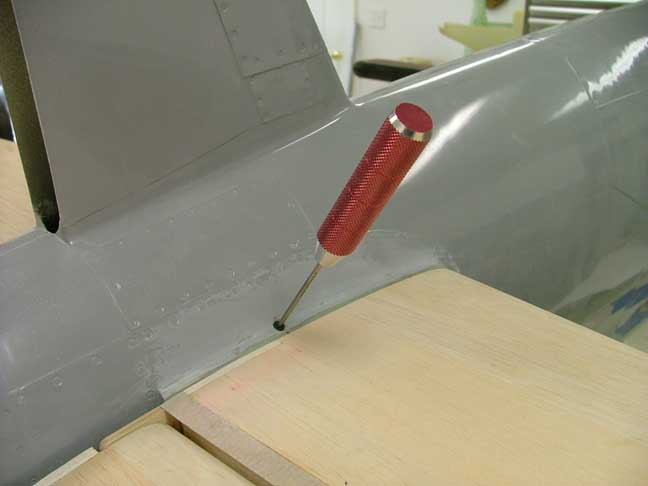
Elevators hinged and shrouded with 1/64th ply. One set screw per side holds the elvator halves tight up against the fuselage. Both stabs are removable for transport.

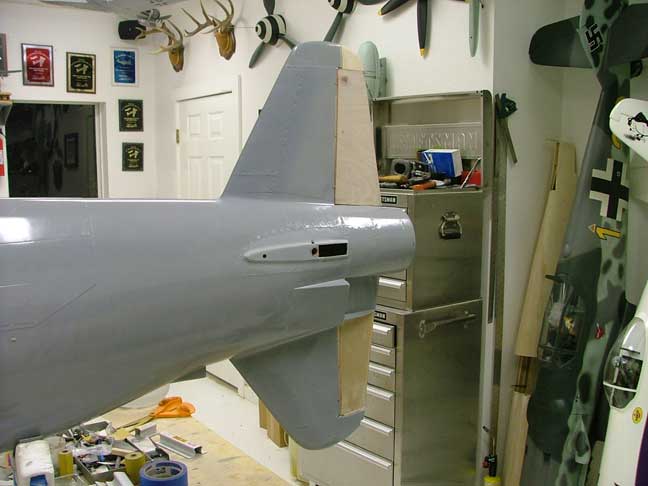


The upper rudder was missing from my kit, so I built a new upper and lower from balsa and 1/64th ply. Rudder servos are positioned as far forward in the fuselage as possible. Actuation will be by pull pull cable.
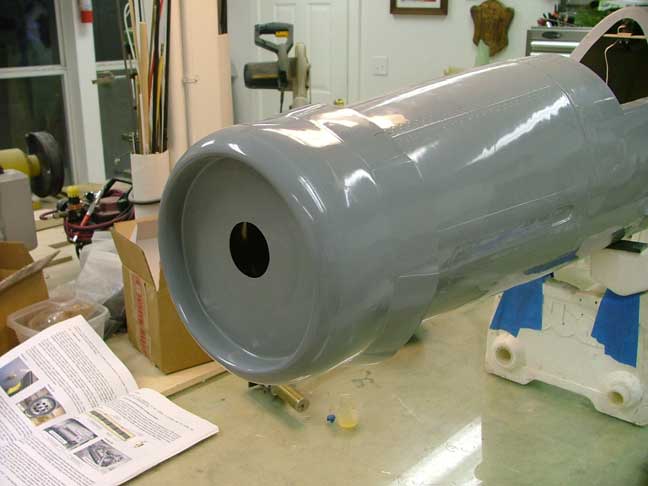
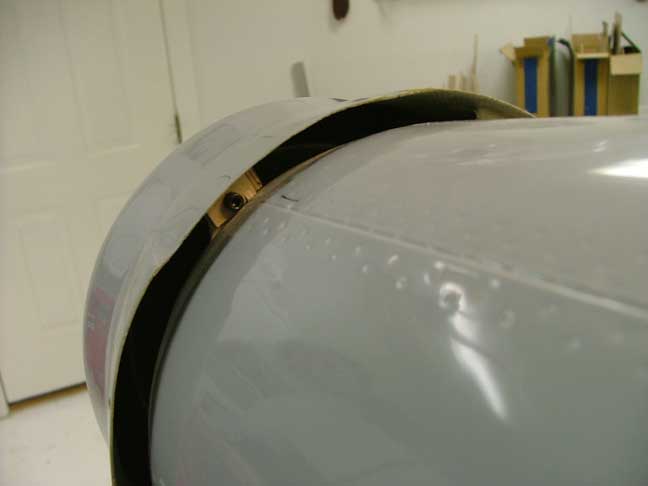
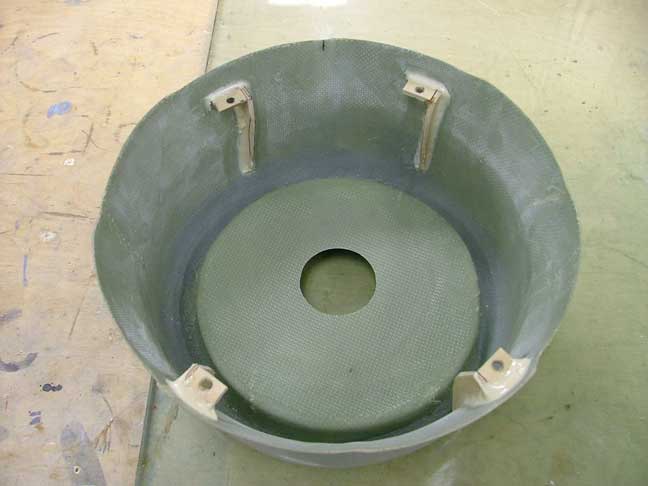
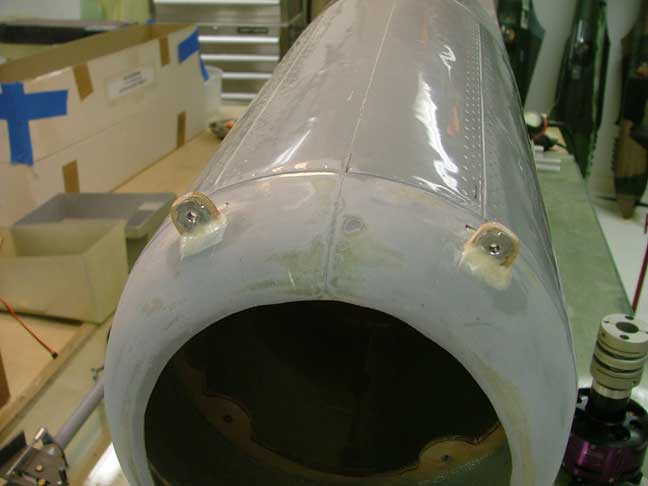
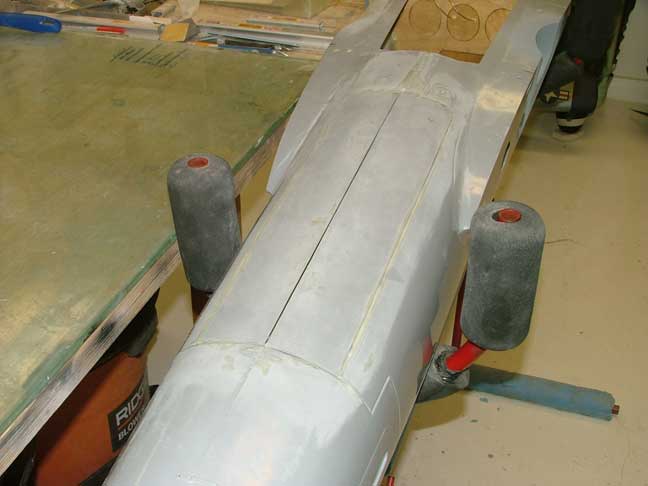
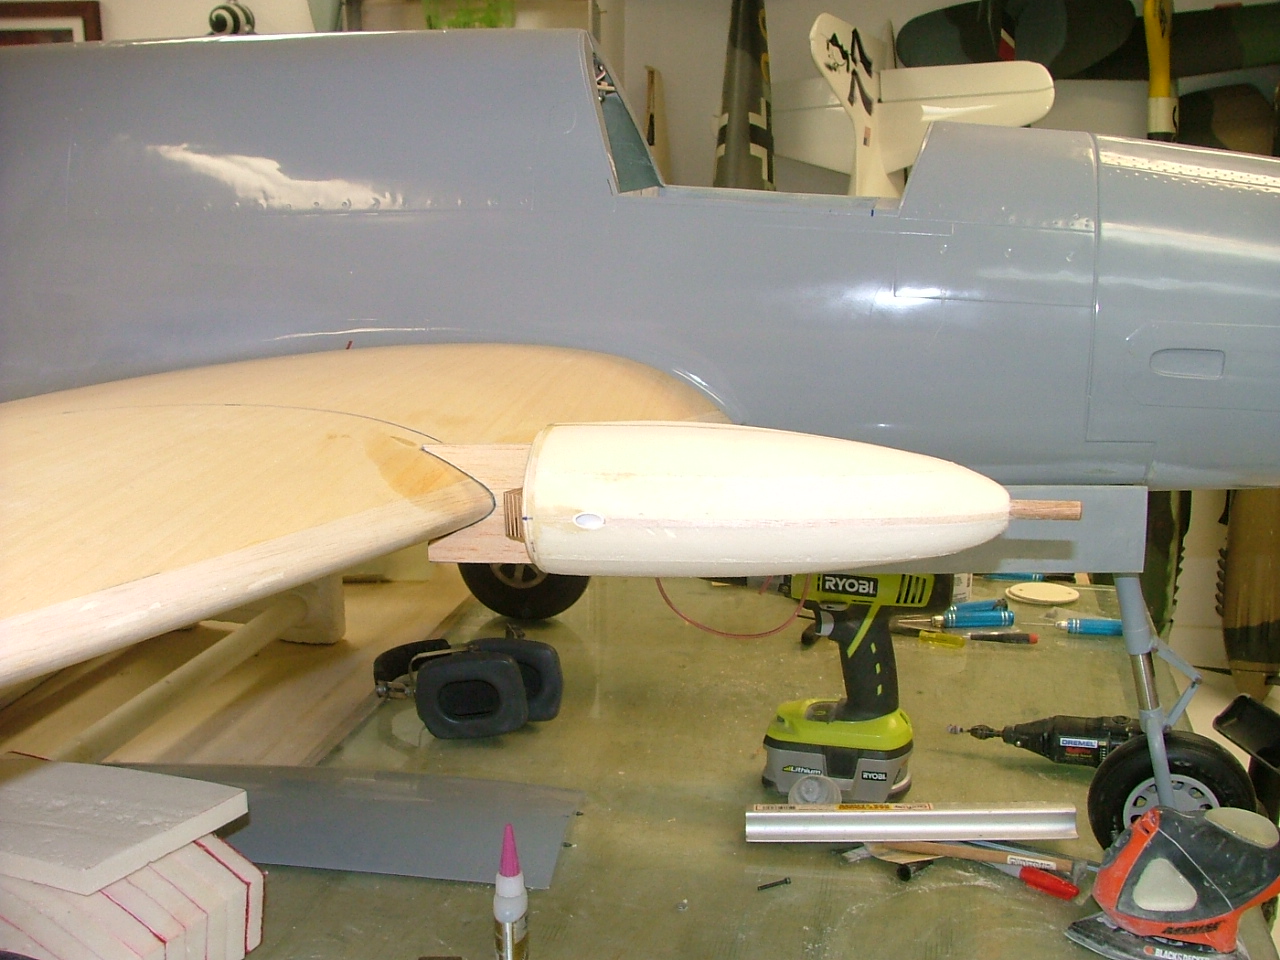
Mounted the cowling using the supplied ply tabs. The tabs are aeropoxied into the front of the fuselage. Corresponding ply tabs are aeropoxied into the cowling. Bolts are accessible thru the open cowl flaps.
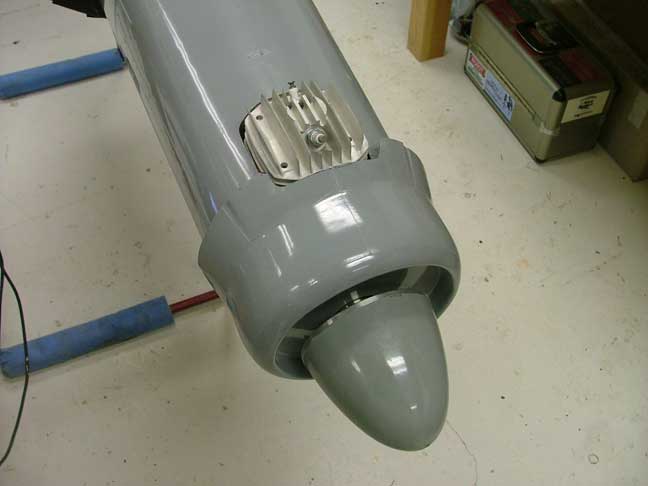
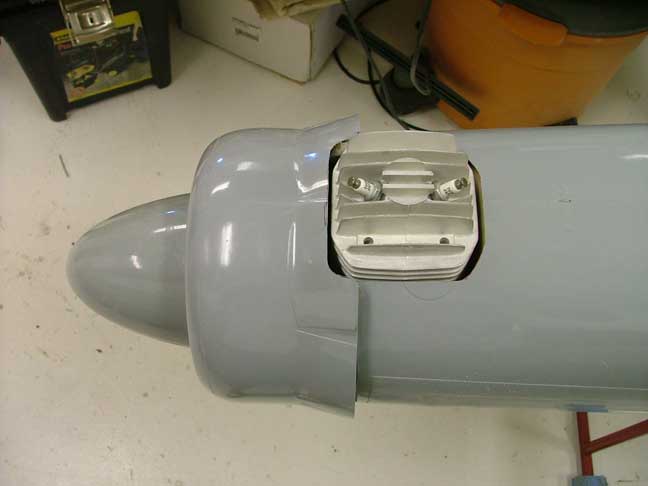
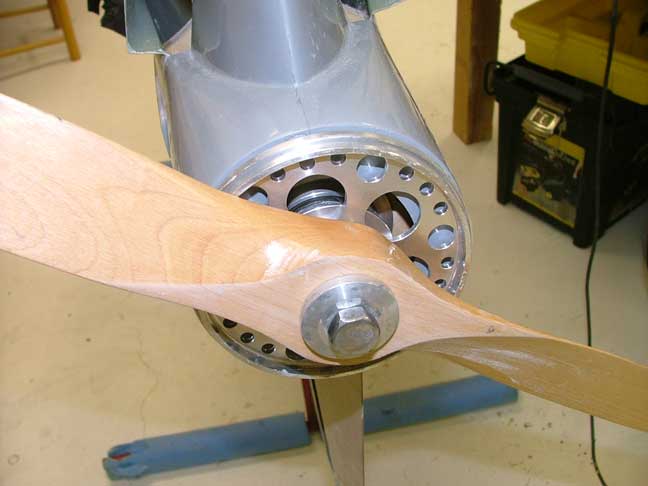
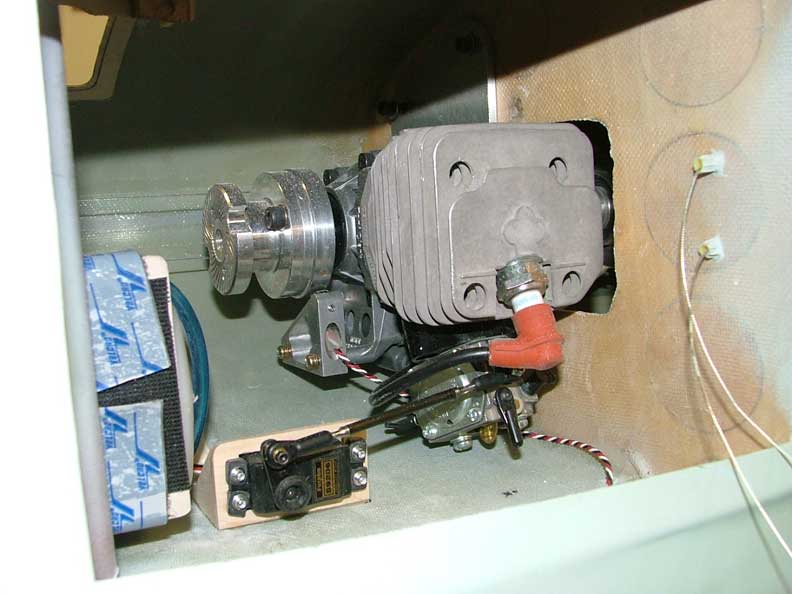
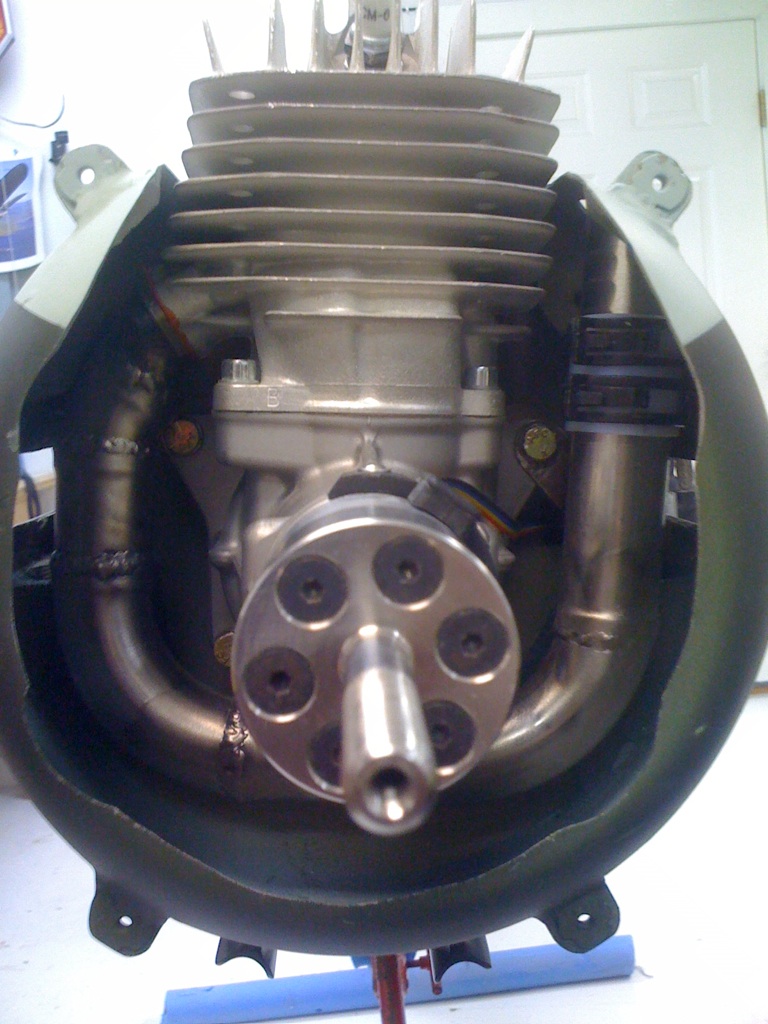
I installed a 1" prop extension on the 3w80 to move it back in the fuselage a bit to conceal it better. A new firewall was made from 1/2 ply and glassed into the fuselage. The cylinder head will stick out a bit but thats the price I gotta pay for a little extra power.
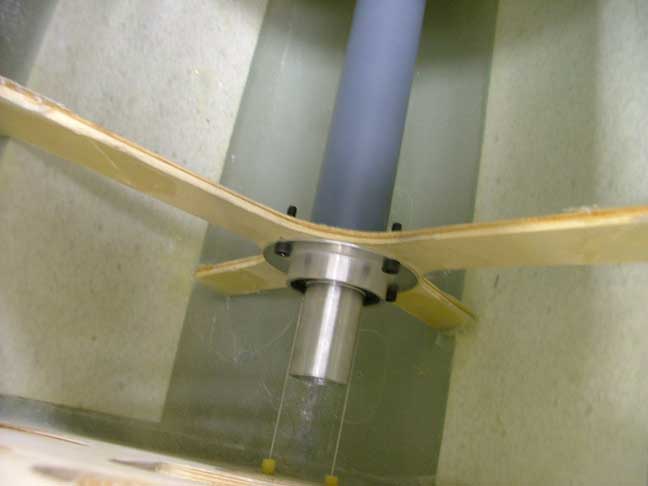
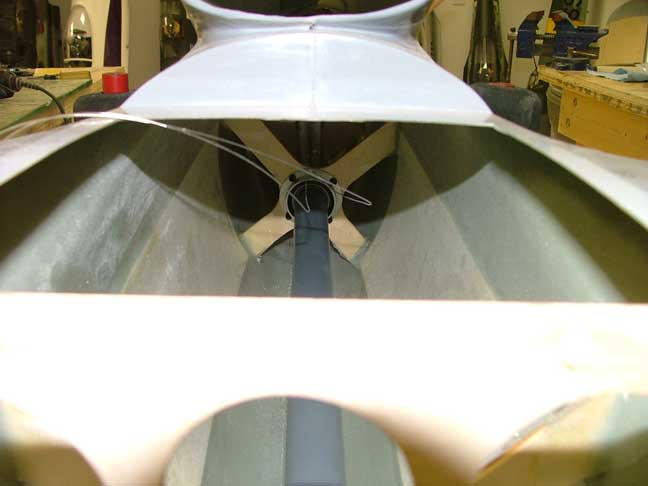
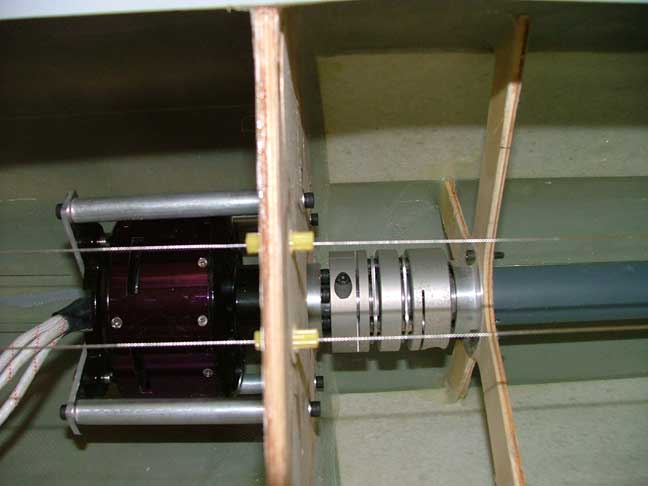
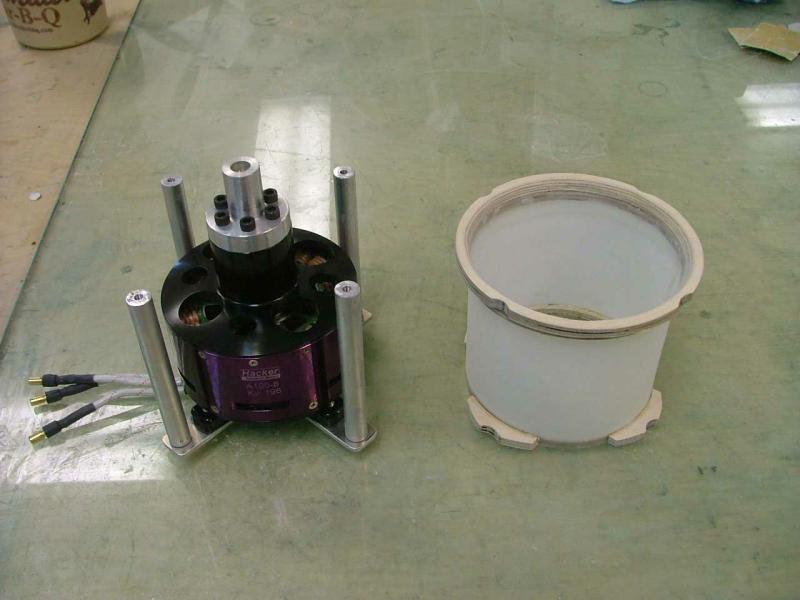
Rear drive shaft and bearing blocks installed. The shaft turns incredibly smooth with no runout.
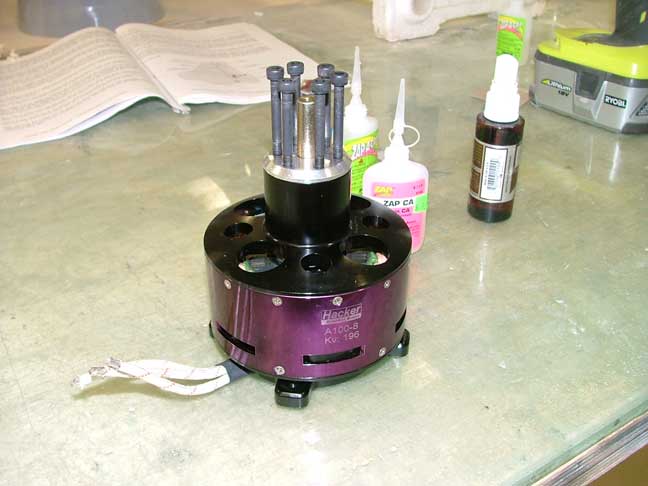
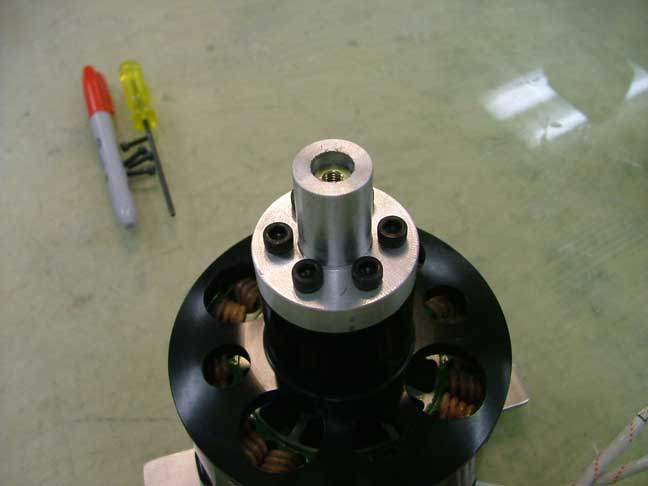

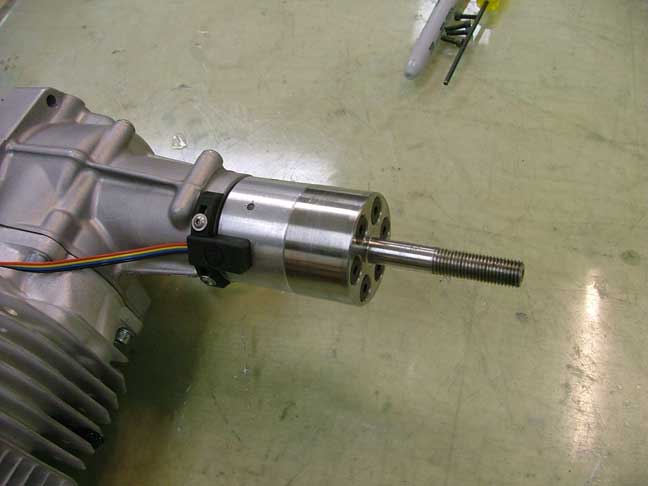
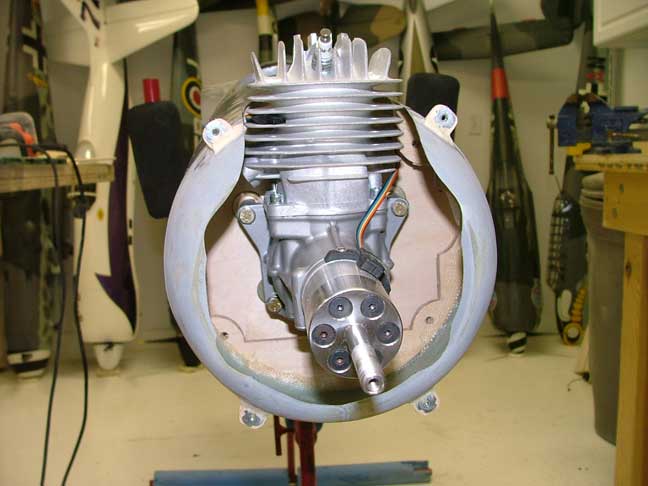
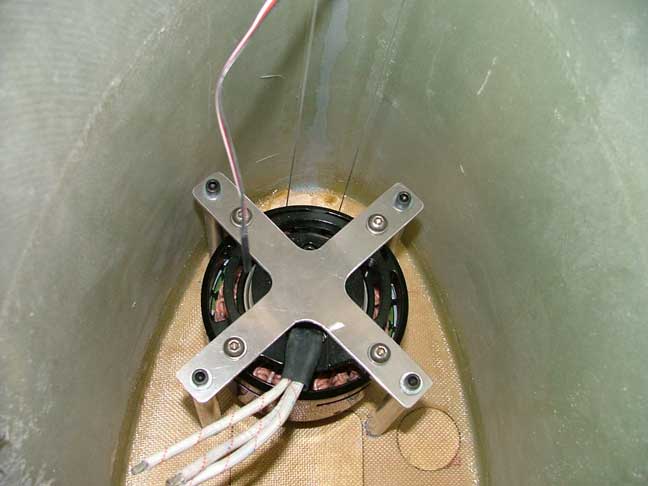
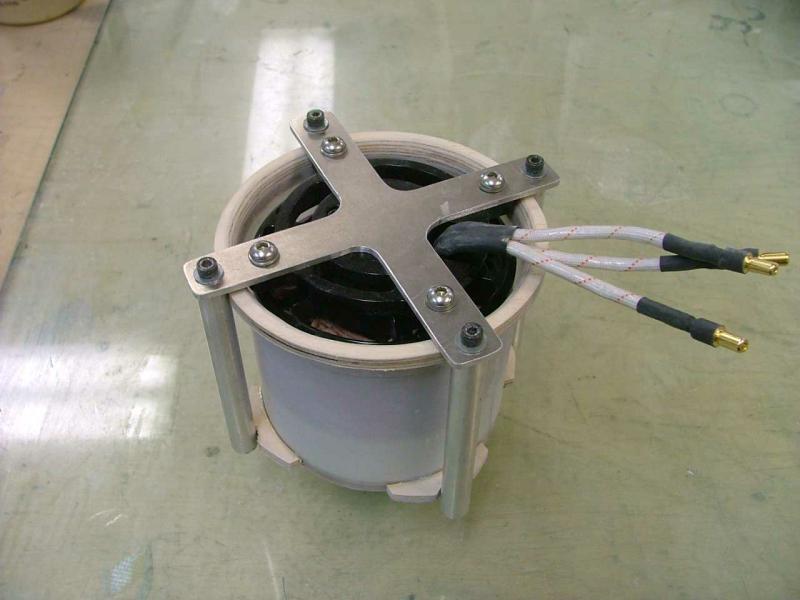
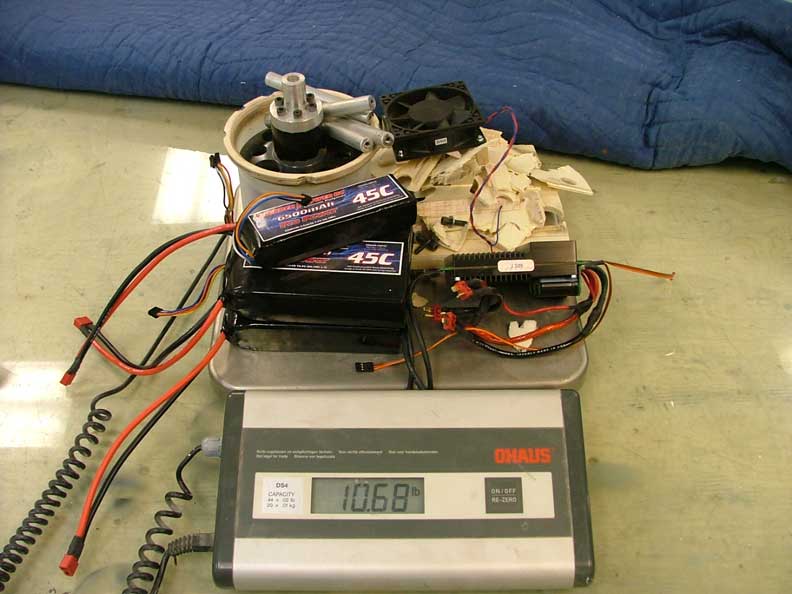
OK, here's where it gets interesting. Since the rear shaft cant handle anything bigger than a G45 because of vibration, I am mixing it up a bit and installing a big Hacker outrunner. The 100/8 outrunner should provide equal power to the 3w80, not cause any vibration and not be so critical on cooling. I machined a small aluminum collar to mate the Hacker to the driveshaft flex coupler.
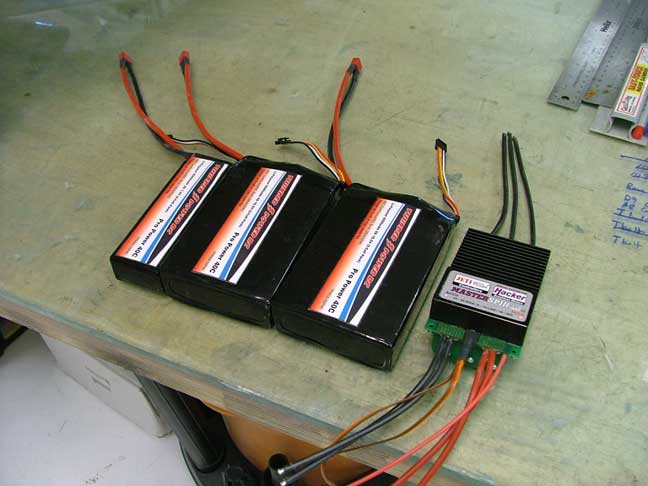
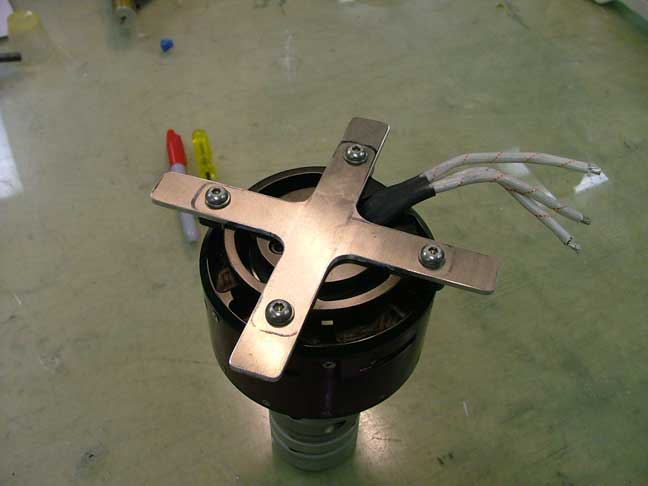
The hacker outrunner is mounted to the motor plate using solid 1/2 aluminum rods threaded 10-32 on each end. Here are the battery packs necessary to power the big outrunner. They are from Thunderpower and BVM jets. They are 12s 6500 lipos, 2 5cell packs and 1 2 cell pack.
Nose gear doors were next. I used the provided door skins and scratch built some inner gear door detail from fliteskin and balsa. 2 small BVM air cylinders operate the doors. The door hinges are made from G-10.
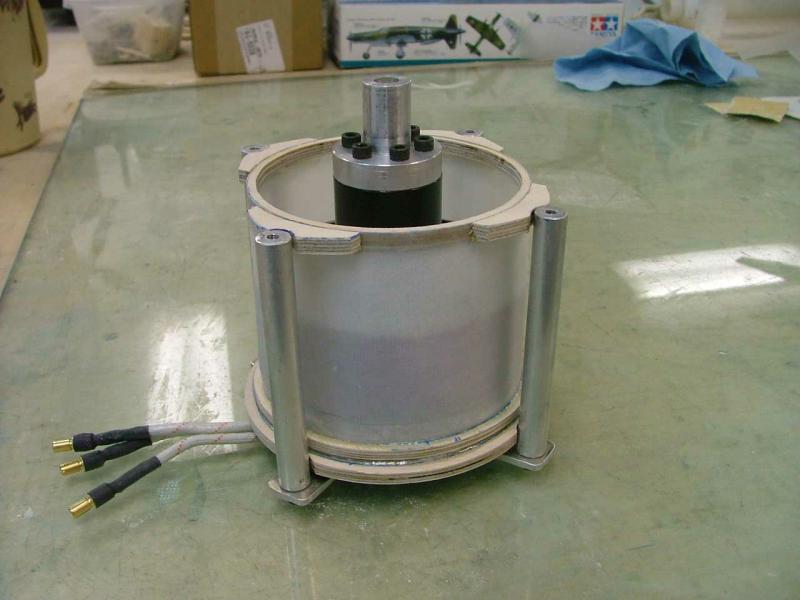

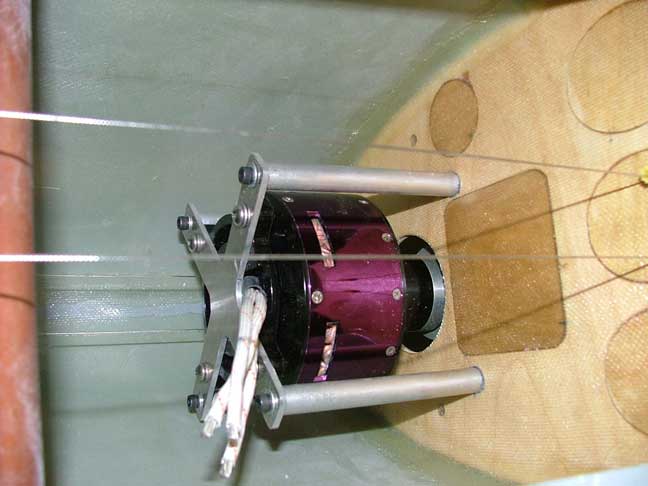
I also made a cooling duct for the outrunner that forces all the incoming fuselage air (from the supercharger scoops) over the outrunner motor and out the rear of the fuselage. The duct is made from fliteskin and ply.
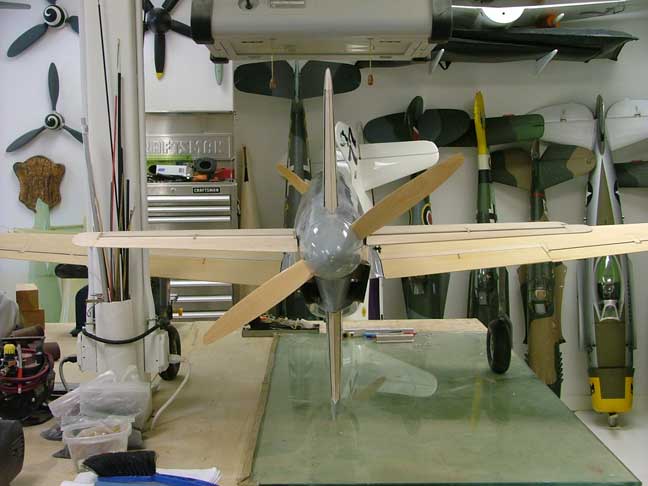
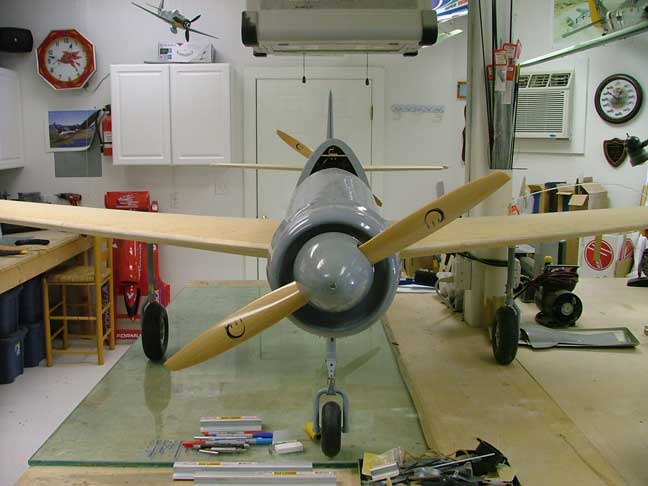

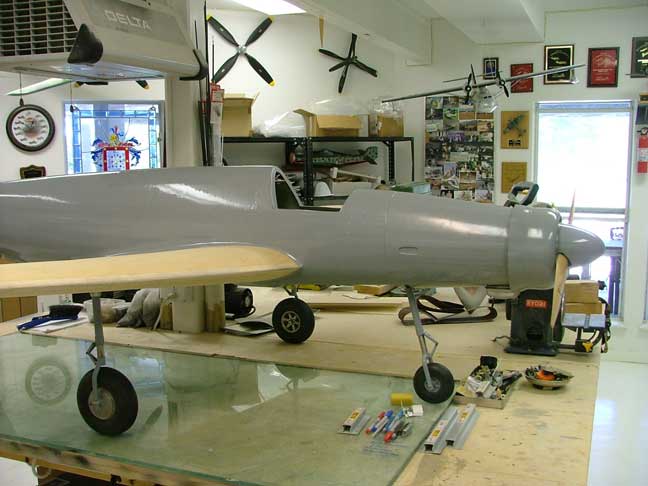
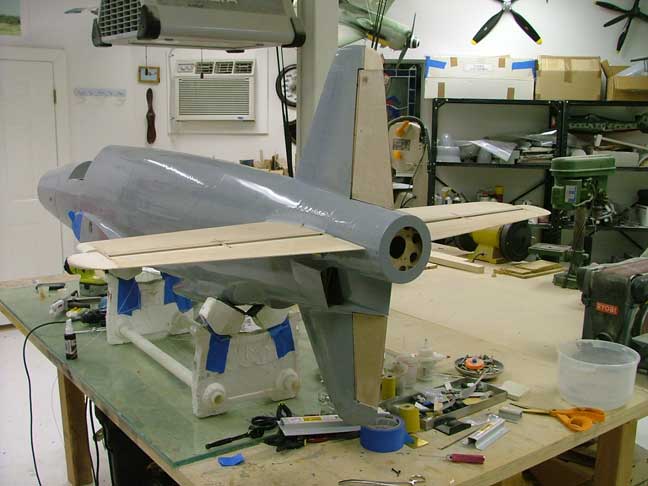
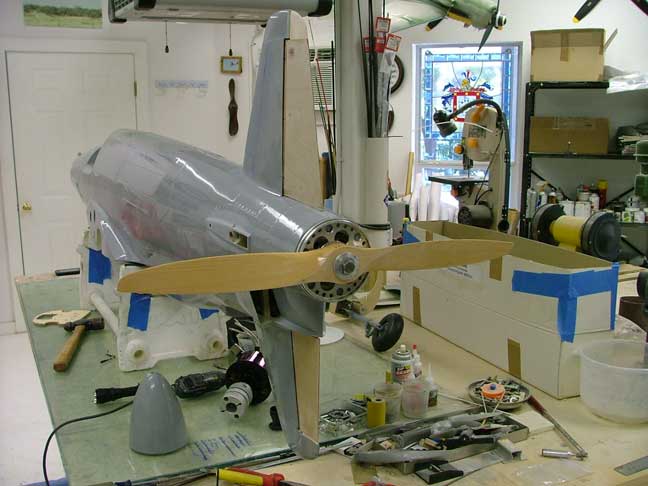
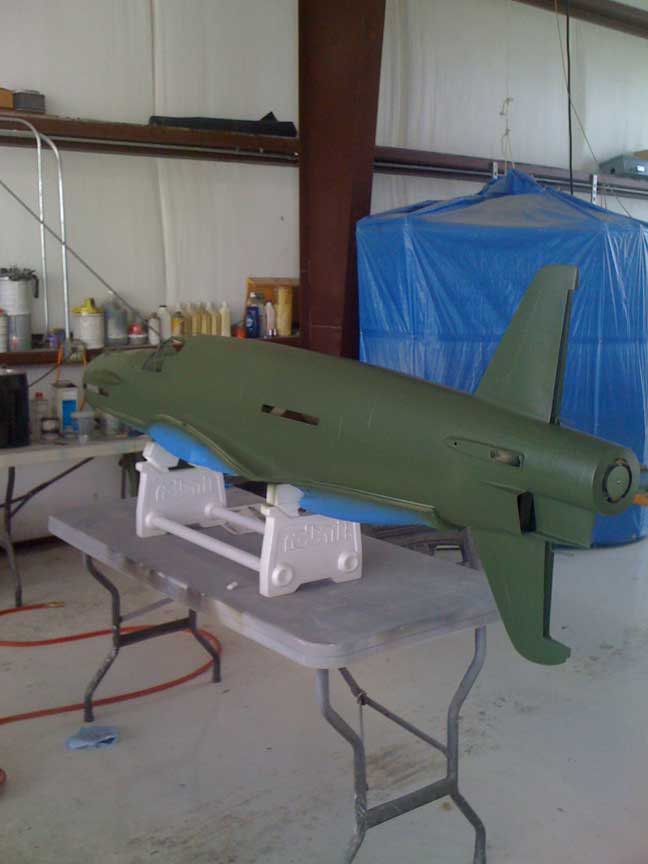
Time for the put together motivational shots. This really is a big model for 1/5.5 scale.

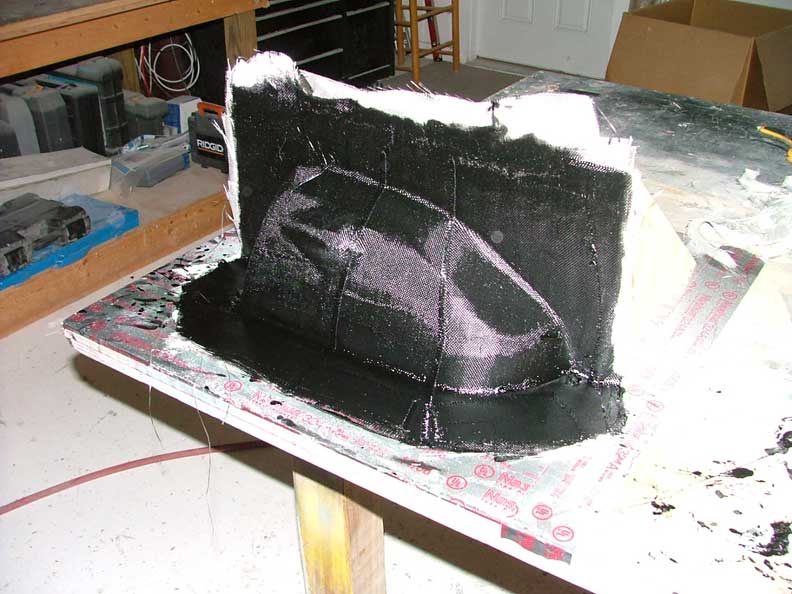
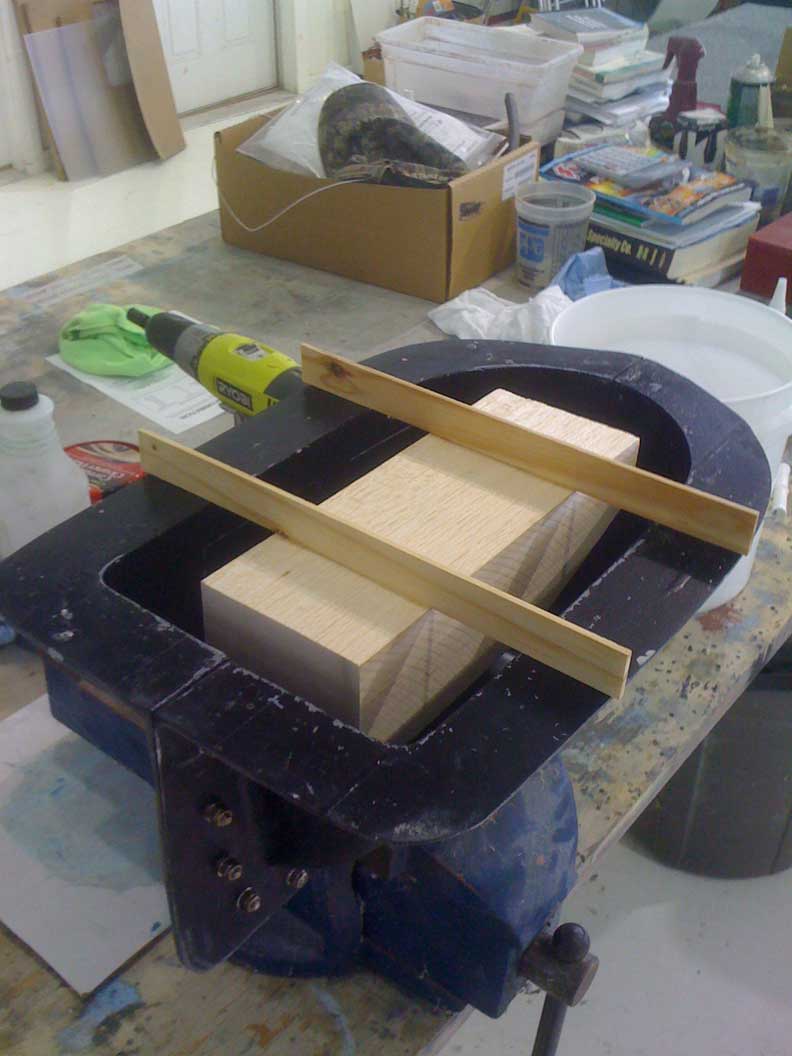
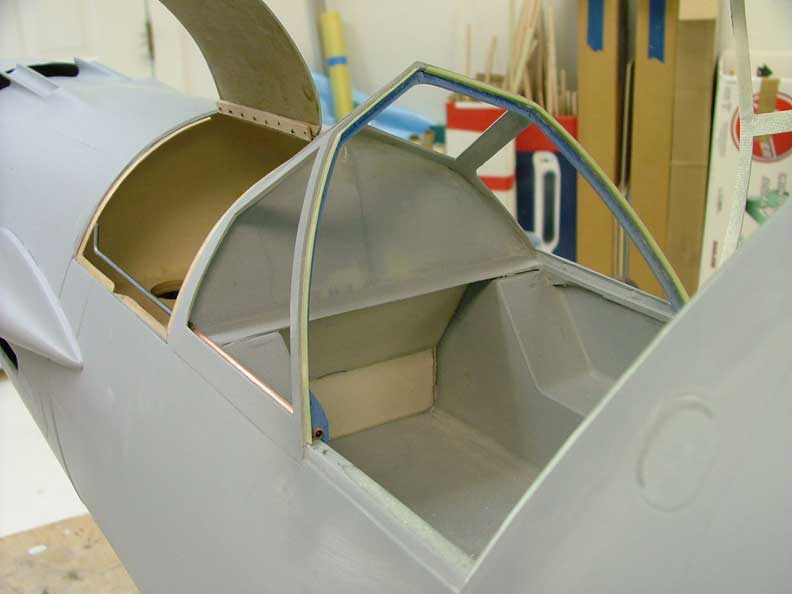
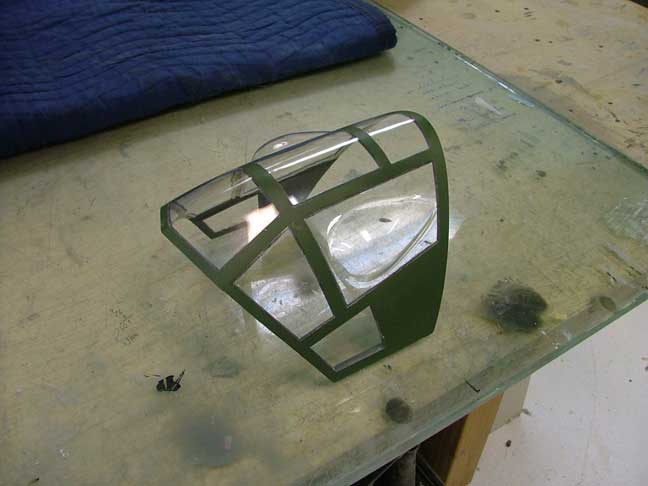
There is a large difference in canopies from the A to the B model. The canopy supplied is for the A model so I am scratch building a new B model canopy. This process starts with a canopy mold. The mold is made started with light ply and foam. It will be shaped and glassed later.

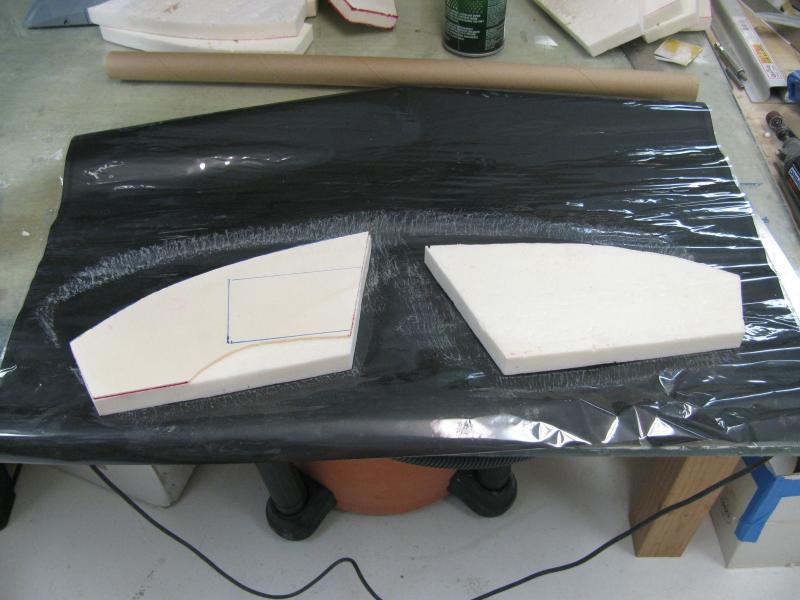
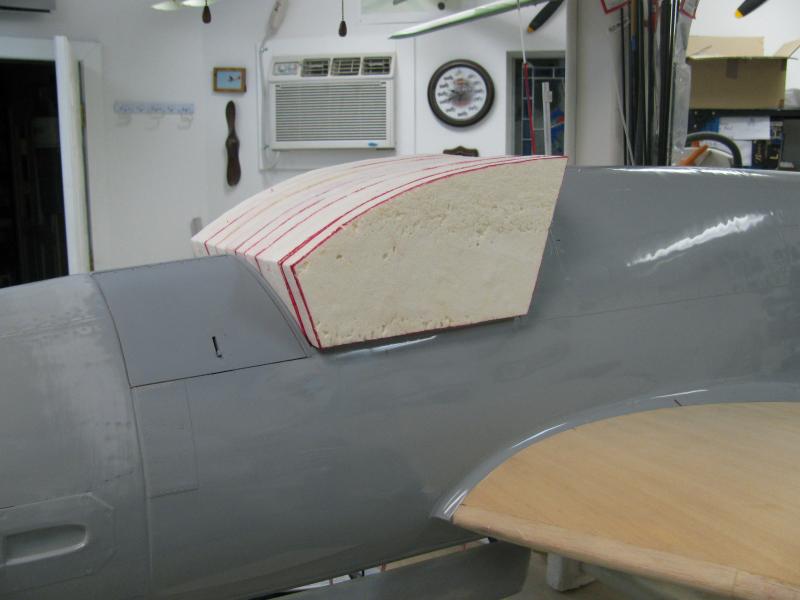
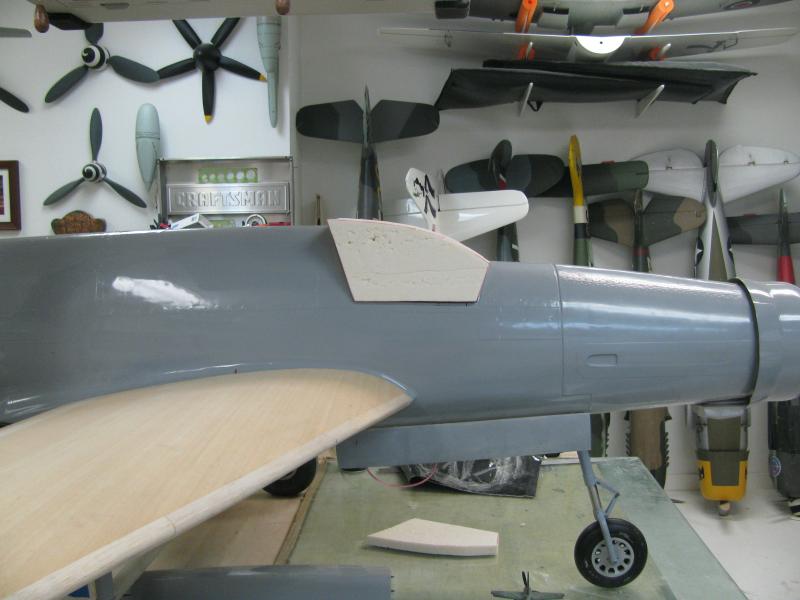
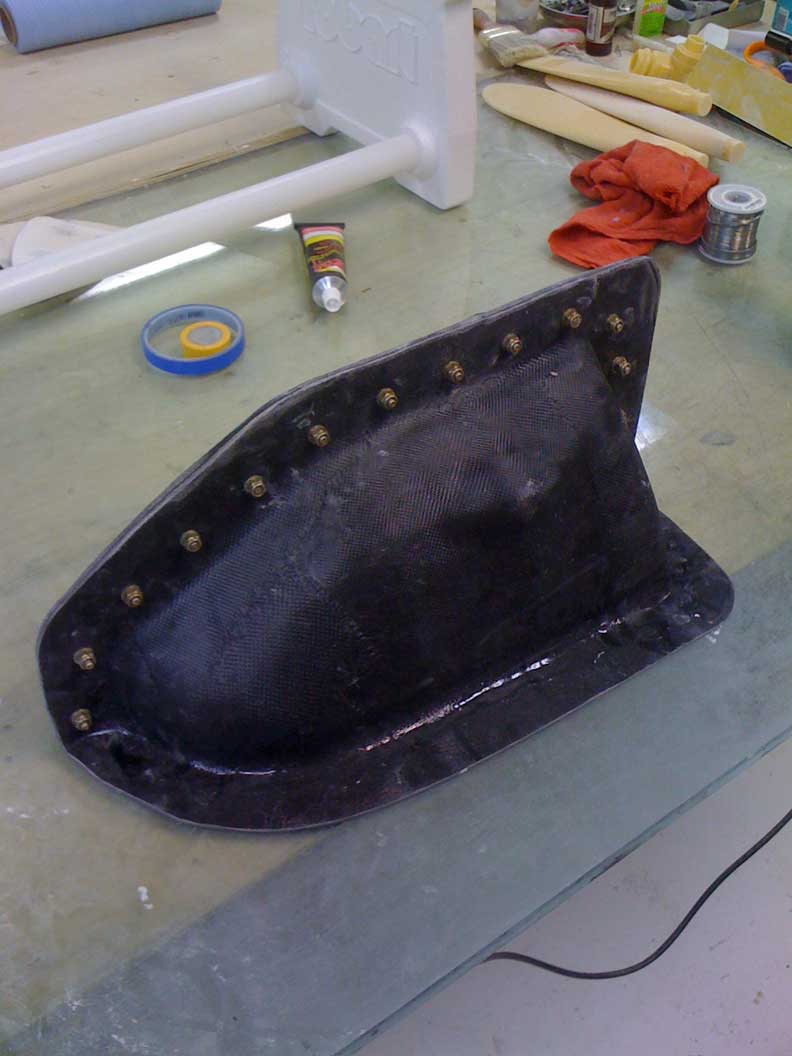
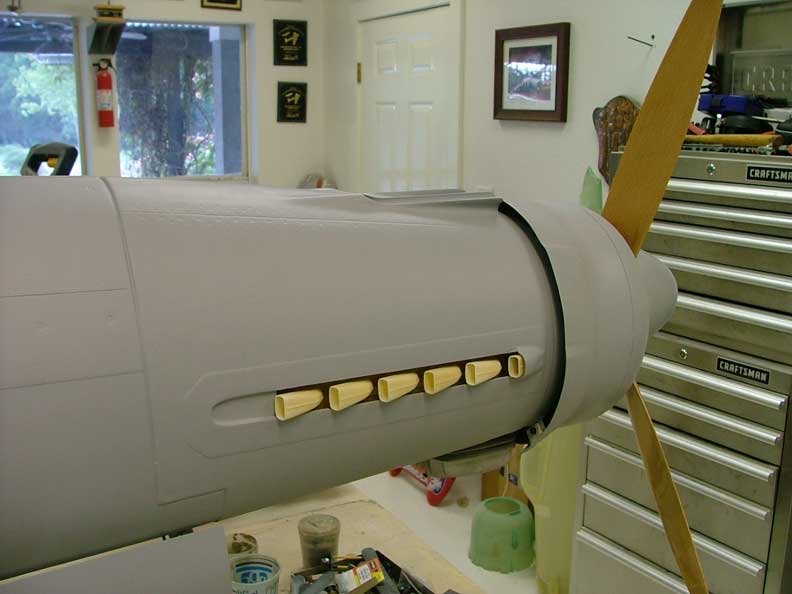
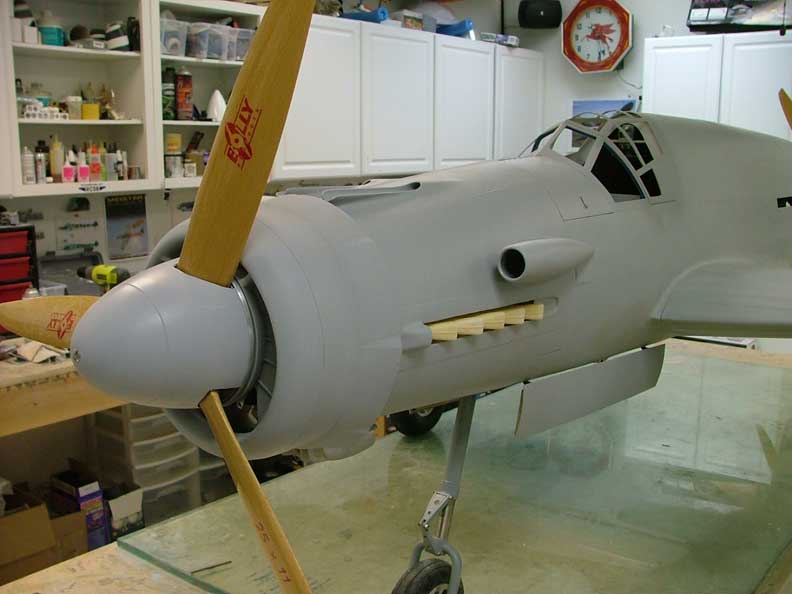
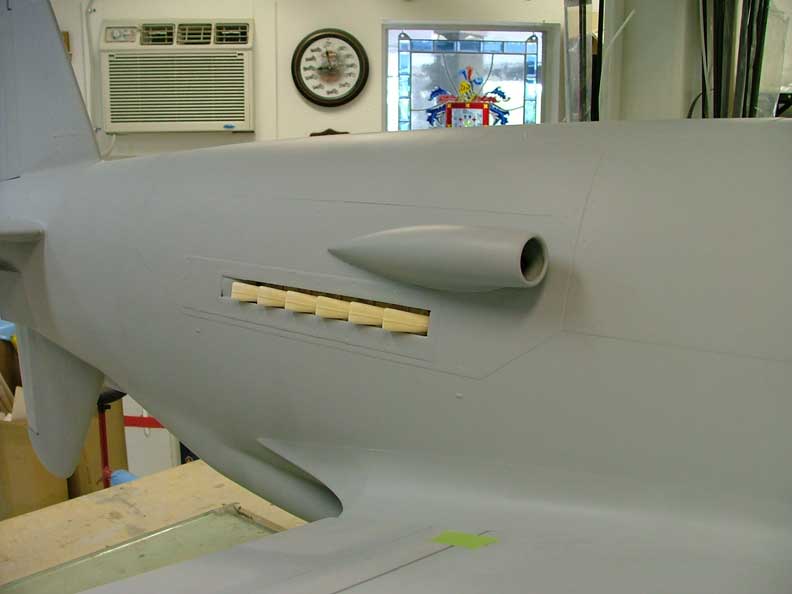
Also different on the B model are the wing cannon fairings. I blew up the drawings to 1/5.5 scale and scratch built a pair out of lite ply, balsa and foam. They are made removable for transport.
The spaces between the balsa formers were filled in with foam and sanded to shape. The cannons were then fiberglassed and sanded out.


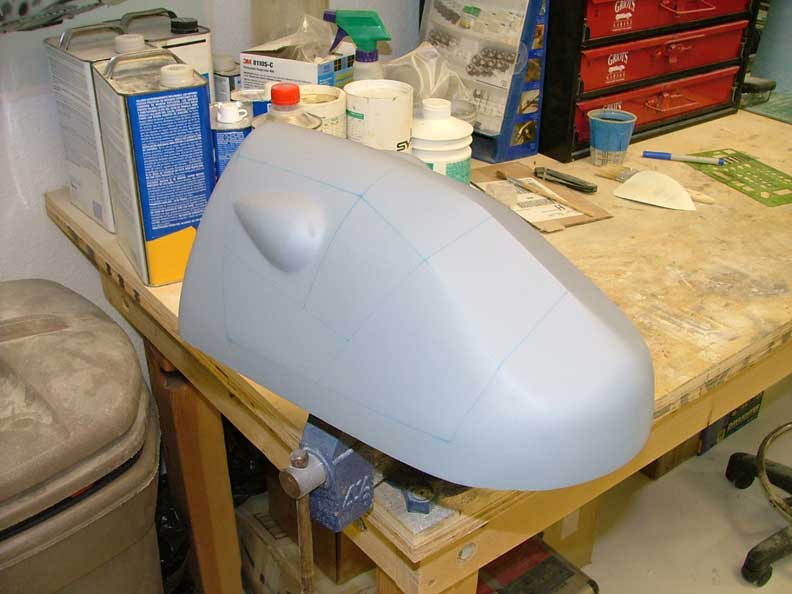
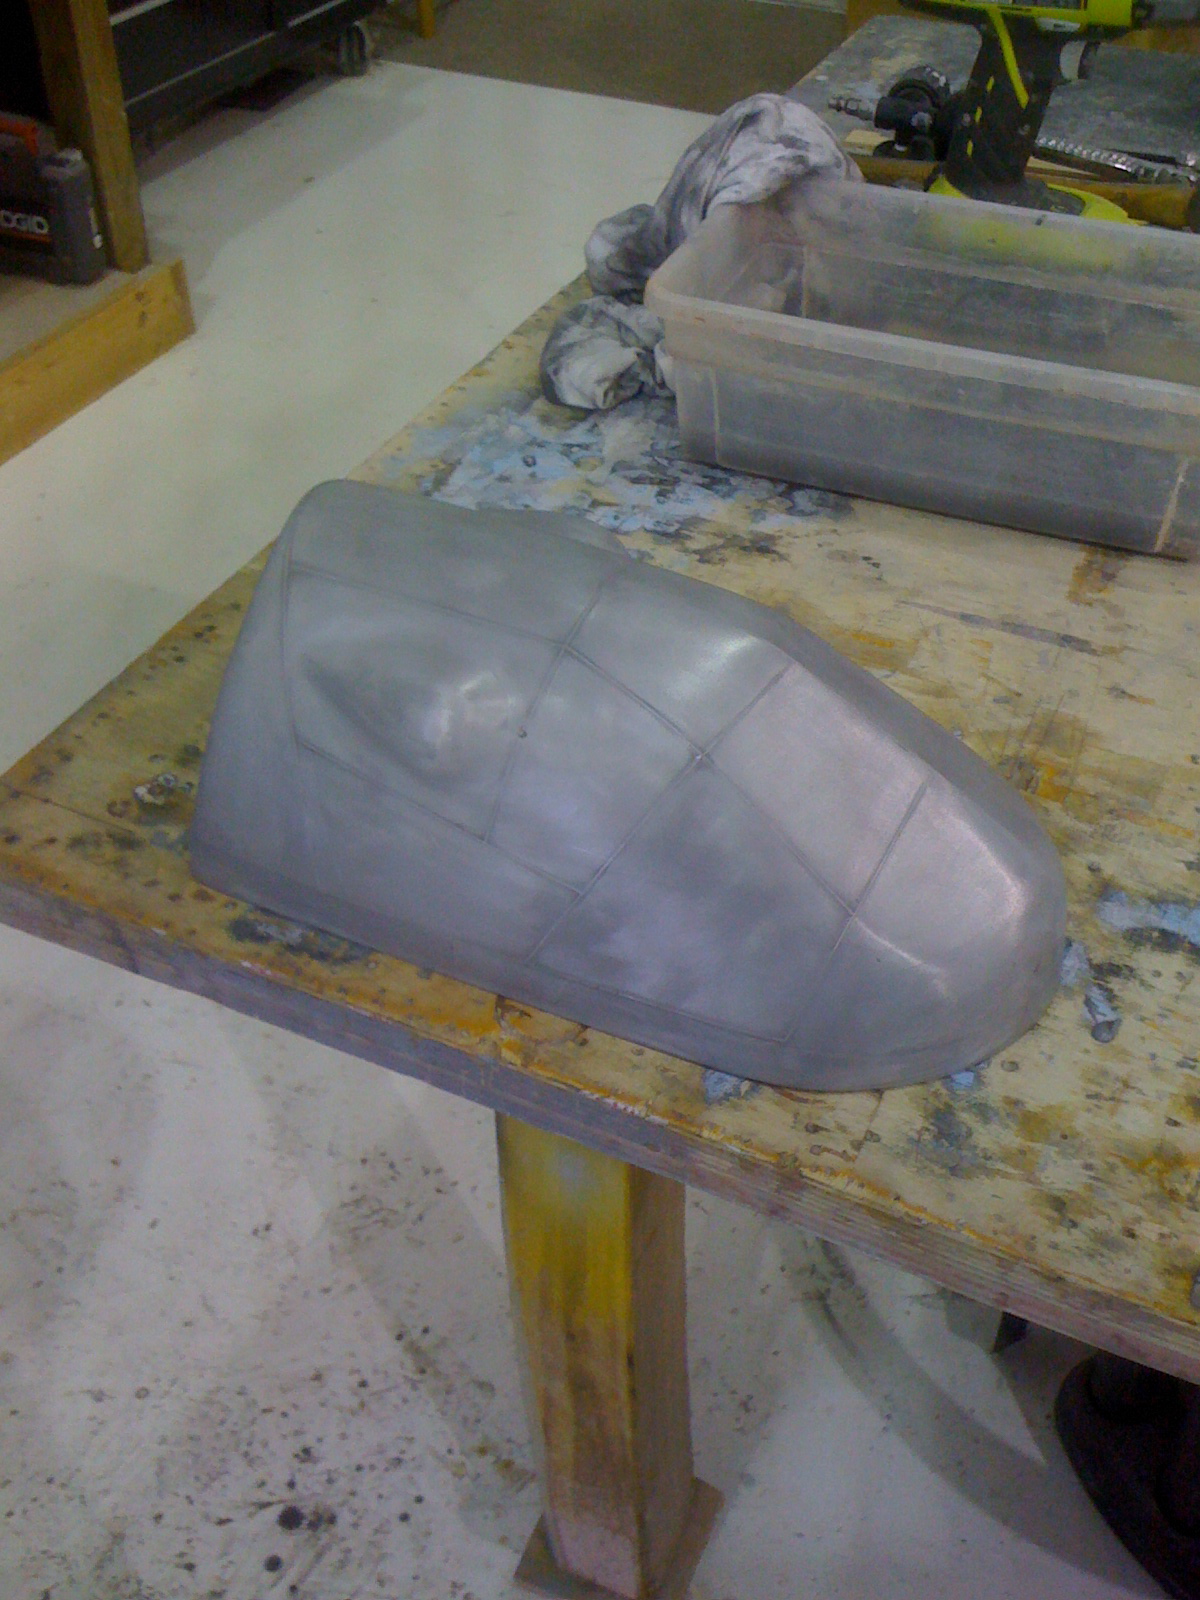
The canopy plug was fiberglassed, primed and sanded to 600 grit. It was then used to make a fiberglass mold for vacuum forming. But first, I used it to make a fiberglass canopy frame.
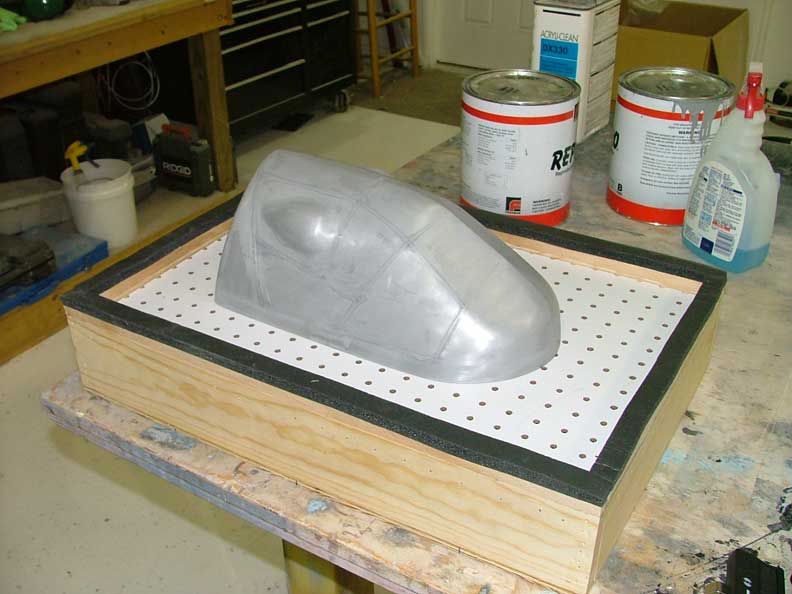
Aluminum filled plastic was then poured into the mold to make a vaccum form mold of the canopy. A small homemade vacuum form box helped to pull several canopies from .060 PETG plastic.
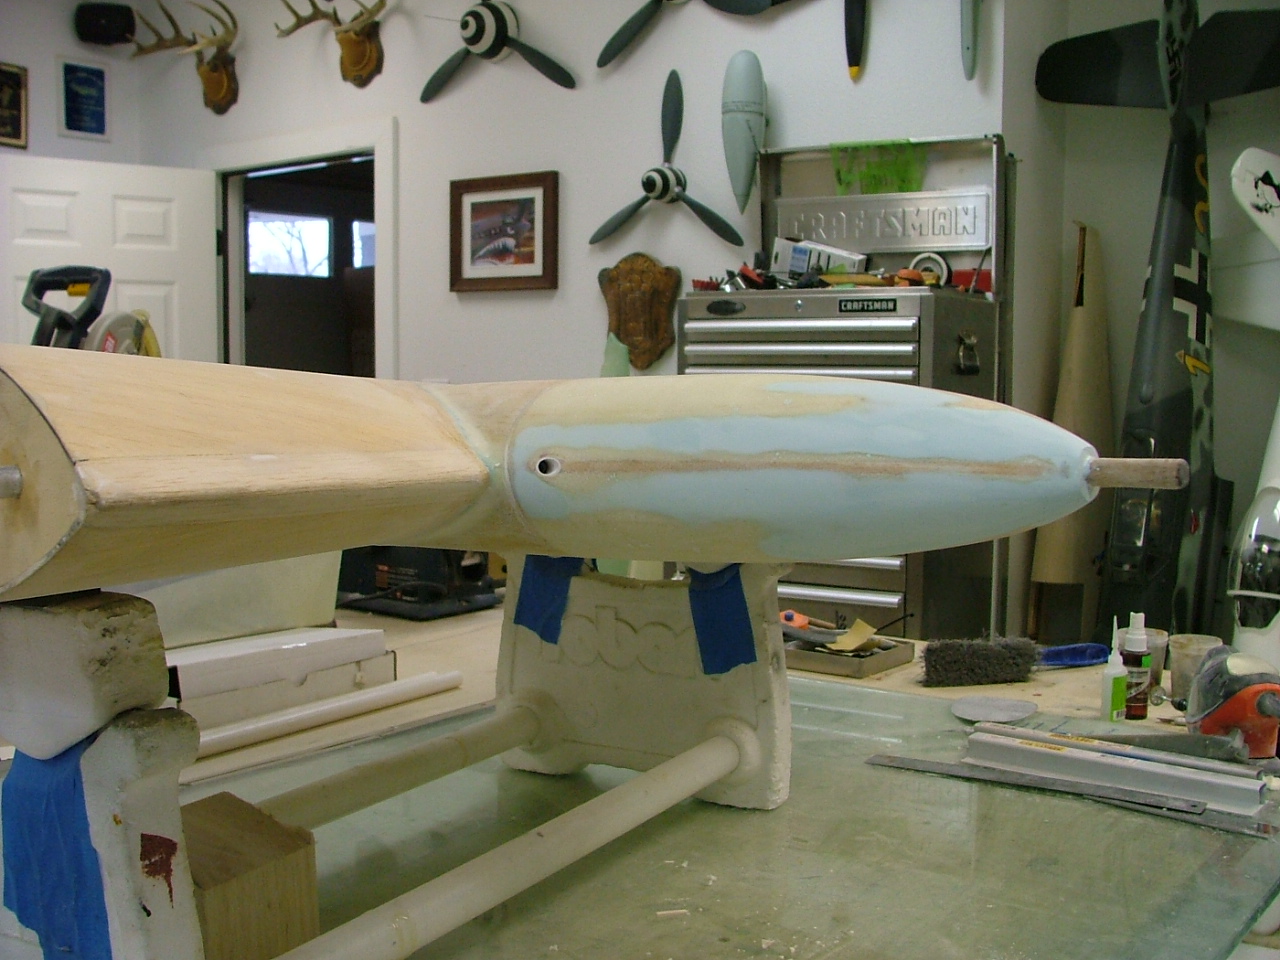
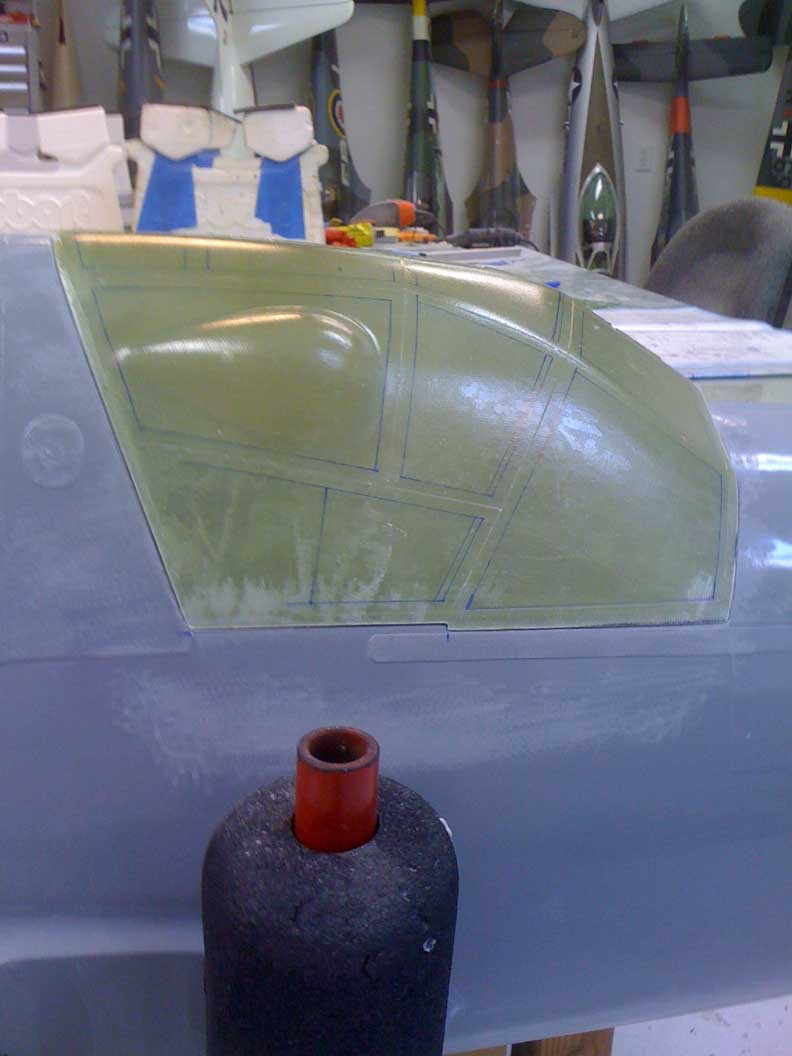
All airframe parts were fiberglassed, sanded and primed with K38 PPG primer. I also attached the canopy frame and hinged the rear section. A small 4-40 rod hidden in the forward access hatch secures the canopy for flight.
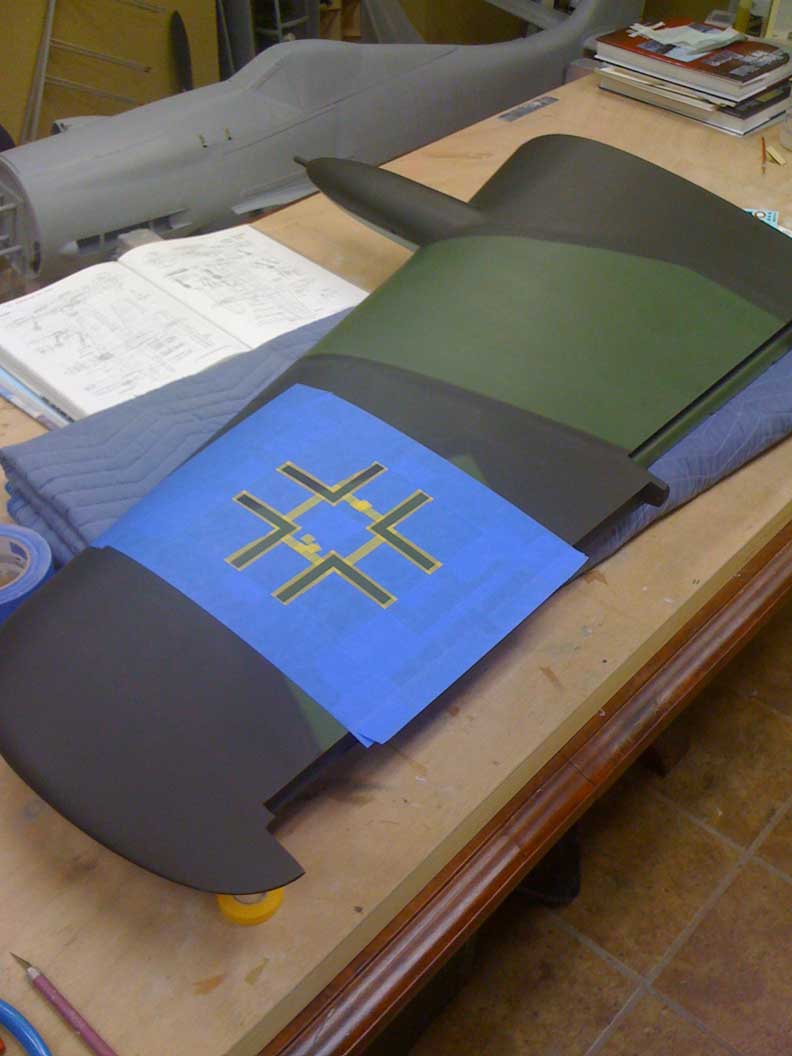
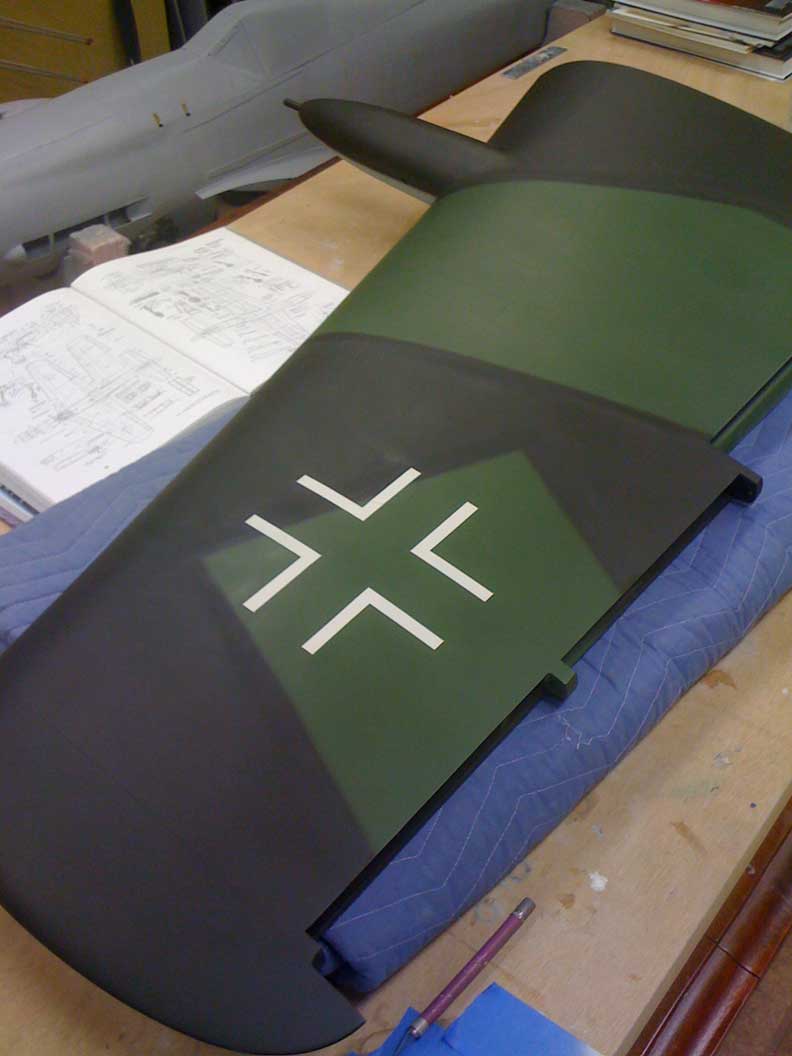
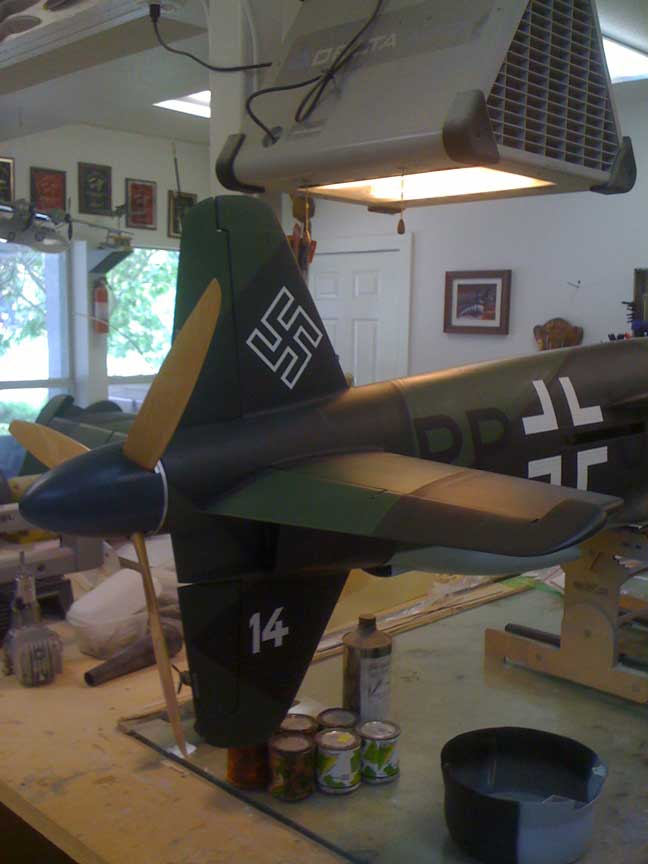
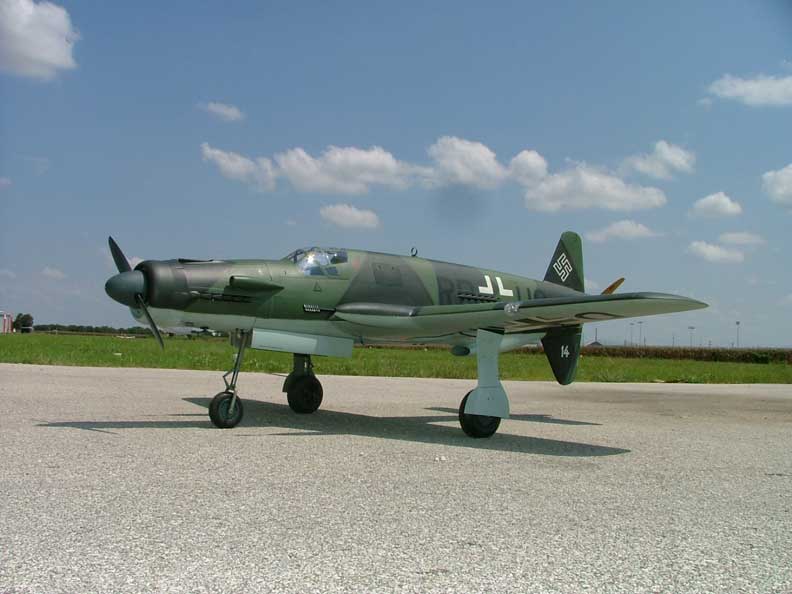
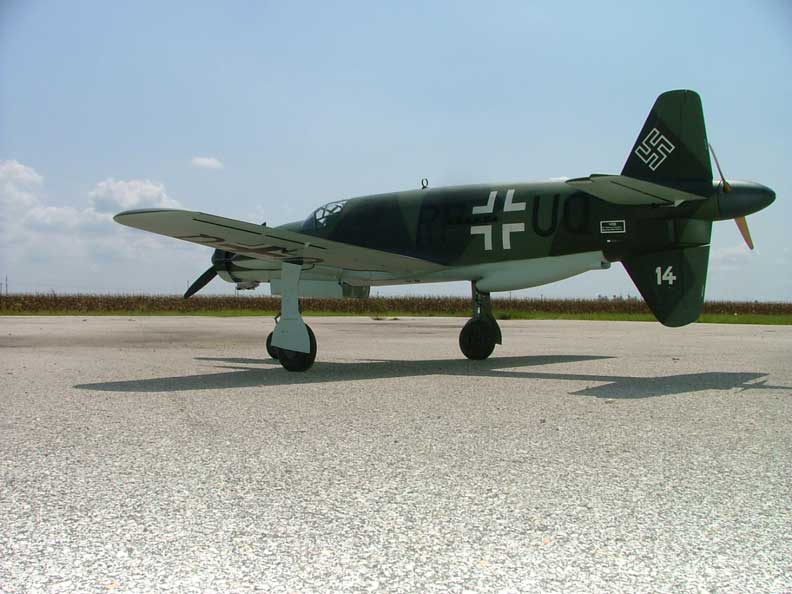
Paint time! The entire airframe was painted in RLM 76 on bottom and RLM 82/83 splinter camo on top.


Markings done in the usual way with Testors model master acryls and tamiya tape and blue painters tape for stencils.

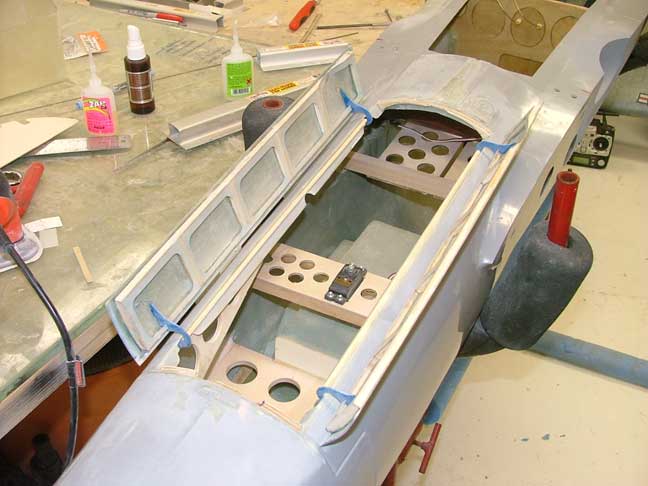
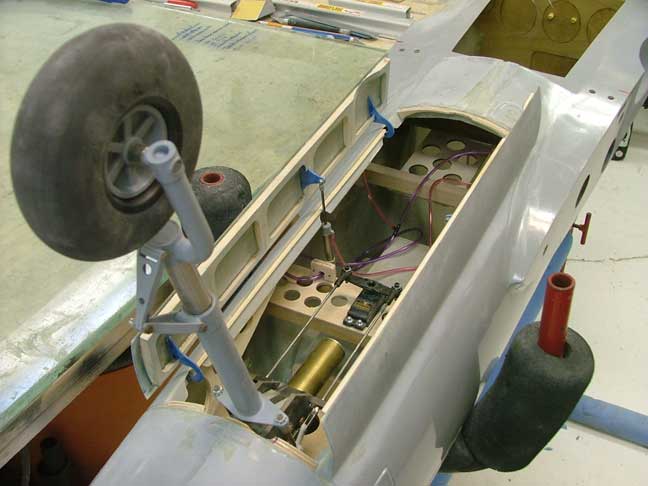
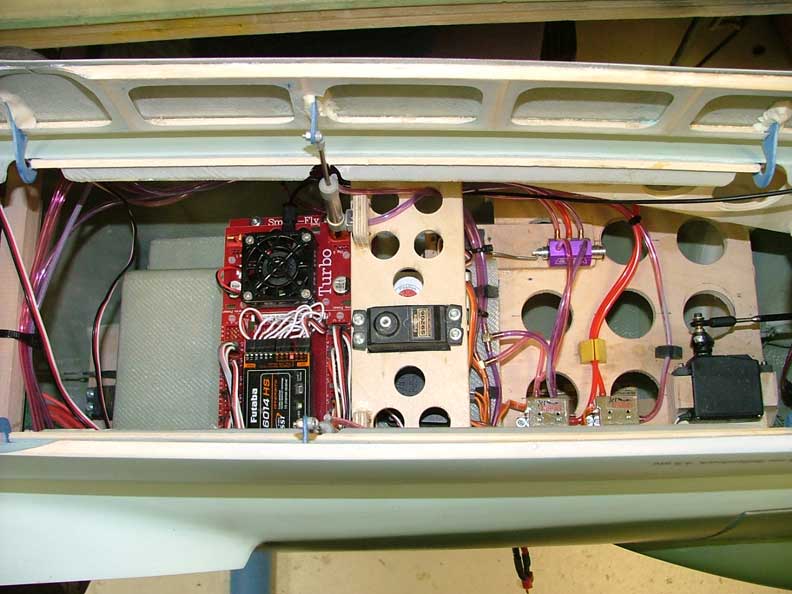
Dual airtanks installed in the rear fuse, reciever and smart fly power expander above the nose wheel. The front exhaust pipe is TIG welded from stainless. The finished canopy frame.


Well, sometimes things dont always go as planned. While the electric set up provided gobs of power, duration was relatively short at 3 min. The G45 option was considerably lighter and performs well.

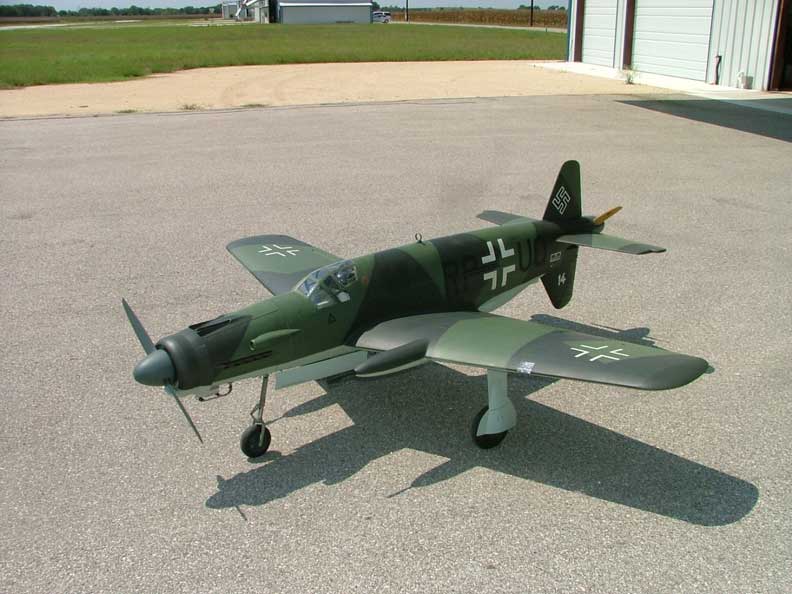
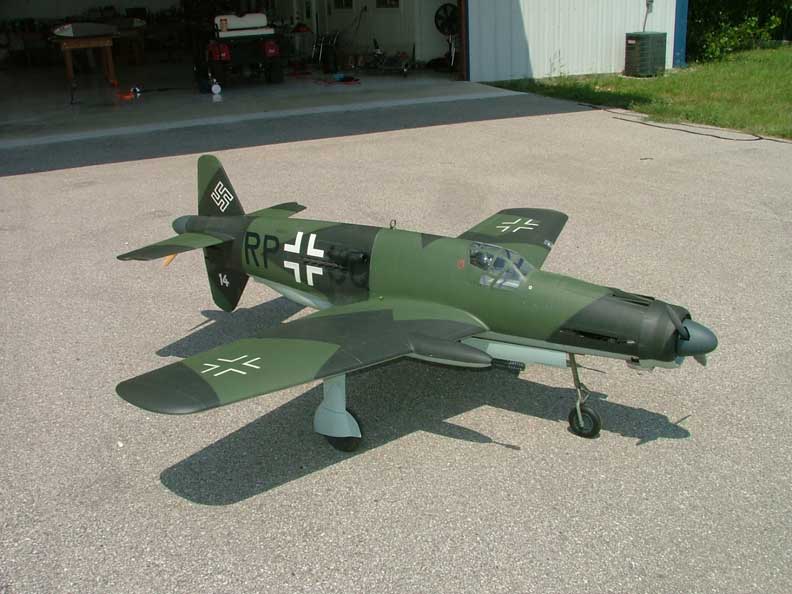
The finished Do335 ready for flight.

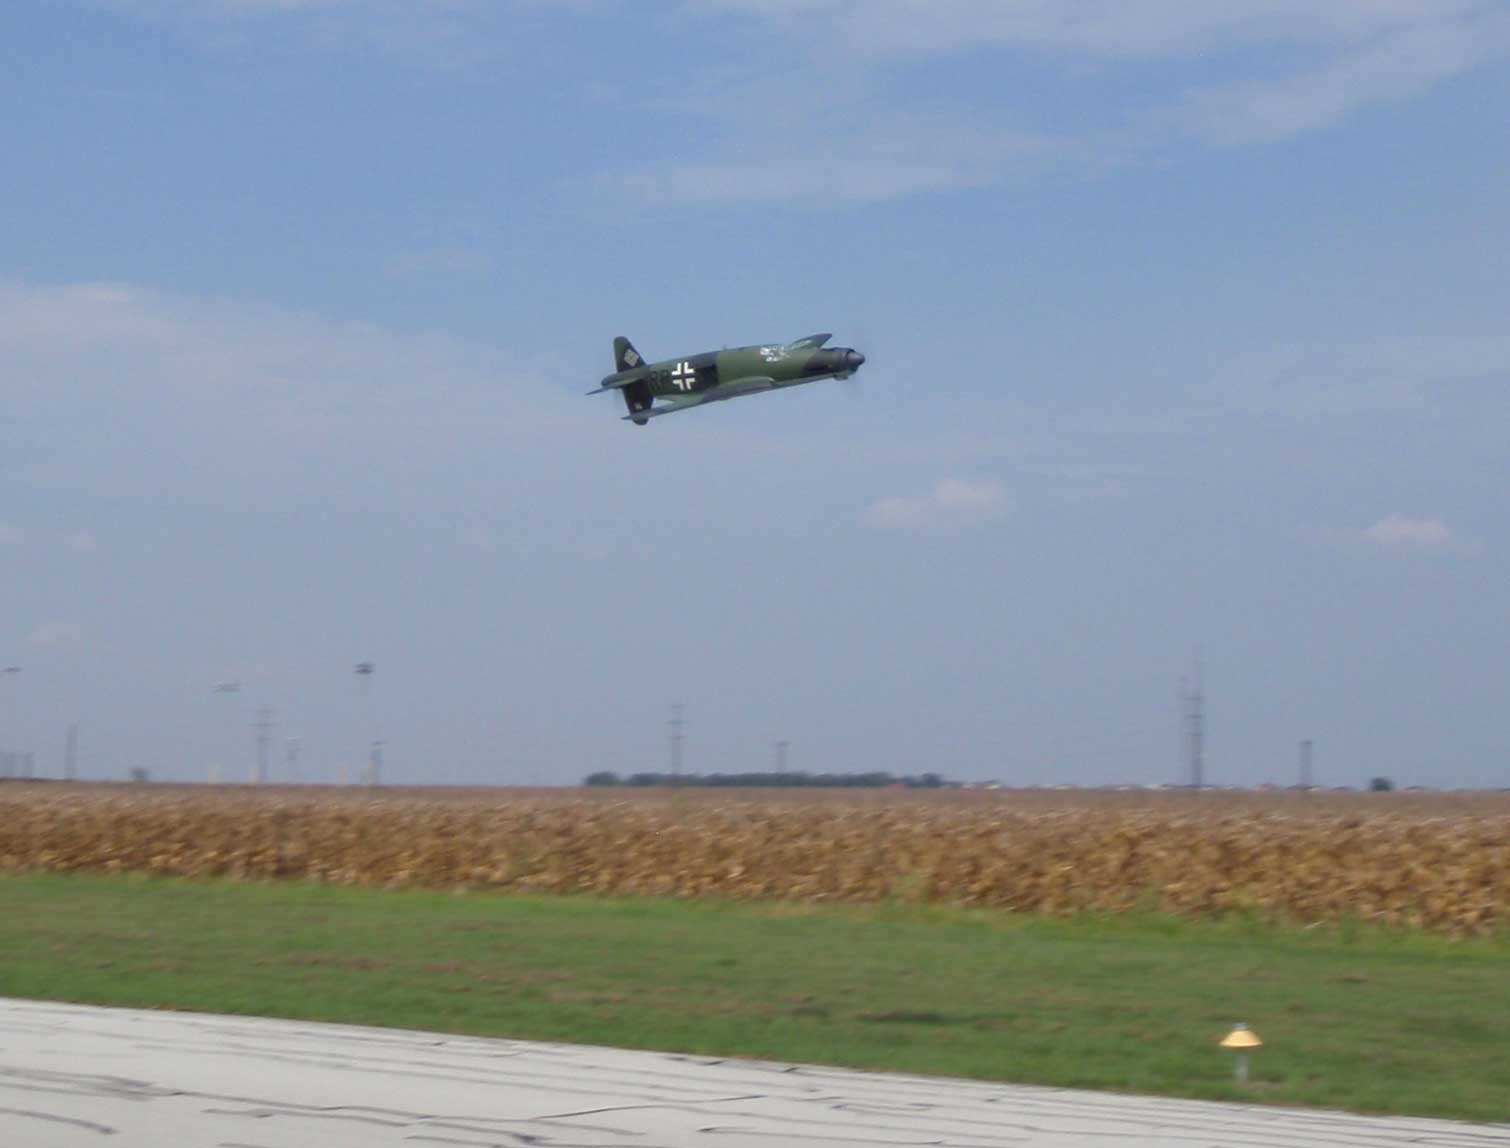
Maiden flight pics. The 335 flies exceptionally well.