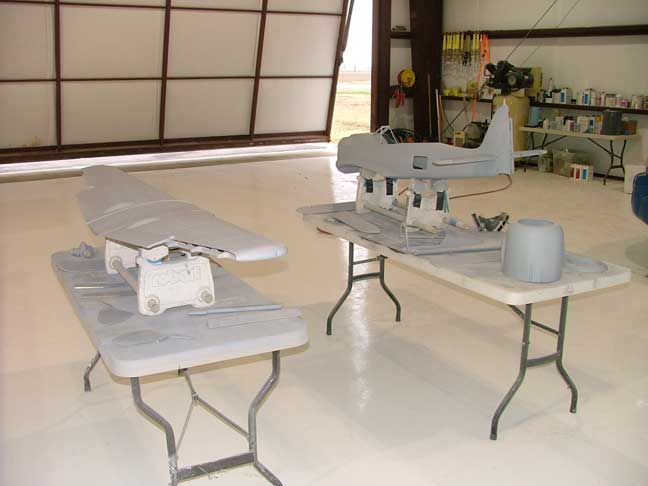
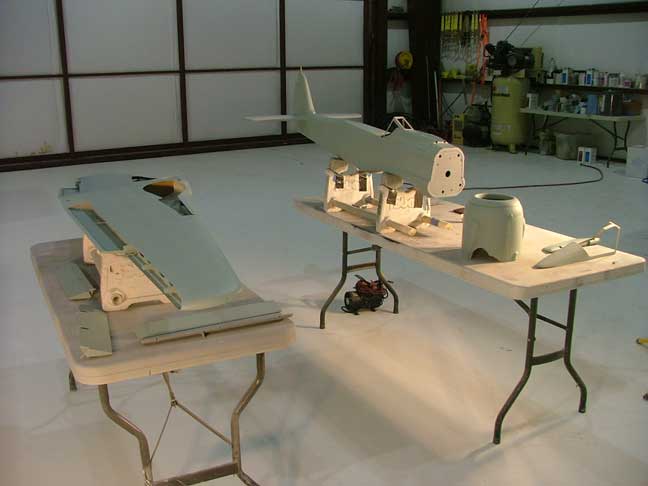
Once the parts were roughed up with red scotch brite pads, Everything was primed with K36 auto primer.
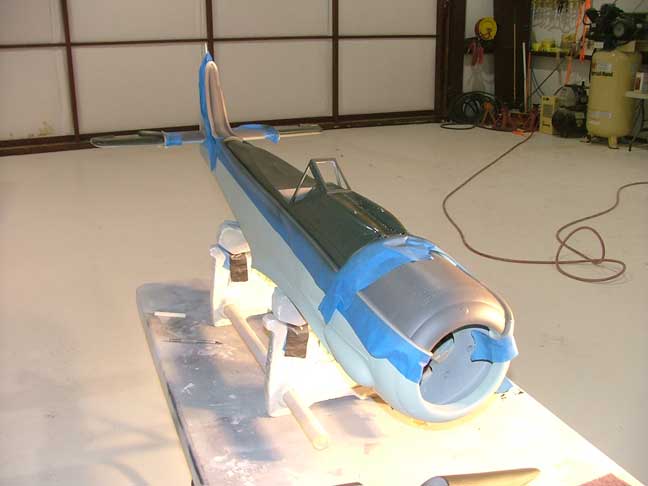
The parts were then lightly wetsanded and then sprayed with PPG DBU basecoat in RLM 76 light blue.
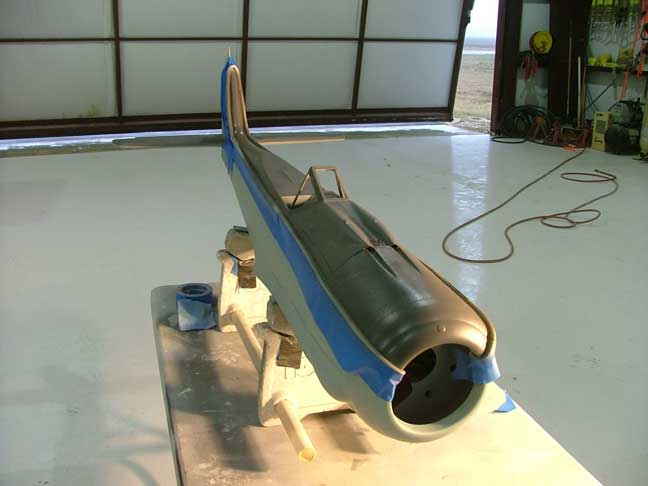
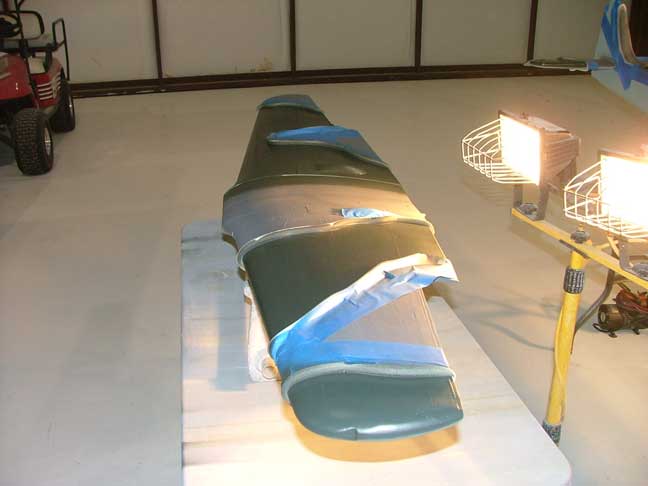
3M foam tape was then used to mark off the basic Fw190 camo pattern.
Then the upper surfaces were shot in RLM 75 Grey Violett.
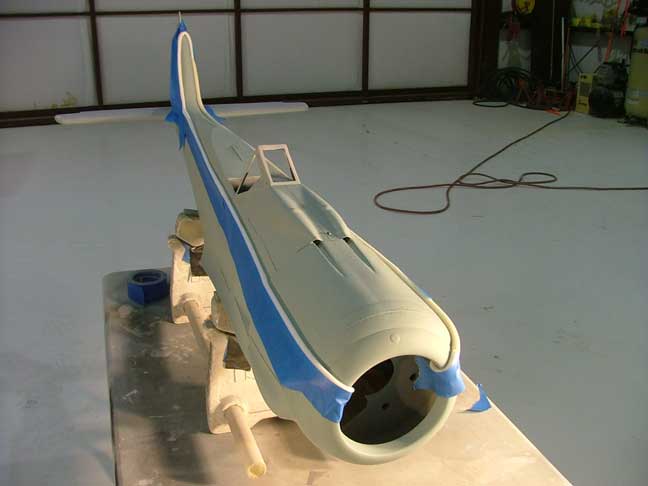
3M foam tape was used again to mask off for the third camo color, RLM 74 Grey Green.
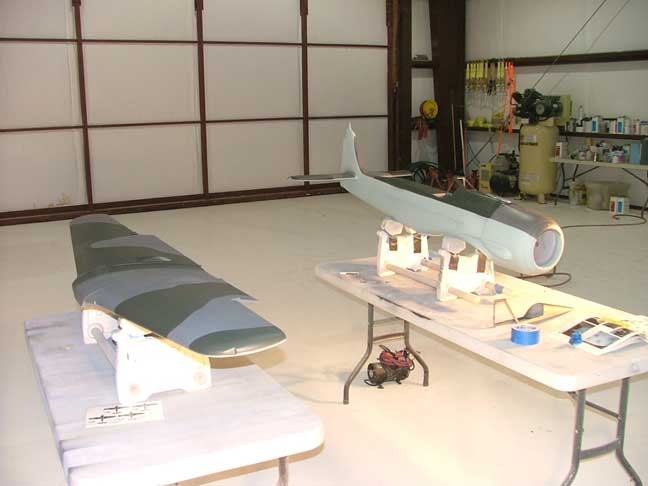
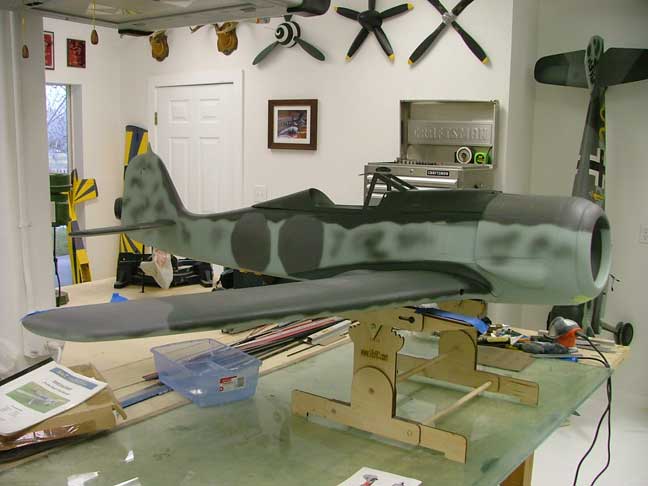
Once dry, the tape is pulled and the basic FW190 camo pattern is done.
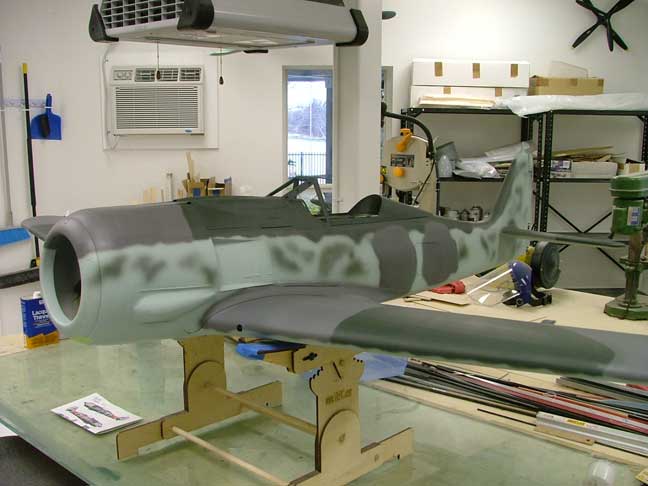
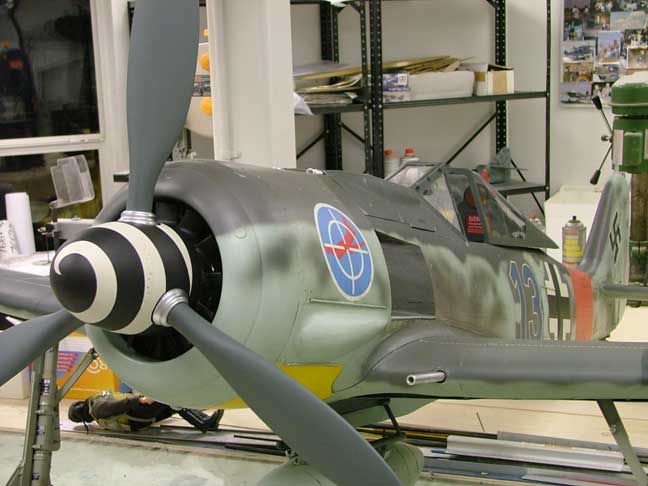
Moved the 190 to the workshop and used the airbrush to mottle the camo and clean up any overspray.
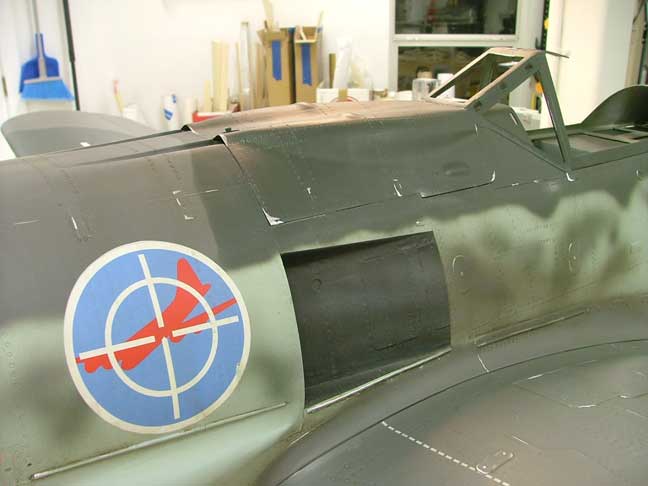
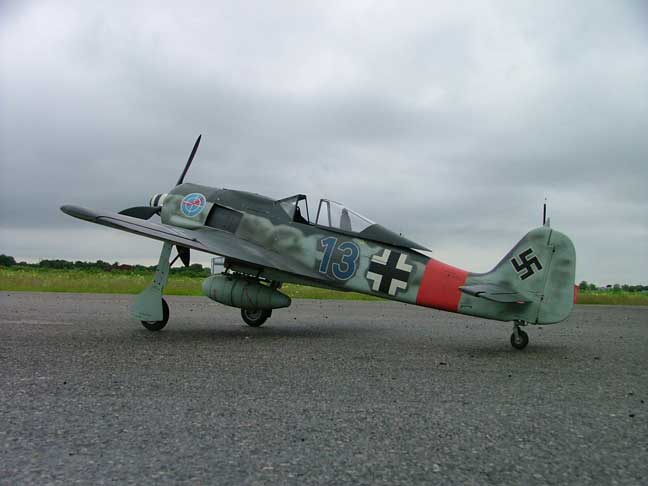
The 2 round areas of RLM 75 are where the markings go. The original had them oversprayed and repainted sometime in its combat life.
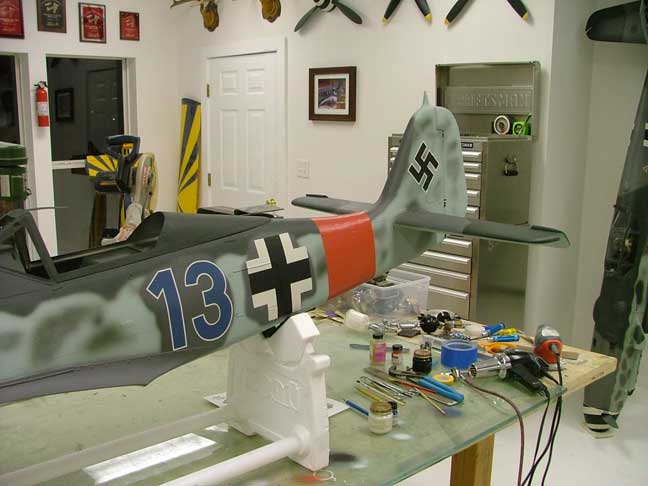
Markings were sprayed on with the airbrush and testors acryl paints
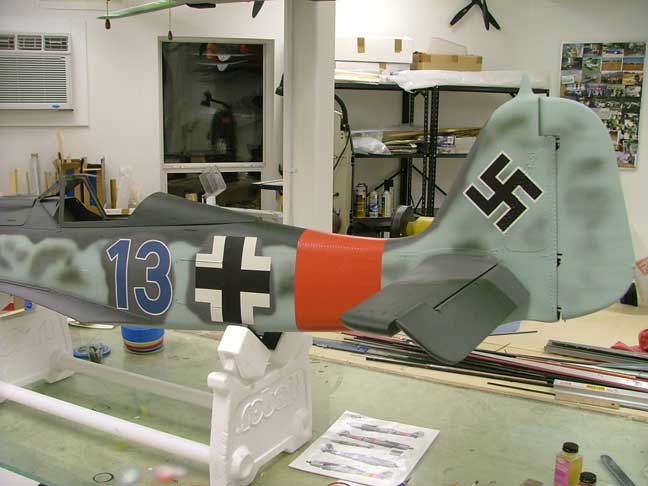
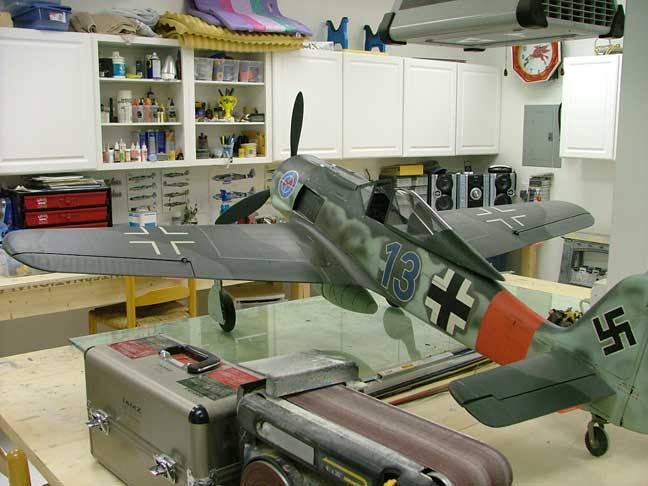
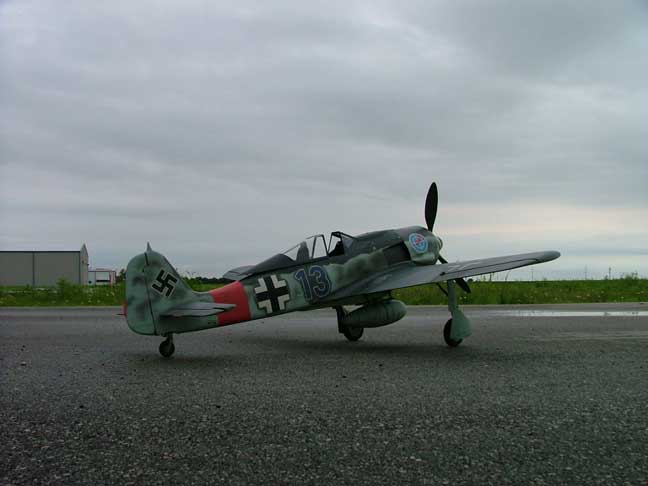
Tail area after weathering and decal application. Decals are from Taylor Made Decals in Germany. Taylormade decals has several FW190 schemes on file and they fit the SIsT kit perfectly.
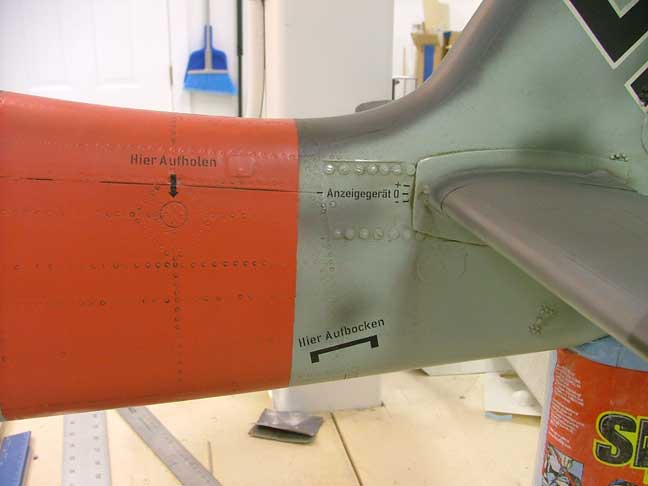
Exhaust staining was airbrushed on with flat black, sooty brown, light grey and tamiya smoke to come up with a convincing stain. Silver was used to simulate paint chipping in various high wear areas.
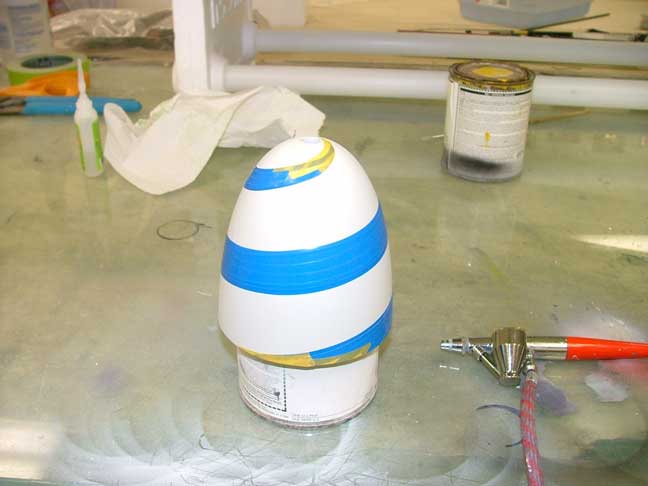
Static spinner and flying spinner were both painted white and taped off with 3M fine line tape for the spiral.
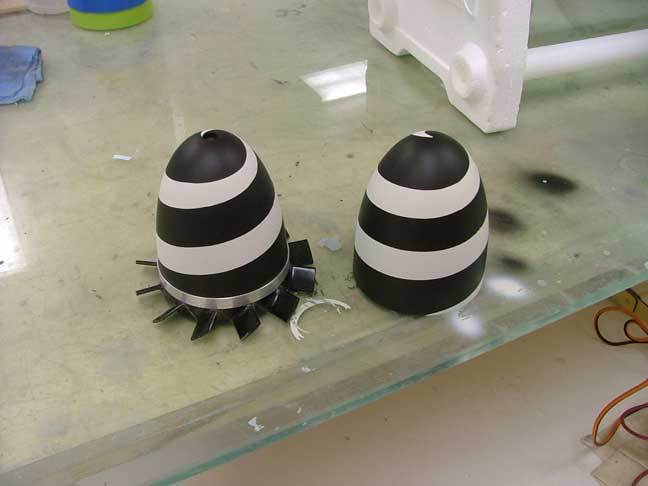
Engine cooling fan and both static and flying spinners ready for clearcoat.
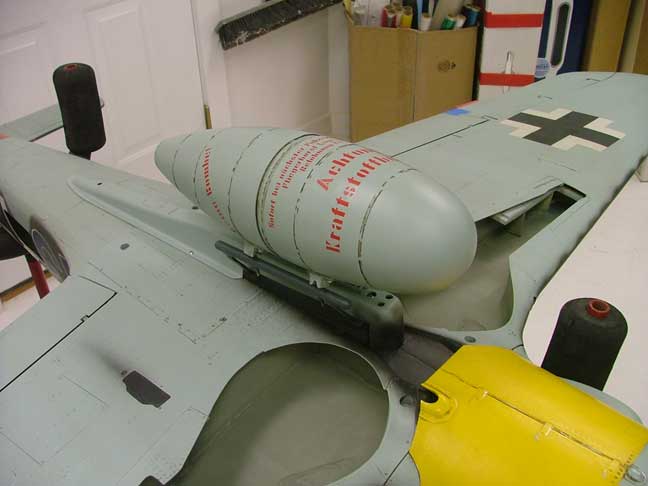
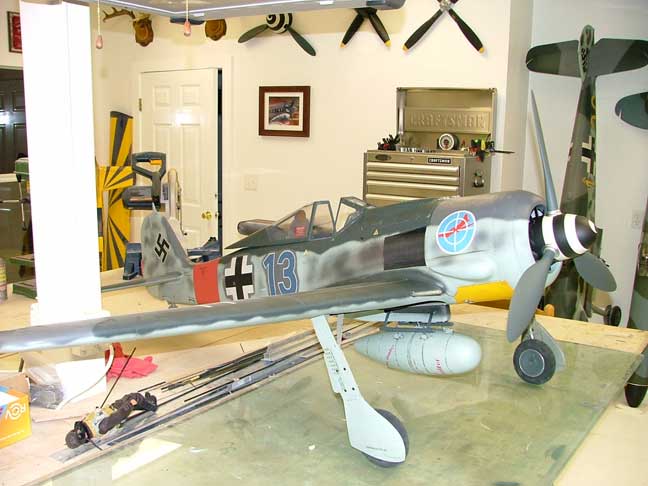
Drop tank and ETC 501 rack made from a kit I recieved from a Gent in England named Ben. Ben also made the static prop and spinner, all of which were very easy to put together and detail. They also fit the SisT kit extremely well.
The entire model was then taken back to the hangar for a clearcoating with PPG 2060 flex n flat clear.
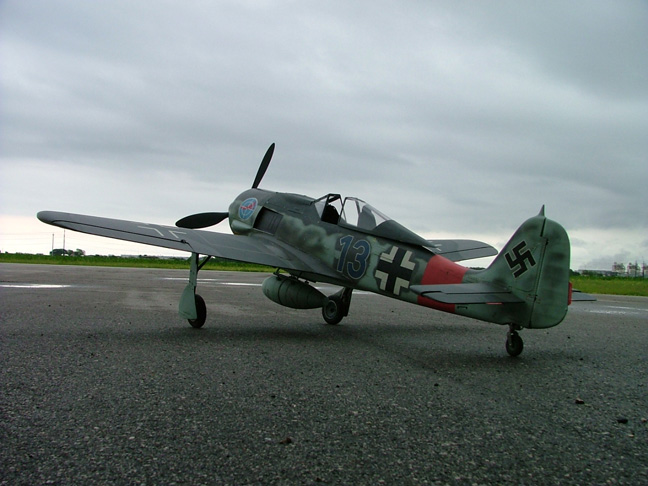
The finished model at the shop all assembled to check system operations
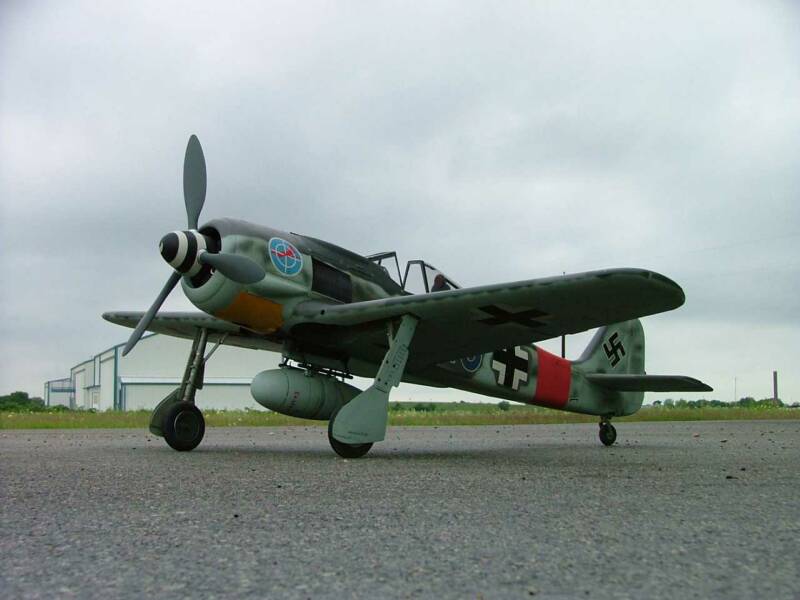
At the field ready for first flights. Finished weight RTF is 29 lbs.