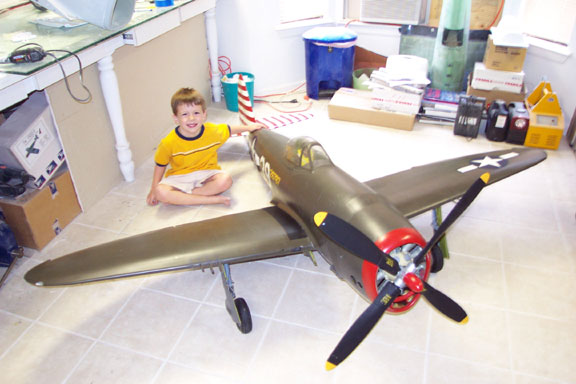
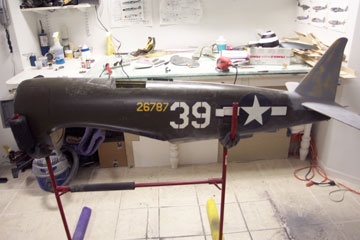
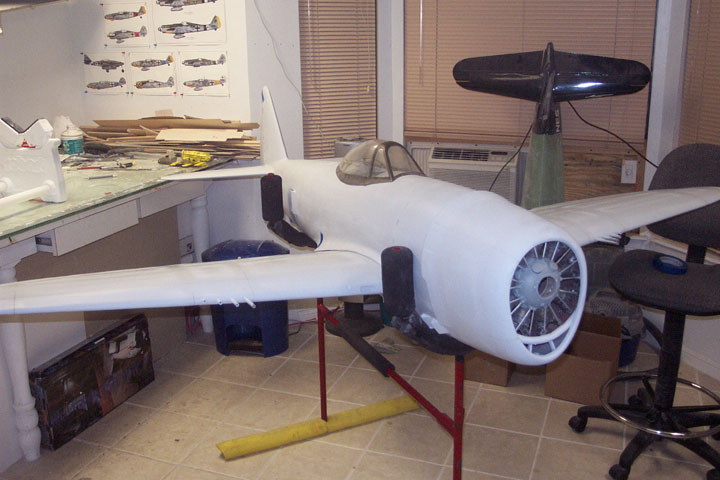
My latest project, A Ziroli P-47 thunderbolt built by David Chew of Spiceland, Indiana. David campaigned this thunderbolt in several scale contests. My trusty helper Maverick and I will be installing a new engine and radio to make this bird airworthy.
The Jug is equipped with a static prop, functional landing light, robart retracts and working inner gear doors. I plan to use a 3w75i for power.
Landing light extends with a servo and has its own battery.
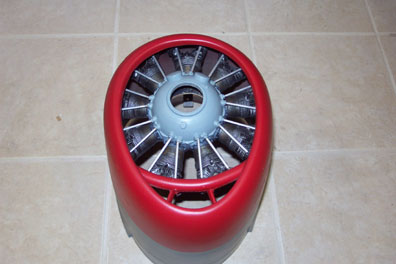
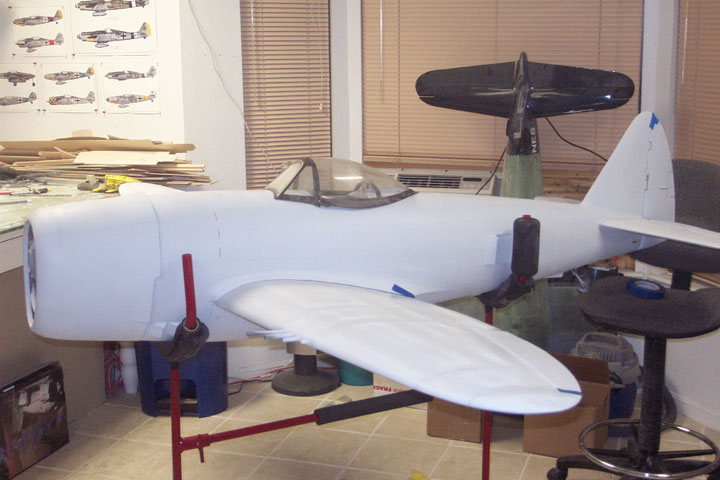
I decided to repaint the jug in the 56th FG colors. It will represent the aircraft, known as "Hairless Joe", flown by Col. Schilling The dummy radial got some detailing and paint first.
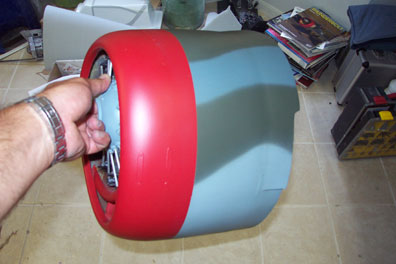
Then the cowl. Im doing an experiment here by using testors model master enamels as the color coat, followed by PPG 2002 concept clear with flattening agent. As you can see, the PPG clear works just fine over testors enamels. No more using Perfect paint clear with its yellowing tendencies.
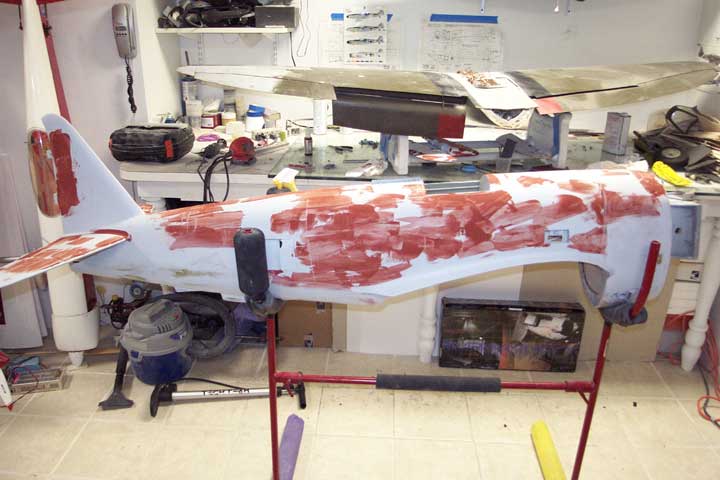
Fuselage in the process of getting the paint stripped off.
The paint is removed by a combination of scraping with an exacto blade held at an angle and using the mouse sander.
Fuselage is then primered and red spot putty is put on in a very thin layer to fill in deep sanding scratches and dents.
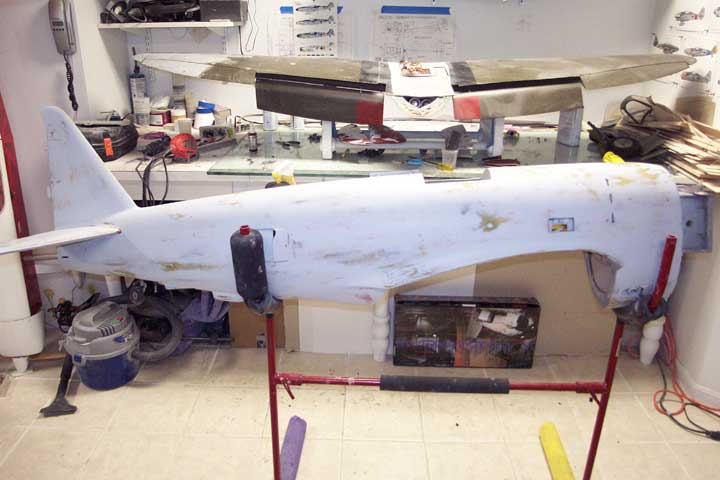
Fuselage after wetsanding all the spot putty off with 320 grit.
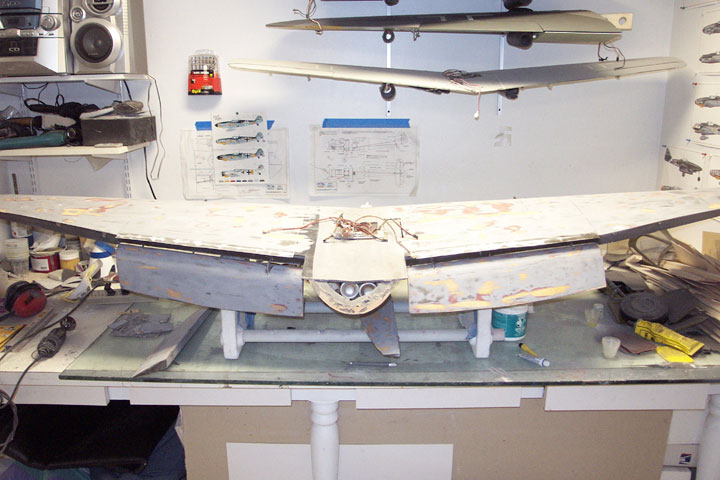
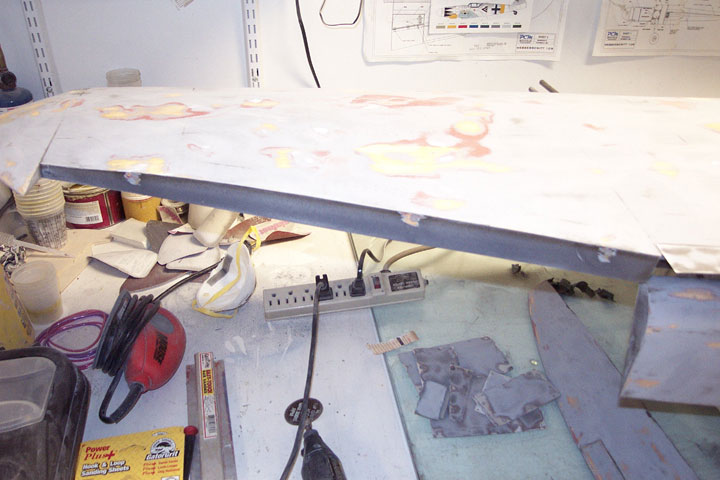
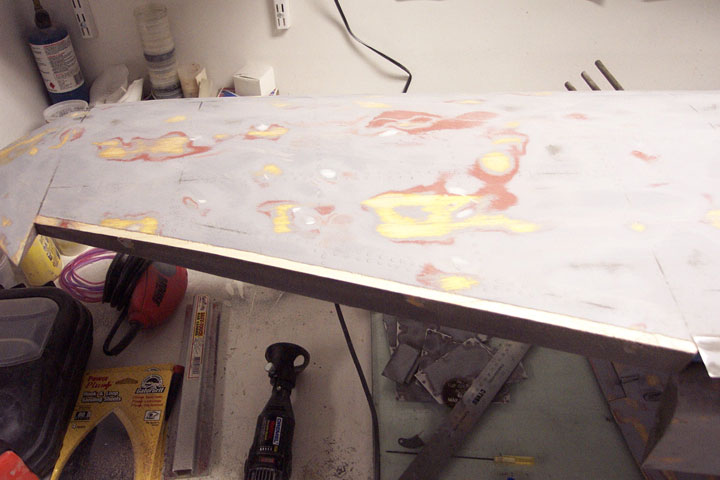
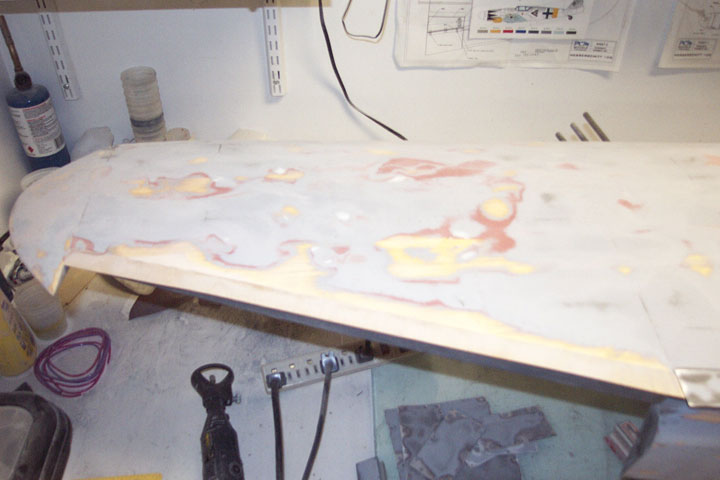
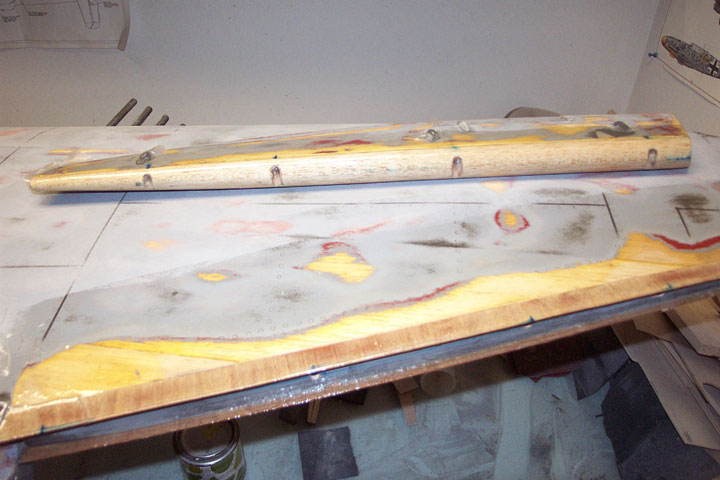
Wing after removing all the old olive drab paint.
The ailerons were removed to facilitate conversion to ceter hinged ailerons with shrouds.
First, The sheeting on the trailing edge is routed out to make room for the 1/64th ply shroud.
Then the 1/64th ply is glued onto the wing with the grain running chordwise.
The area is then fiberglassed with .5 oz cloth and west epoxy.
The leading edge of the aileron is then cut off with a bandsaw and a rounded balsa leading edge is installed and fiberglassed.
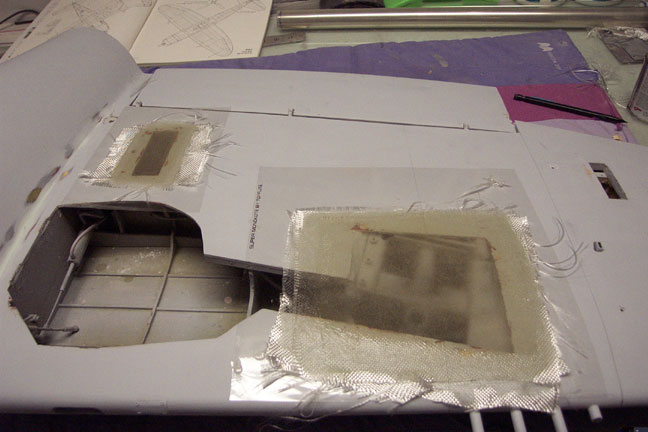
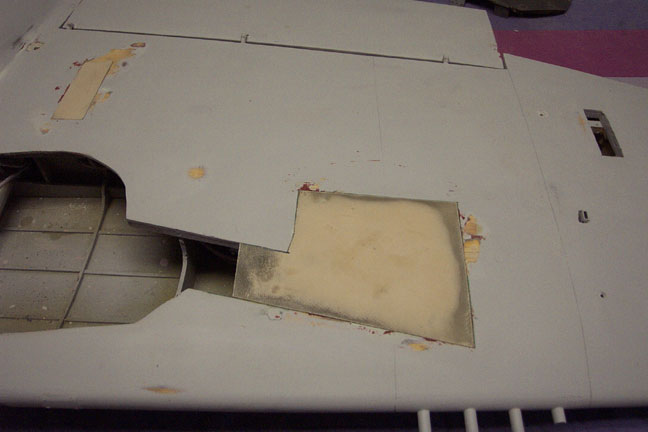
Fiberglass covers were made to conceal the landing gear mechanisms and flap servo openings.
3 layers of 6 oz cloth were laid up on the wing bottom on top of clear monokote.
The covers were sanded and made to fit flush with the wing sheeting.
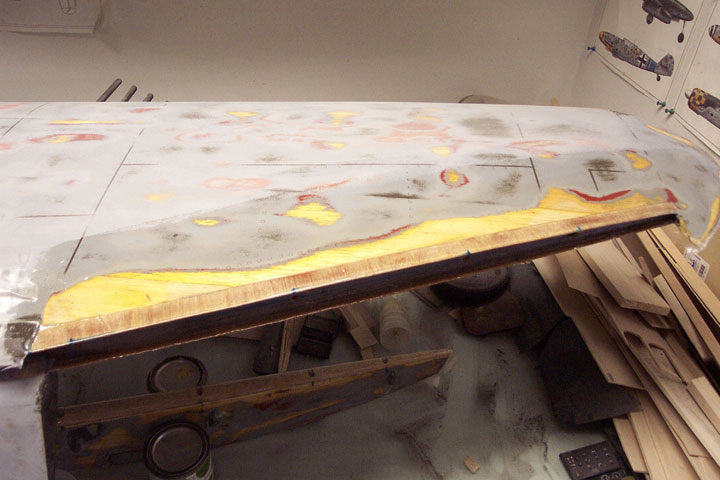
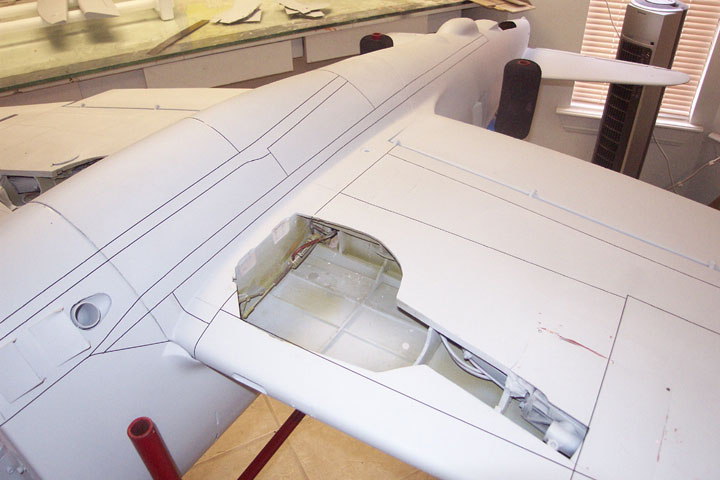
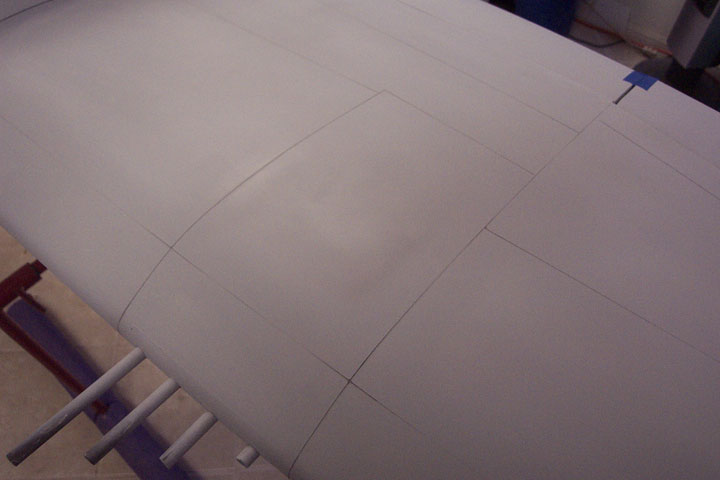
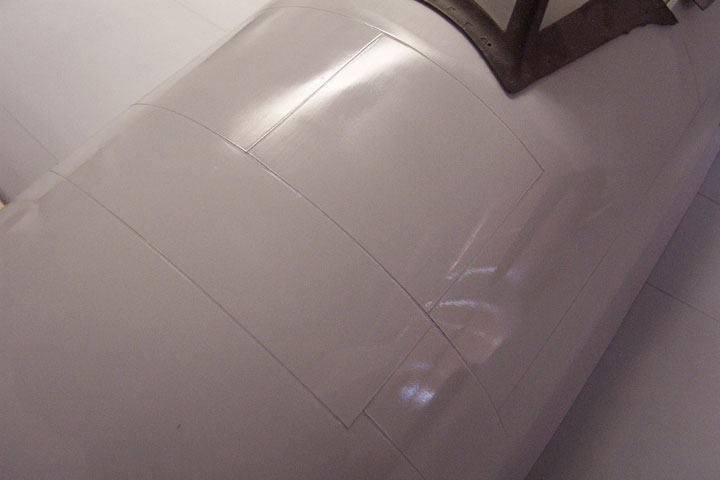
Panel lines are then created by placing 1/32 and 1/64th chartpak tape wherever the full size had a panel separation
Several coats of primer are applied over the tape and the tape is pulled up leaving a recessed panel line.
Panel lines on the fuselage.
Now that all the panel lines are done, its time to replicate the rivets.
Scale access hatches will be simulated with flite metal
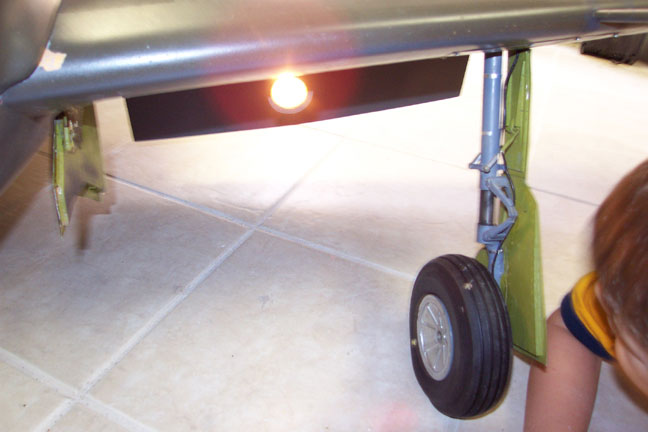
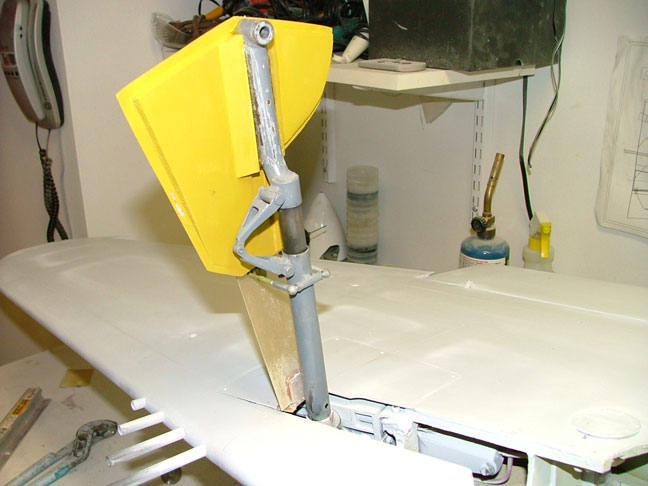
Upper and lower gear doors being fitted to the strut.
Upper strut door is hinged to the landing gear mechanism cover.
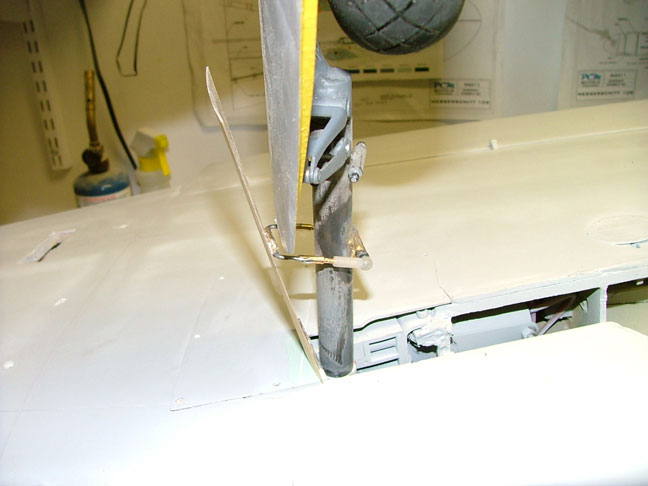
Strut and doors during the retraction sequence.
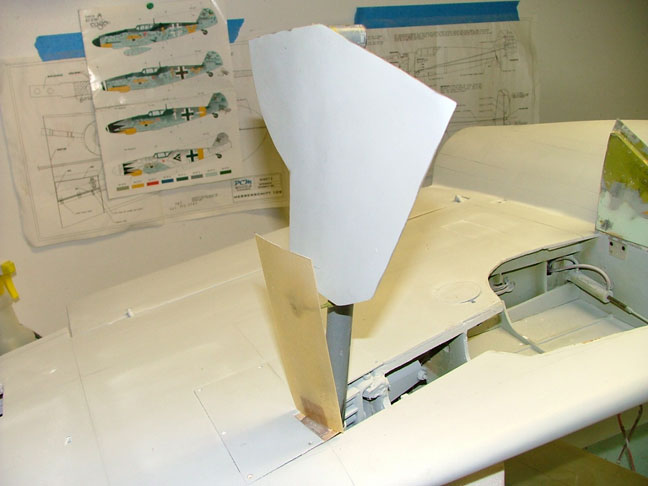
New strut door is made from fiberglass
Gear retracted and all doors closed.
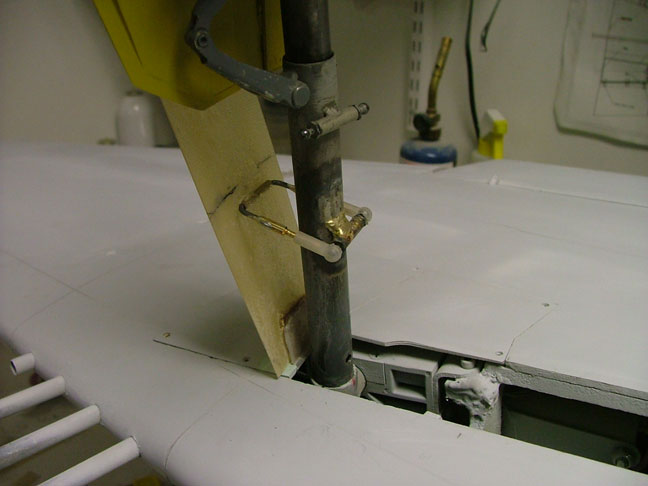
The lower strut door link was moved further up the strut to gain clearance for oleo movement.
Here is the shock oleo fully compressed . Ball link mount was brazed onto strut in new location.