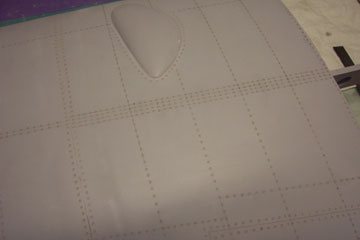
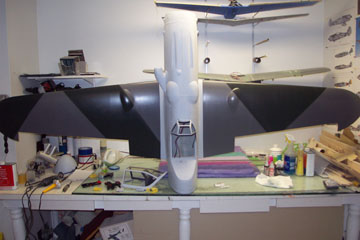
Pencil lines are drawn on the wing according to the 3 view. Rivets are then burned into the primer with a soldering iron.
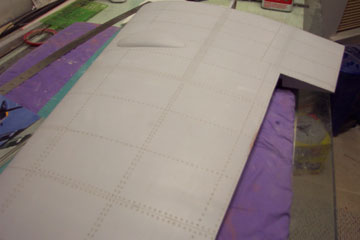
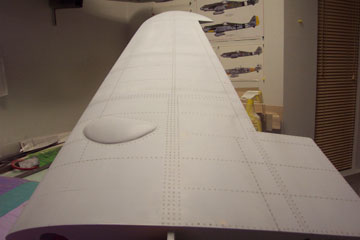
1/16th brass tubing is fastened to the end of a 40 watt soldering iron to form the riveting tool. Here is the left wing fully riveted.
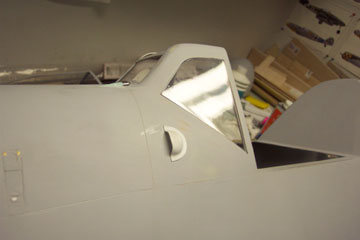
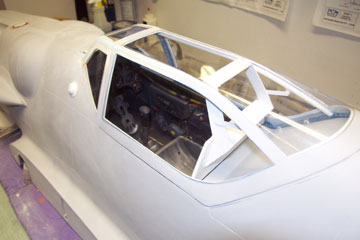
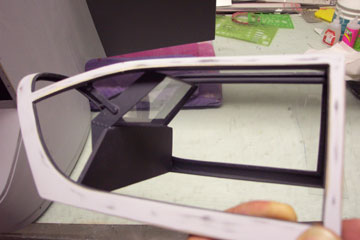
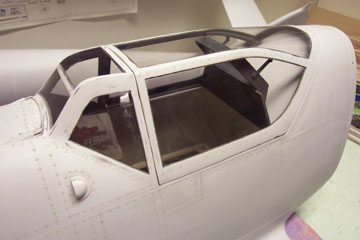
The canopy was cut into individual sections and mounted flush with the canopy frame.
"Galland Panzer" pilot head armor made from .030 white plastic.
Canopy frame finished with armor plate mounted, and clear panels mounted into the frame.
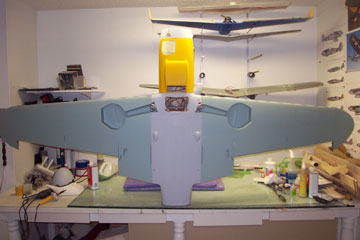
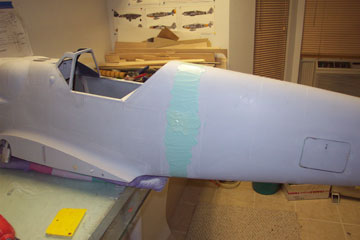
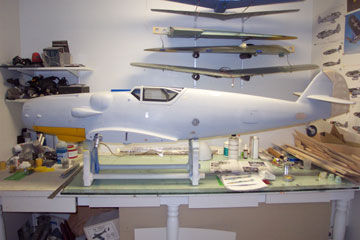
Almost time for paint!
Right wing fully riveted. The large 4 row line of rivets in the center of the wing is where the spar is located on the full size.
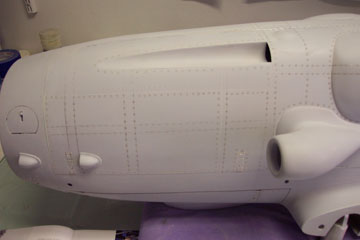
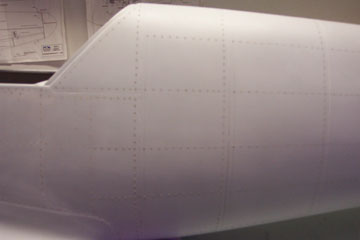
Front fuselage riveted and ready for paint.
Canopy frame finally finished with armored glass installed and frame interior painted RLM 66 black grey.
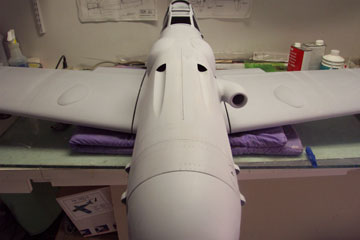
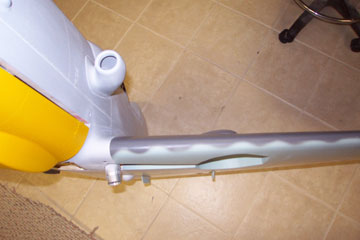
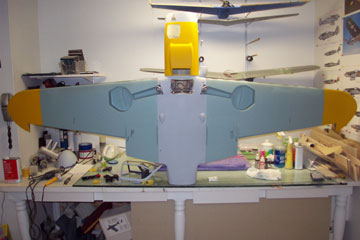
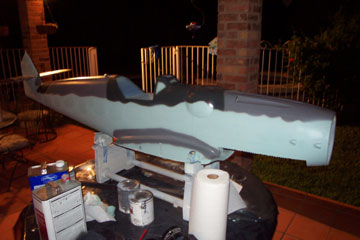
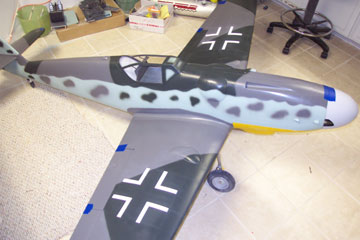
OK, I just couldnt wait anymore and went ahead and sprayed the RLM 76 light blue on the wings, and the RLM 04 yellow cowl.
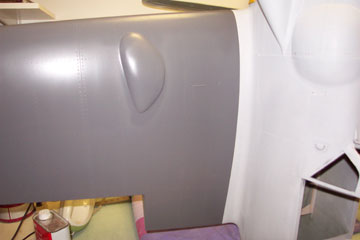
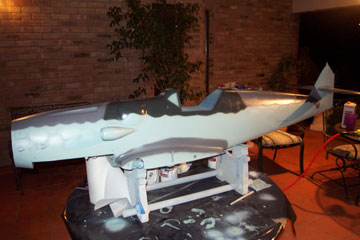
RLM 75 grey violet on the uppersurfaces.
Wavy color separation on the leading edge as per the full scale.
RLM 74 grey green is applied in the splinter pattern over the RLM 75
The camo line has a soft fuzzy edge between colors which is accomplished by holding a piece of posterboard slightly above the surface while spraying.
Wingtips sprayed with RLM 04 yellow. Most luftwaffe fighter aircraft operating on the eastern front had yellow wingtips for indentification purposes.
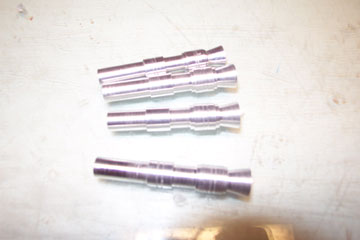
Dad wasnt happy with the first set of guns so we consulted various publications to come up with a shape that more closely resembles the original gun barrel. This is the latest batch.
This 4-40 pushrod is for canopy retention. It secures the front of the opening canopy half to the front of the fixed canopy half.
Small wooden dowels at the front and rear of the canopy fit into holes in the canopy sill and help to locate the moveable canopy section.
The other end of the 4-40 rod exits the fuse inside the supercharger intake forming a hidden tab to release the canopy.
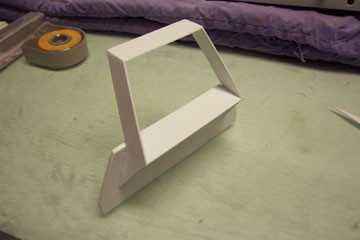
Finally, The canopy is 100% done and ready for paint.
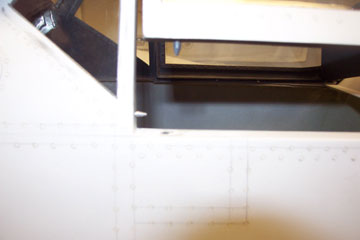
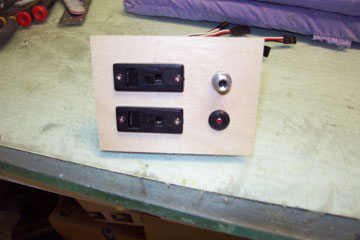
Rear switch plate with 2 mpi heavy duty switches, Robart fill port and pressure guage.
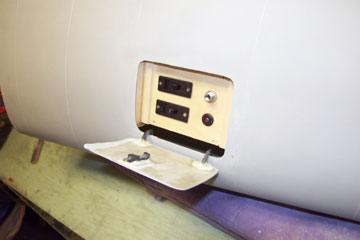
Switch plate installed. The framework holding the plate is secured the the fuse interior with aeropoxy and the plate is removable for maintenance.
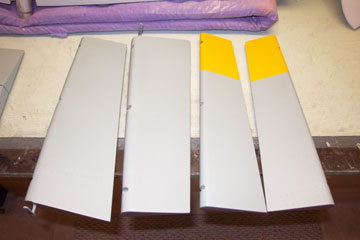
Flaps and ailerons finish painted.
One flap is RLM 74 green grey due to the camo scheme.
Fuselage halves joined and the seam area filled with evercoat filler.
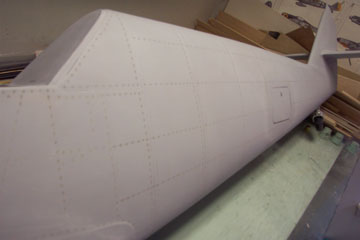
Rear fuse half riveted. All rivets are 1/16th in. diameter.
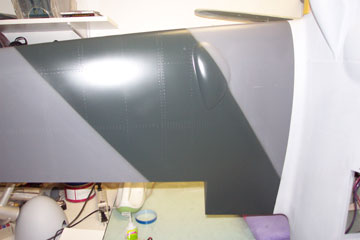
Close up of the seam area after filling, primering and riveting
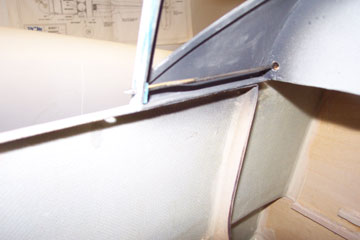
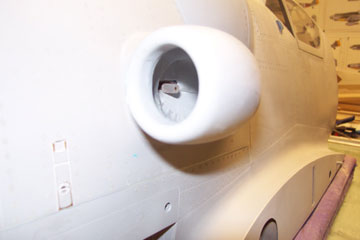
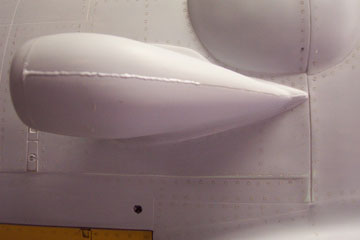
The weld line on the supercharger scoop is simulated with white glue applied with a syringe.
Access hatches are simulated with aluminum tape and the fuselage is now ready for paint.
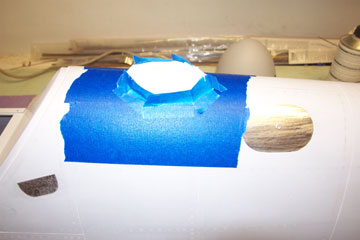
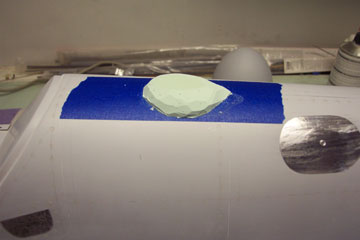
To make the base for the D/F loop, I put some tape down on the fuse where the loop base goes, then built a form to hold the evercoat until it cured.
Before the filler fully cures, the form is removed and it is rough carved into shape while the filler is still soft.
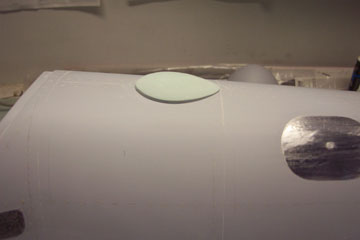
The finish sanded base is then removed from the tape and glued to the top of the fuselage.
Painting at night.
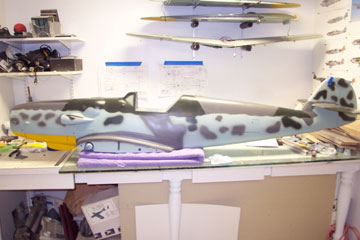
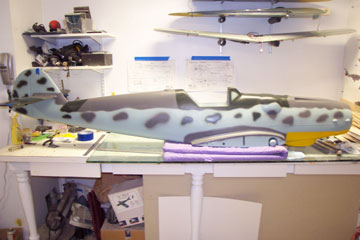
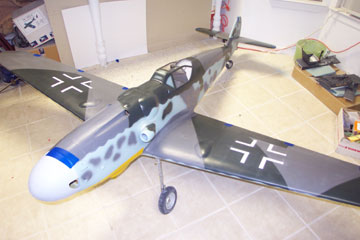
Fuse is sprayed with RLM 76 light blue, followed by RLM 75 grey violet and RLM 74 gray green.
Mottling is applied as per the color side view.
All mottling was done with a paasche double action airbrush and PPG paints.
Still lacking the fuselage markings
Wing crosses were done using 3m fine line tape and PPG white.