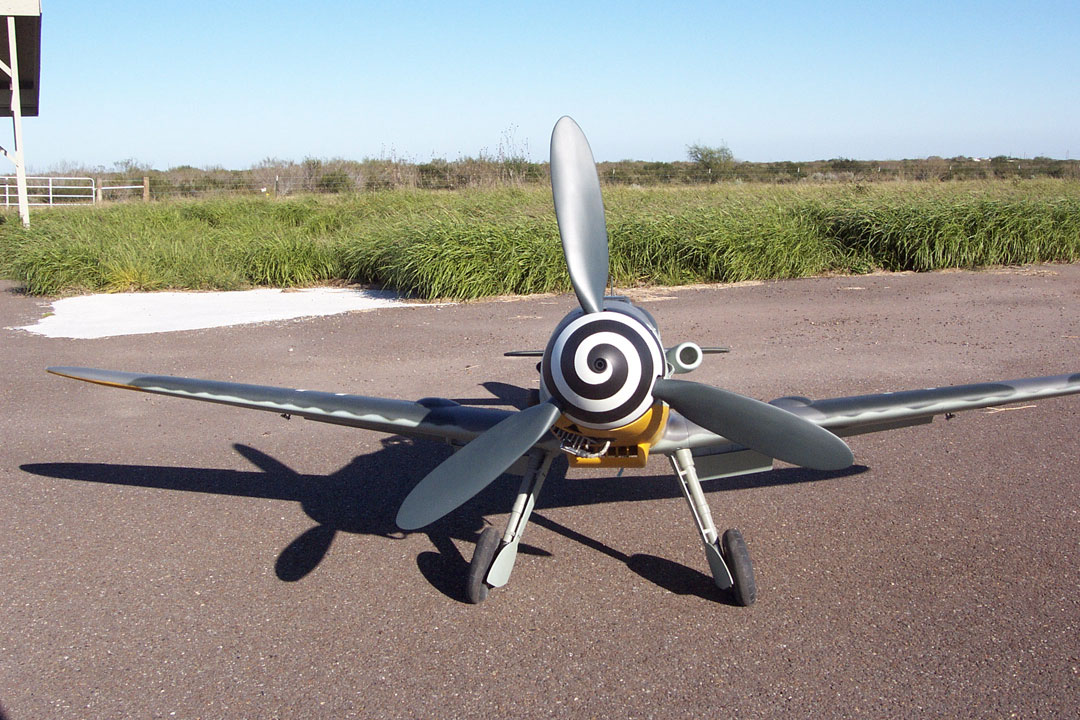
The completed Bf-109 got off to a good start with a spectacular maiden flight. First takeoff was at Bomber Field at the annual B-17 big bird meet in sept. The model flew great and looked just like a messerscmitt should in the air. It only needed 2 clicks of down trim and one click of left aileron. Sadly, the second flight was not so successful. Due to pilot error and a small bump in the runway, the model got airborne before it had sufficient flying speed. The resulting stall caused the 109 to snap over and impact the ground from about 15 feet of altitude. Luckily it landed in some water and mud which minimized the damage. Below is a list of the damages to the airframe:
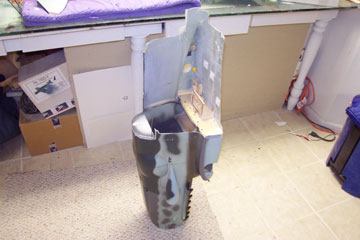
1. Fuselage broken in 6 pieces, 2 major halves and 4 small pieces
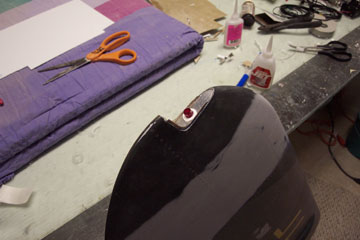
2. Canopy section destroyed
3. Rudder tip broken off
4. One elevator counterbalance broken off
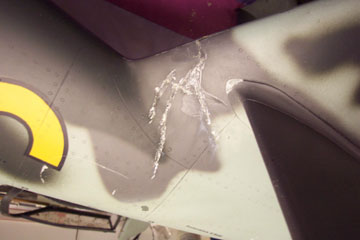
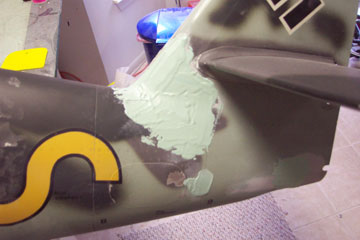
5. Several large cracks in the fiberglass at the base of the fin
6. One wing spar stub broken off flush with the root end of the wing.
7. One wing tip broken off
8. Both nav light lenses broken
9. Numerous cosmetic scrapes and scratches.
This may seem like insurmountable damage but the truth is its really not that bad. Follow along as I repair the 109 and return it to is former glory.
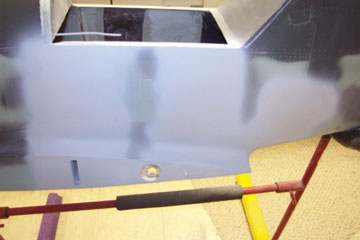
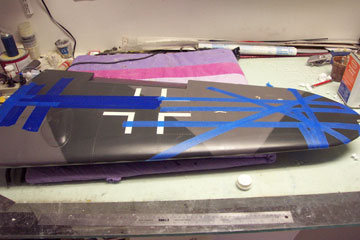
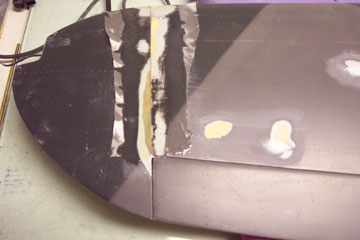
Stress cracks at the base of the vertical fin.
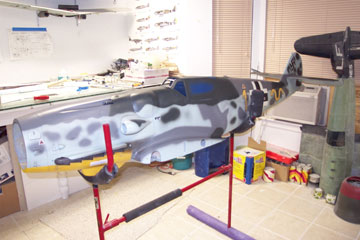
Front half of the fuselage with components removed. The fuse broke in a diagonal from the front of the cockpit on one side to the rear on the other side.
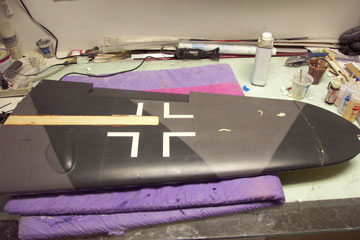
First step is to seal the cracks with thick CA. Then the area around the cracks is sanded with 150 grit down to the fiberglass and primer.
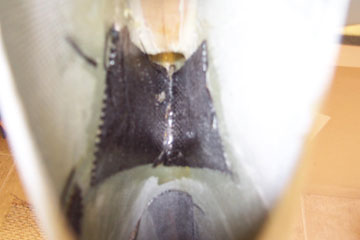
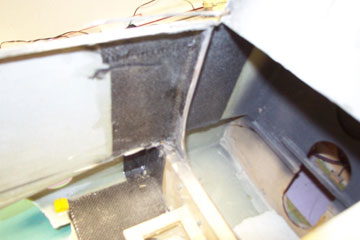
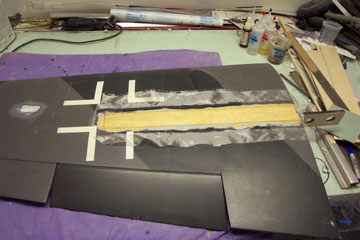
Looking thru the tailwheel opening, the inside area of the cracks is reinforced with 4" carbon fiber bi-directional tape and epoxy.
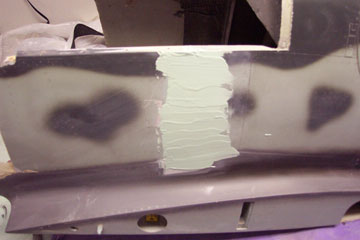
The area is then covered with a layer of evercoat filler to fill any low spots.
The evercoat is then sanded down and the area is glassed with 1 layer of 3/4 oz cloth.
This outside area of extra cloth will prevent the cracks from reappearing.
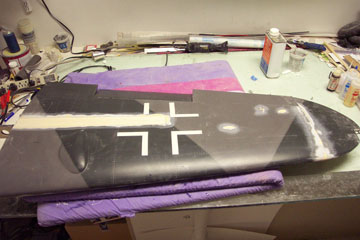
After sanding the glassed area, K-36 primer is applied and wetsanded with 400 grit until smooth.
Cracks in the front fuselage area are given the same treatment.
Damaged areas inside the fuselage covered with carbon fiber tape.
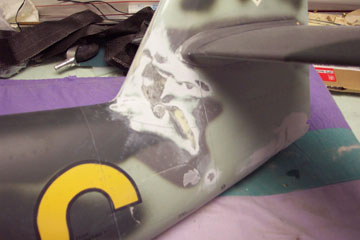
Port side wing root pieces tacked back together with thick CA.
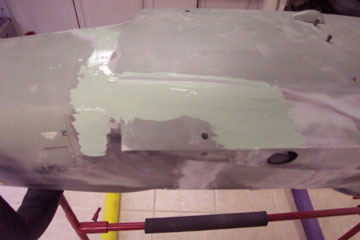
Wing root area getting the evercoat treatment.
Evercoat is great for filling in low spots and it sands to a feather edge. Most sanding is done with a sanding block and 320 or 400 grit wet.
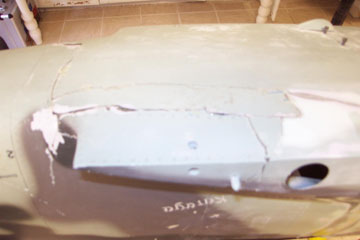
Broken areas sanded, glassed inside and out, filled, block sanded again and then primered.
Another one of PCM's canopy frames is glassed and fitted to the fuselage. Thankfully, the opening canopy frame survived the impact and will be reused.
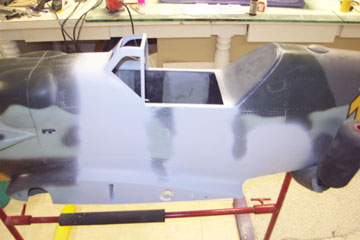
Fuselage with canopy frame installed and all trouble spots primered a second time after wetsanding.
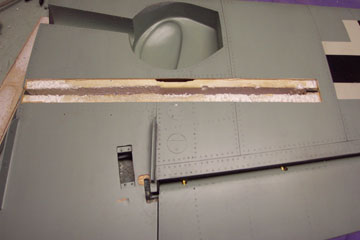
Wing repair is started by first removing the damaged spar. The spar goes all the way out to the tip but to preserve the washout, I only removed 18 inches.
The spar was cut out using a hacksaw blade and an exacto knife.
The sheeting was also removed from both sides of the cut and past the end
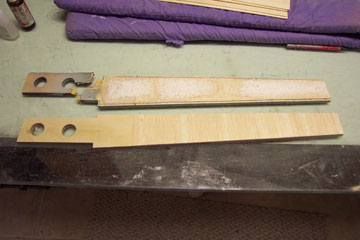
A new spar was made to match the old damaged one.
Small spruce extensions were added to connect the new spar with the existing section still in the wing.
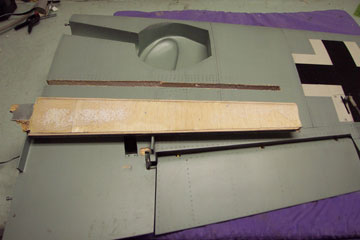
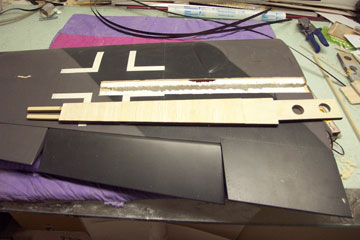
The new spar being epoxied into the wing. Tape is under tension to hold the sections together tightly.
WIng in traction with the tip glued back on.
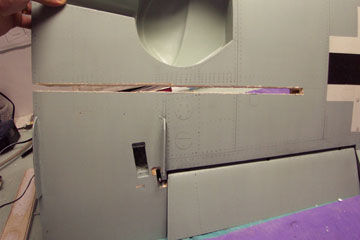
Tape removed and new sheeting epoxied on.
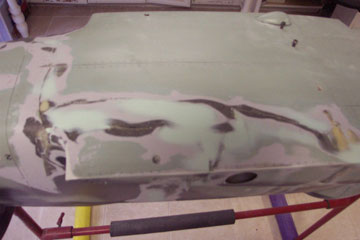
Damaged areas are then sanded down with the mouse sander to get them as smooth as possible before glassing.
Glassing the new sheeting. The fiber glass is taken out past the cut line for more strength.
WIngtip getting the same treatment. Other sanded spots are large dents that are filled in with evercoat.
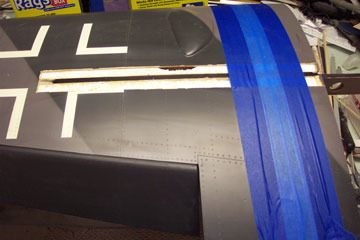
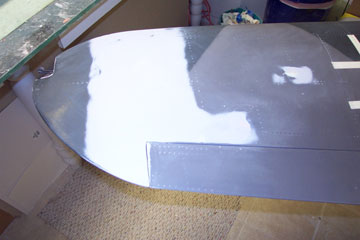
Repaired wing primered and wetsanded with 400 grit and a sanding block. Rivets and panel lines are now added over the repair.
Wingtip repair primered and wetsanded.
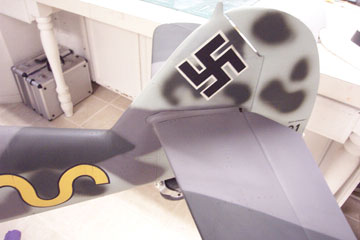
Rudder rebuilt and fabric covered, Elevator and stabilizer repaired and primered.
New nav light installed as the old one was damaged.
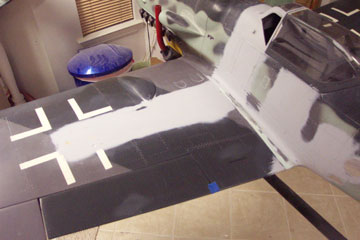
Fuselage after re-painting. Decals will be added next before clearcoating.
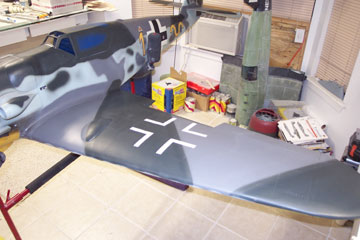
WIng repainted over the repaired area.
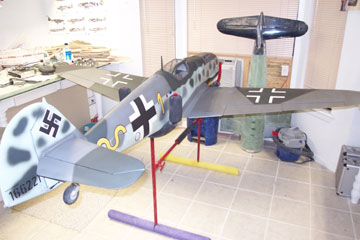
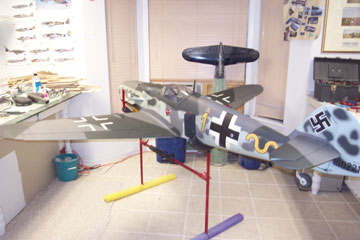
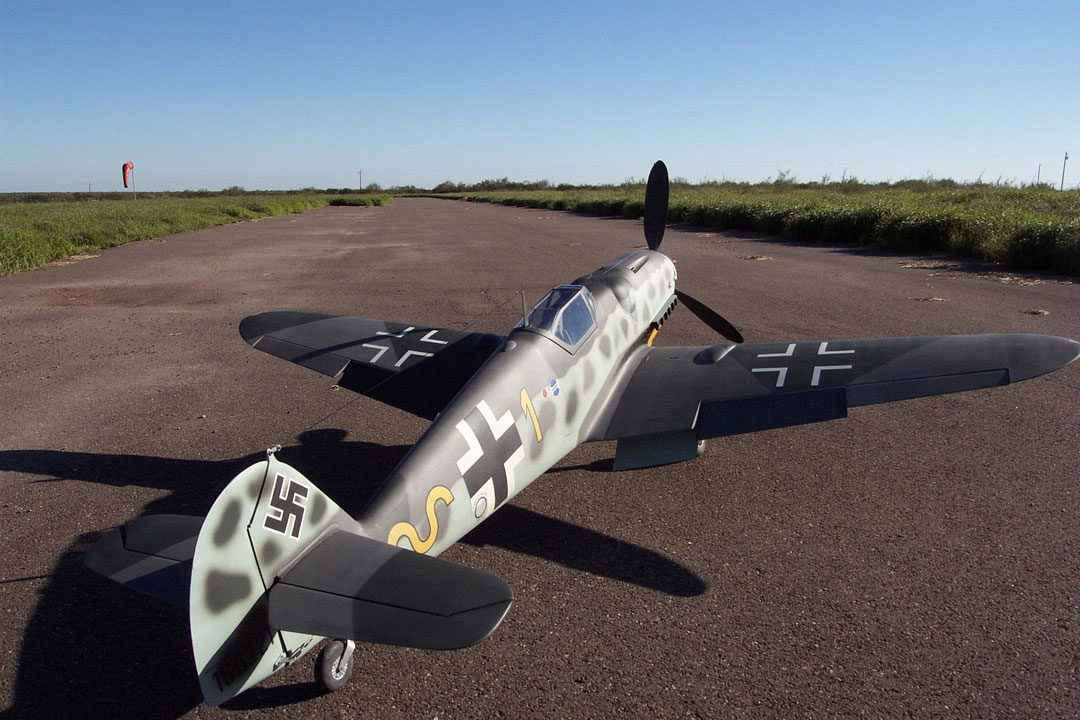
Here she is, all put back together
Decals were applied and the whole airframe was given a light coat of DCU 2060 PPG clearcoat. 2060 is great because it comes already flattened.
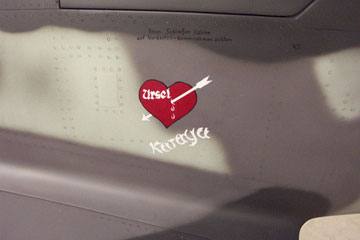
Close up of the Ursel heart decal. A dirty wash was applied just before decals to make the rivets stand out.
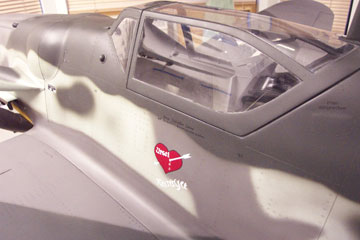
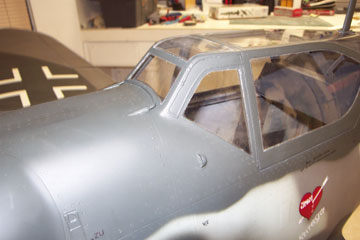
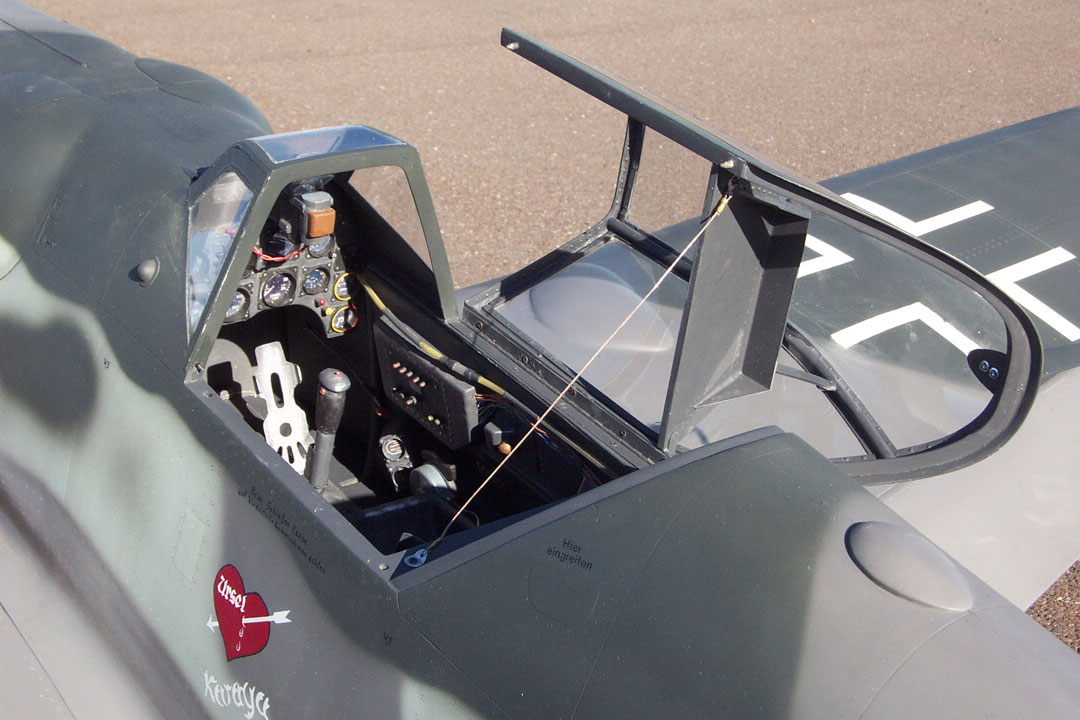
Canopy with new plastic panels installed
Rebuilt vertical stabilizer, rebuilt rudder and elevator with a new counterbalance.
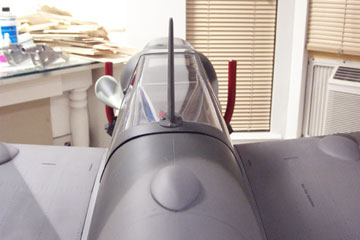
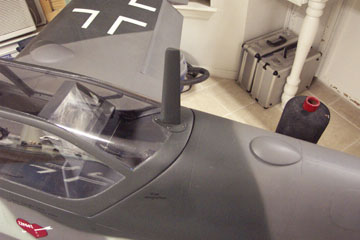
I also added a scale radio antenna. This version of the G-6 had the antenna mounted to the canopy frame.
Another shot of the antenna. Antenna wire from this post to the vertical fin will be simulated with some elastic cord.
New front windscreen section of the canopy. Small curved wire in front of front panel is a replica windshield washer tube.
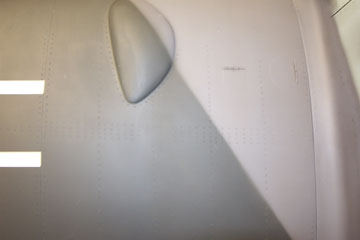
Close up of the area that recieved spar replacement.
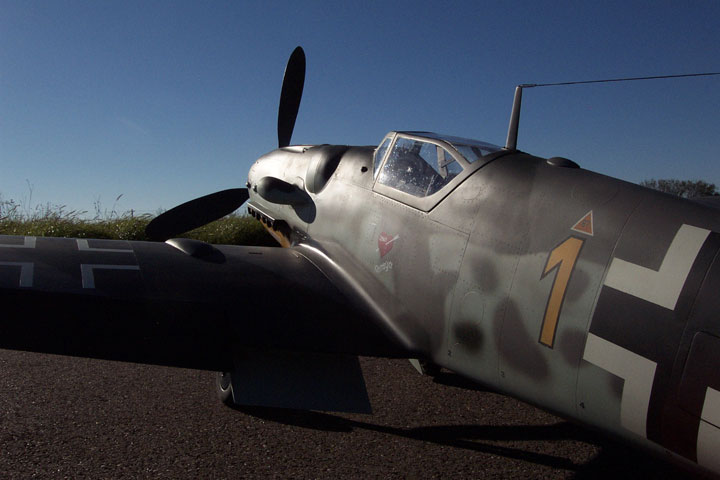
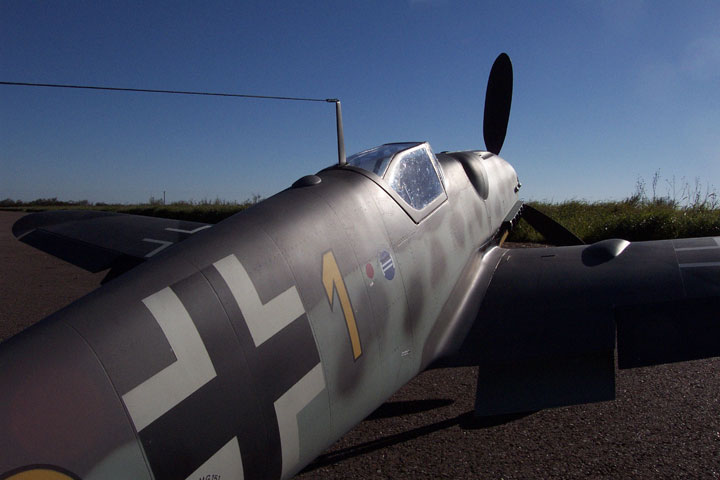
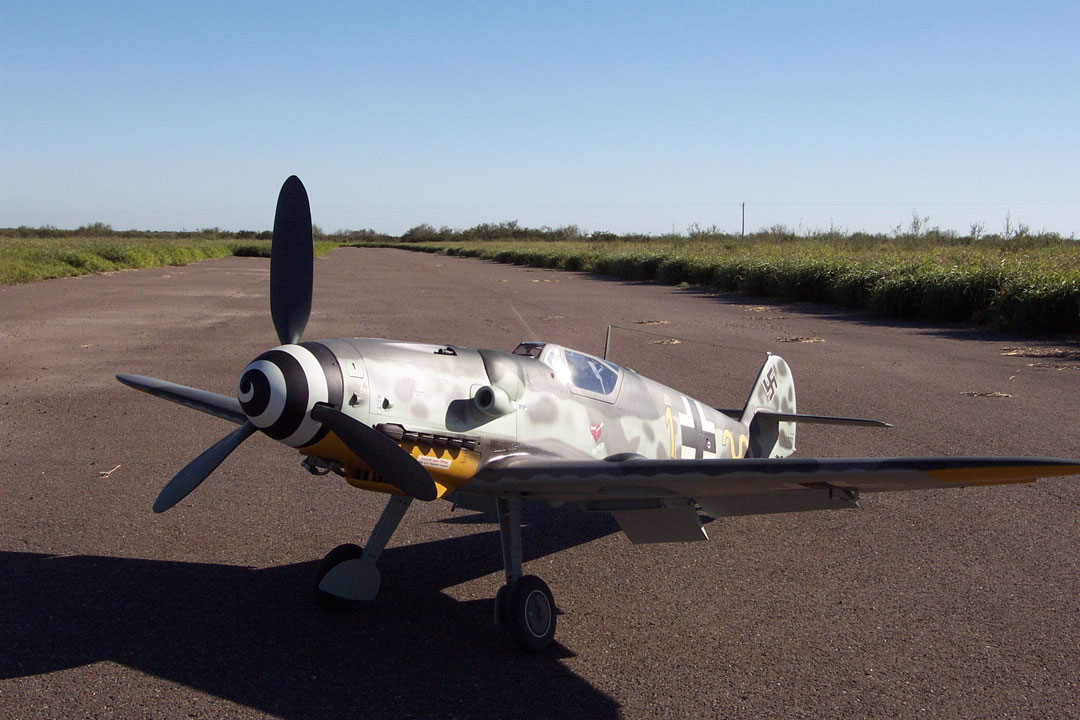
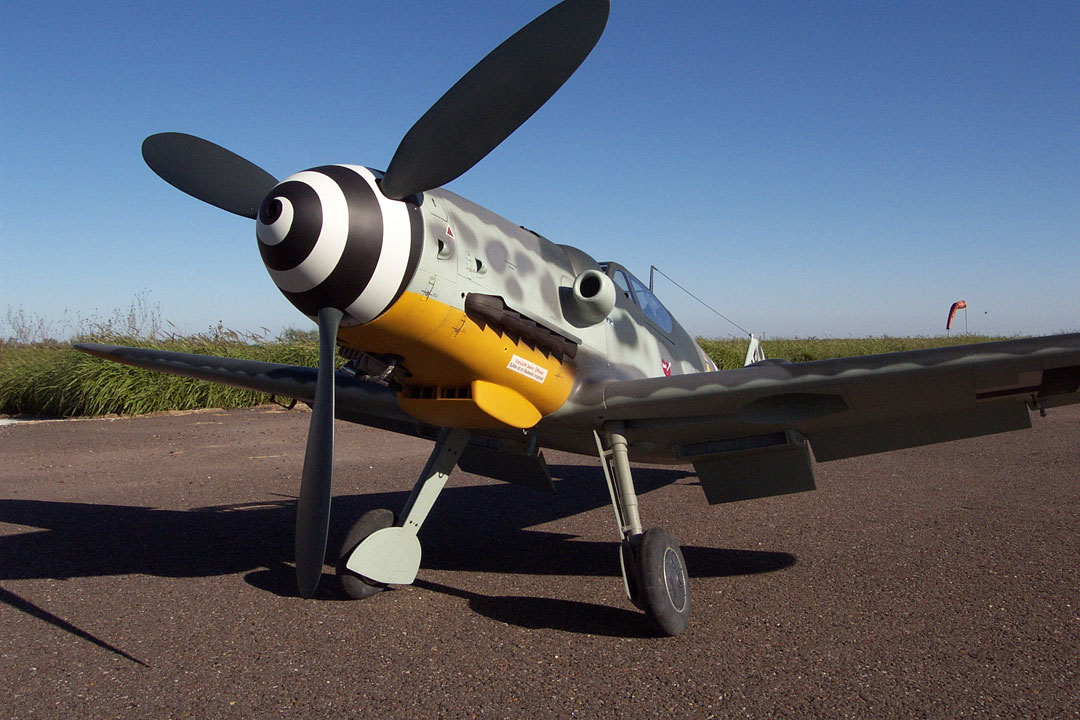
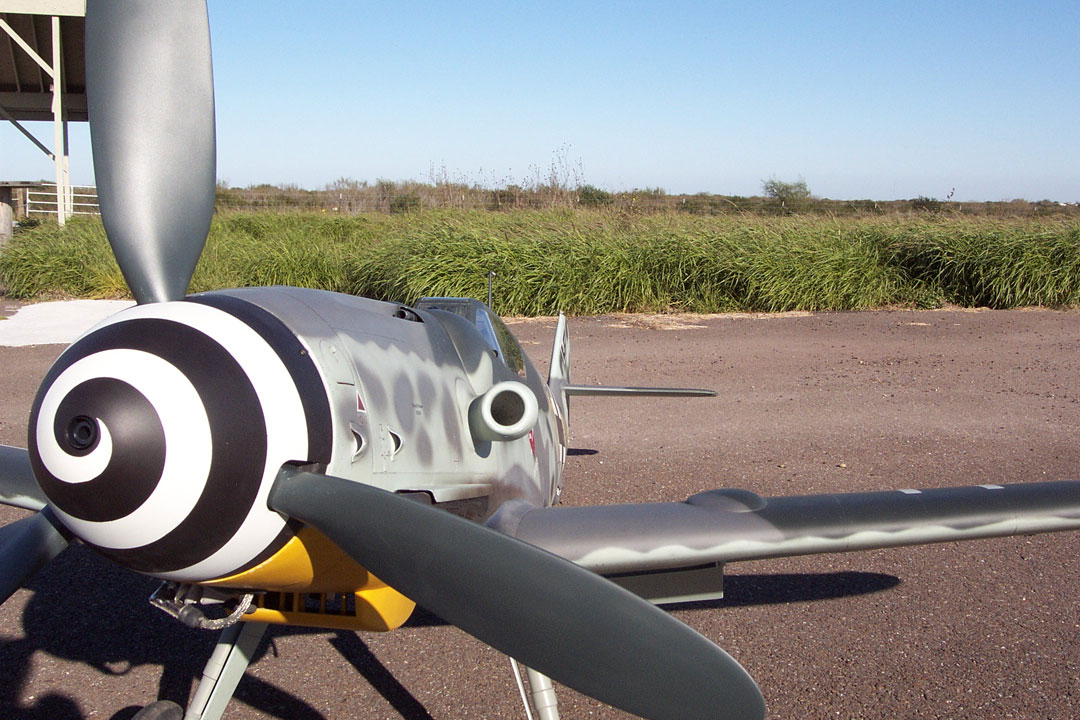
Repair work is finished and I'm happy to report that the 2nd flight went perfect. The model tracks beautifully on takeoff and the rudder is now very effective. I flew it for 15 min and flight performance was outstanding. Use of 10 deg of flaps on takeoff really helps to shorten the takeoff roll. Here are some shots of it after the flight with the static prop on. Click on the pictures for the full size image.
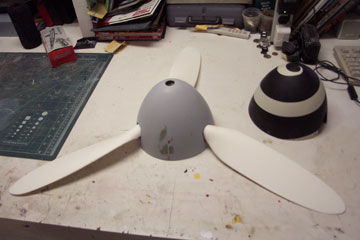
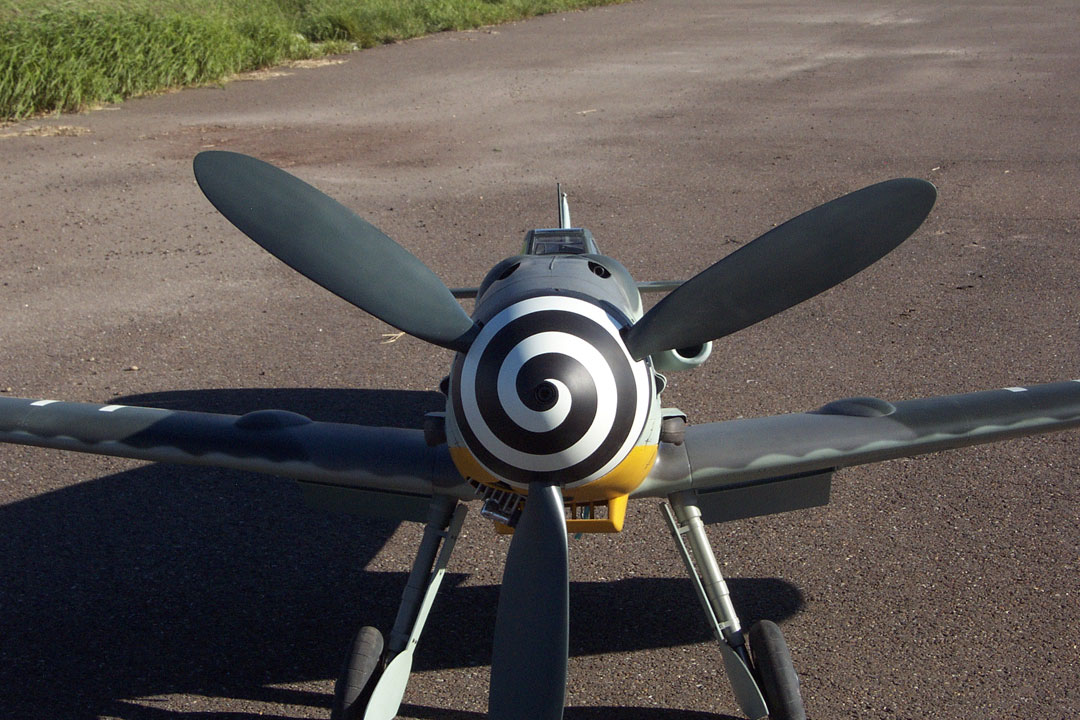
Here is a shot of the static prop under construction. PCM supplies this as an extra item. The spinner is fiberglass and the prop blades are white plastic. The static spinner will have a scale MG151 cannon barrell and blast tube installed.
Check the inflight picture page for inflight shots of the 109 in action.
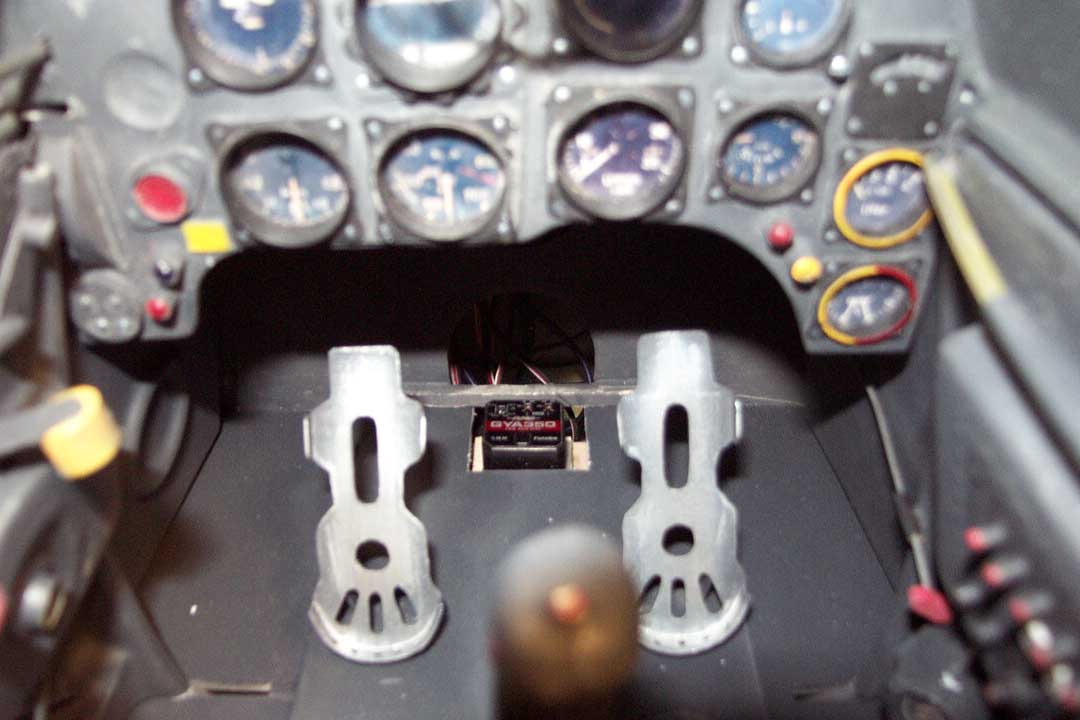
A futaba GYA350 single axis rudder gyro was added to help keep the 109 going straight on takeoff. The plane is entirely manageable without it, it just makes the pilot look better. The gyro was mounted on the center of gravity and it protrudes slightly into the cockpit so that it is accessible thru the open canopy. It can also be turned on and off from the transmitter.
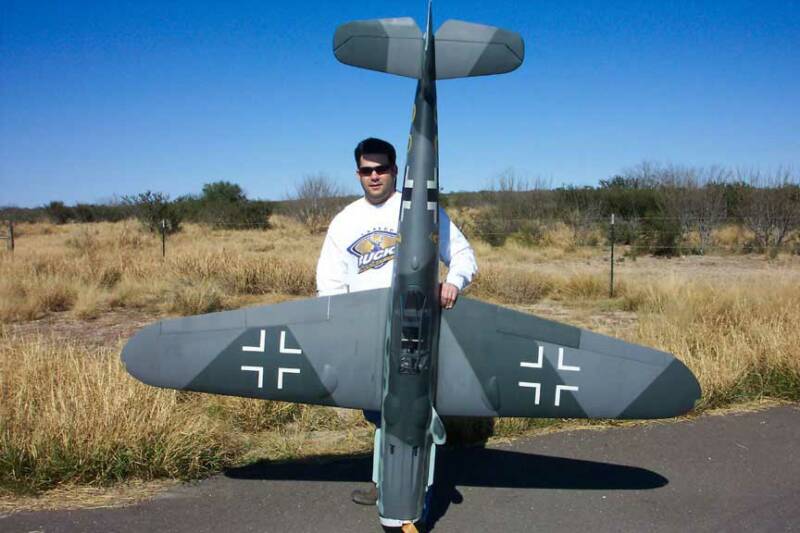
Here's a shot of me holding the 109 for size reference.