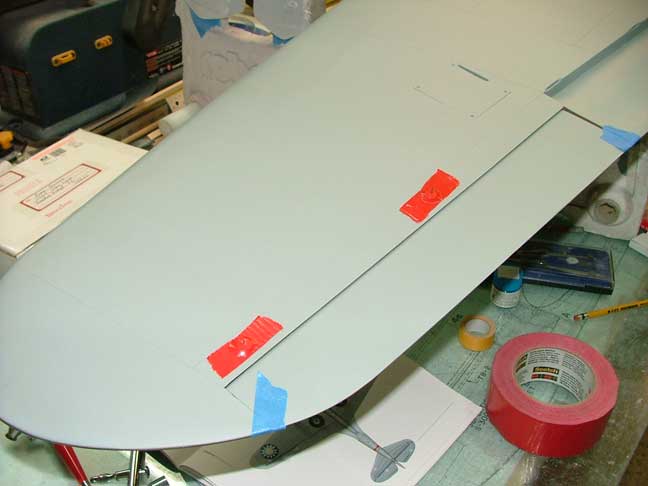
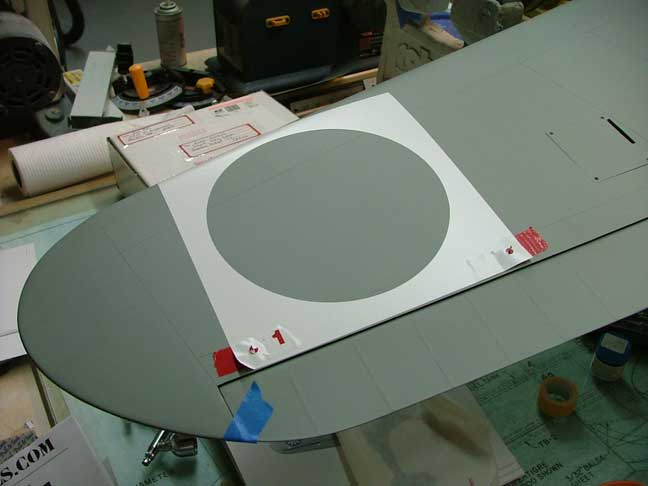
Markings. First step in doing stenciled markings is to place the locator tacks in position using a strong tape(red duct tape)
Here I'm using Chinese star stencils from Gary at GETSTENCILS.COM
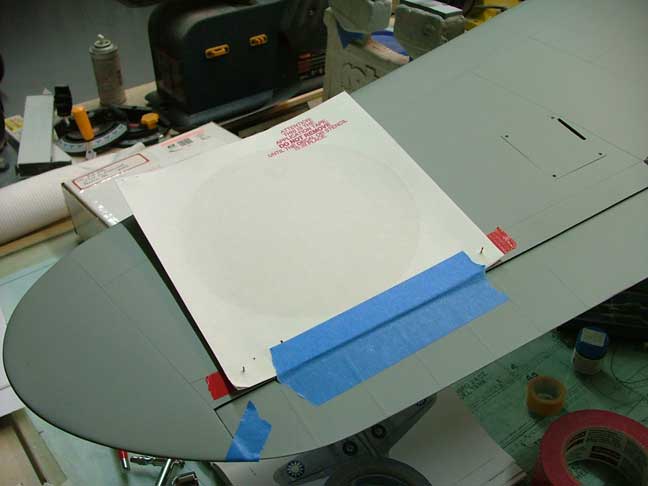
Once the stencil is positioned on the tacks, half of the backing is removed.
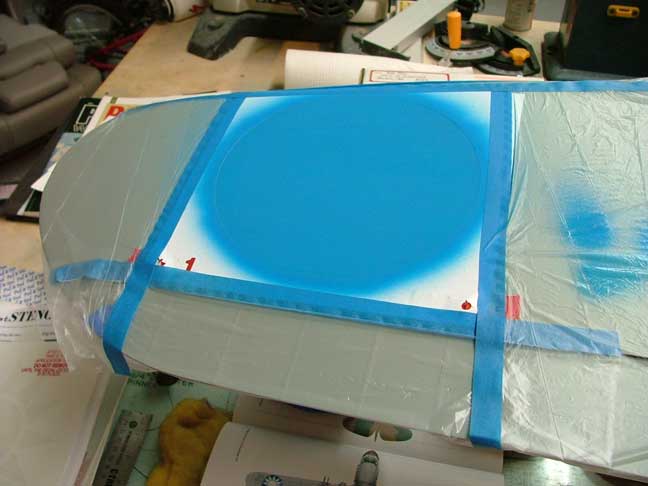
And then it is laid down in position.
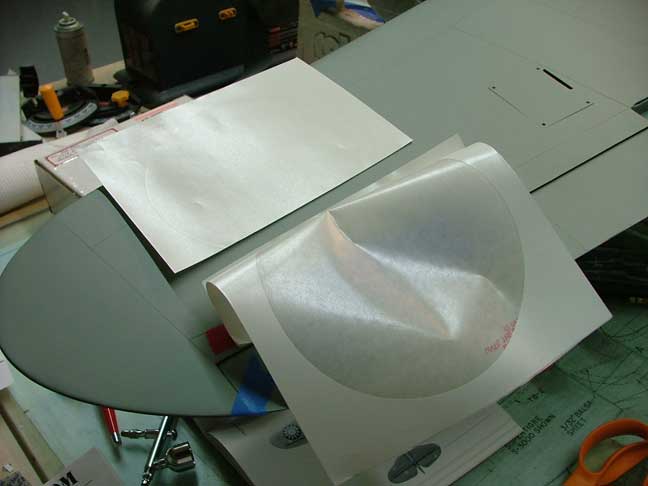
And the other backing is removed.
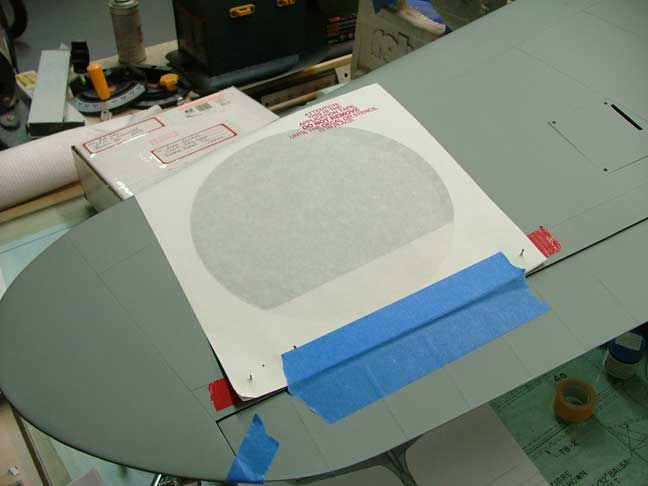
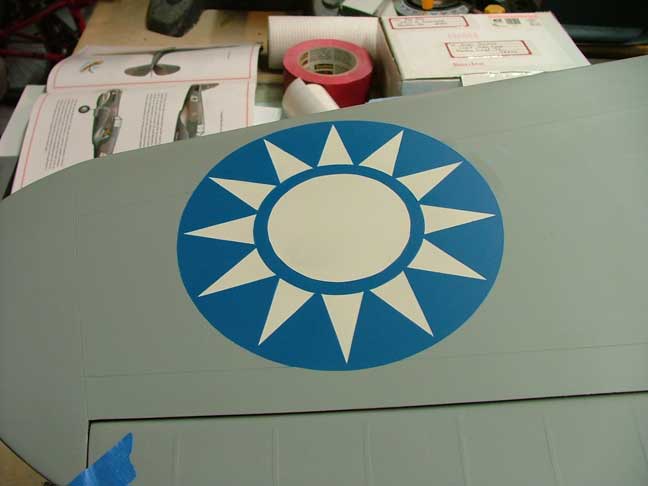
And the circle is painted Chinese blue.
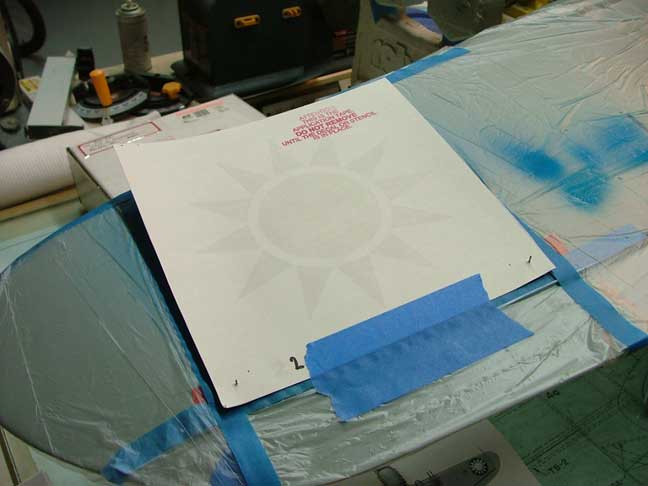
Once the blue is cured, the second stencil is placed in position over the same locator tacks.
Several light coats of scale white are applied.
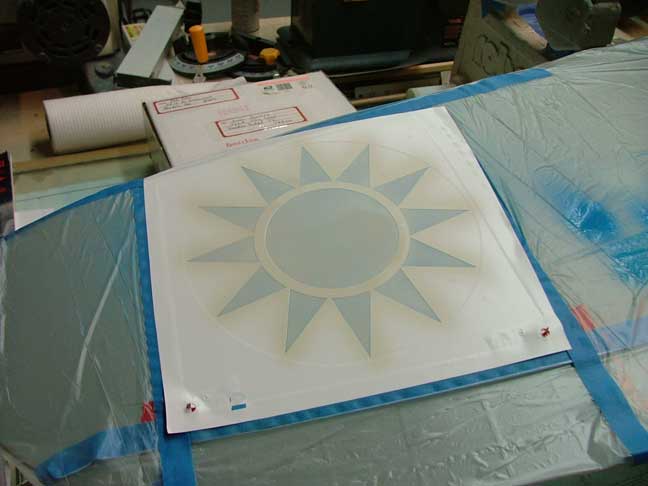
Once cured, the stencils are removed revealing a perfect Chinese star. The stencils saved a bunch of time doing markings and worked great.
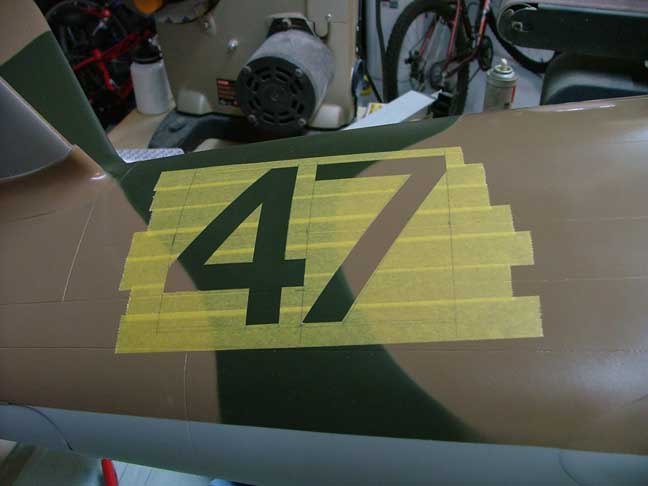
Airplane number laid out with Tamiya masking tape. Great tape because paint will not bleed under it.
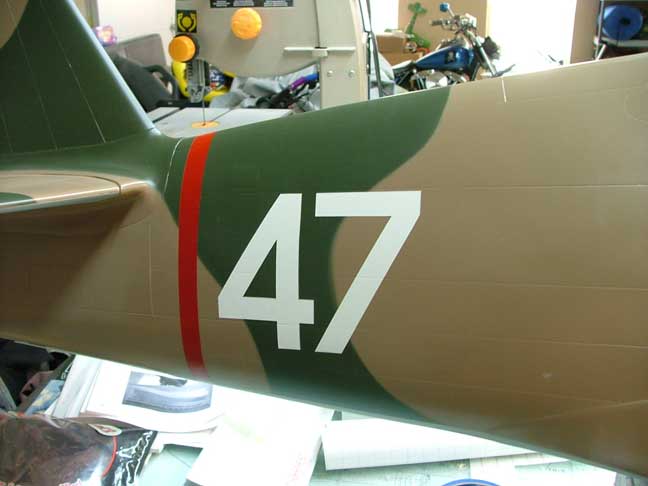
Airplane number and red sqadron stripe done with testors model master acryls in flat red and scale white.
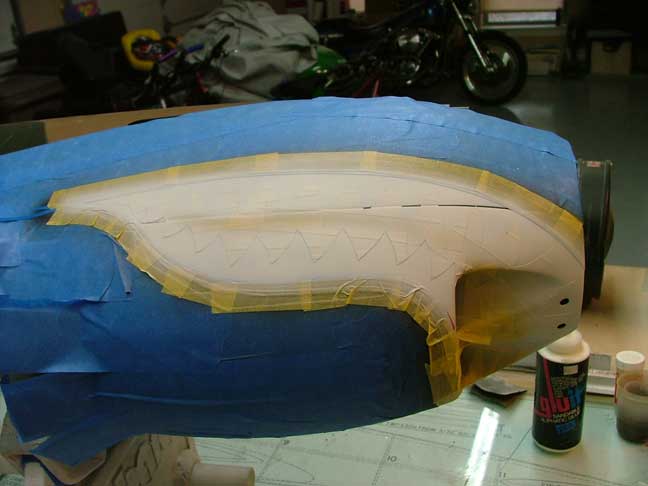
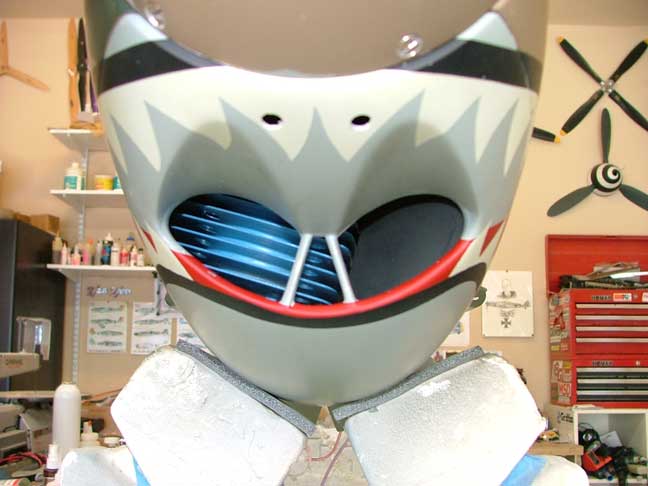
Shark's mouth taped off with Tamiya masking tape and sprayed scale white.
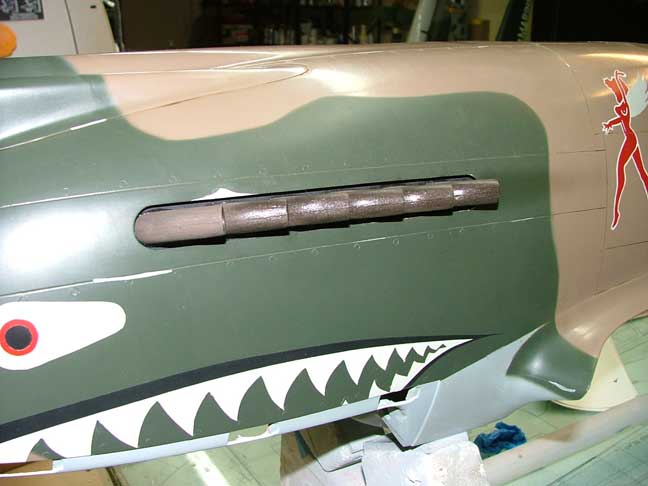
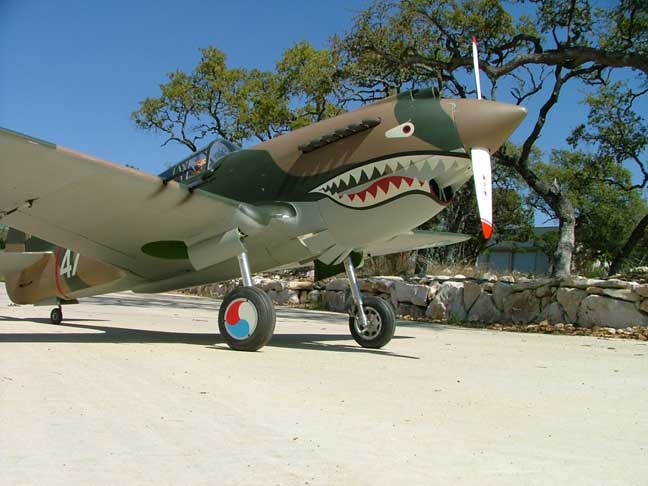
Finished shark mouth and eye.
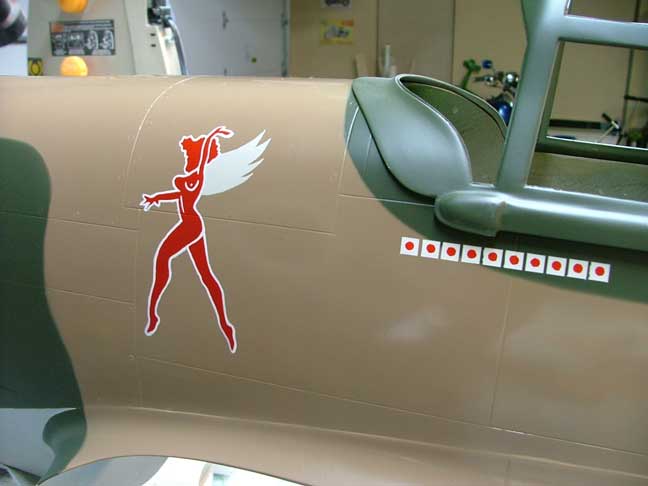
3rd squadron "hell's angels" red angel and kill markings
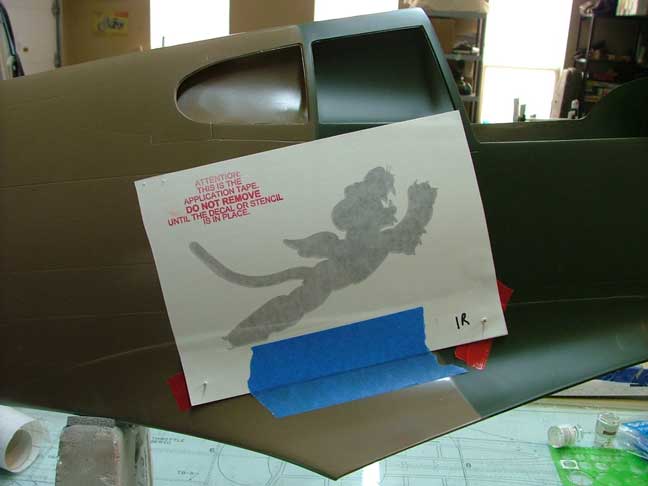
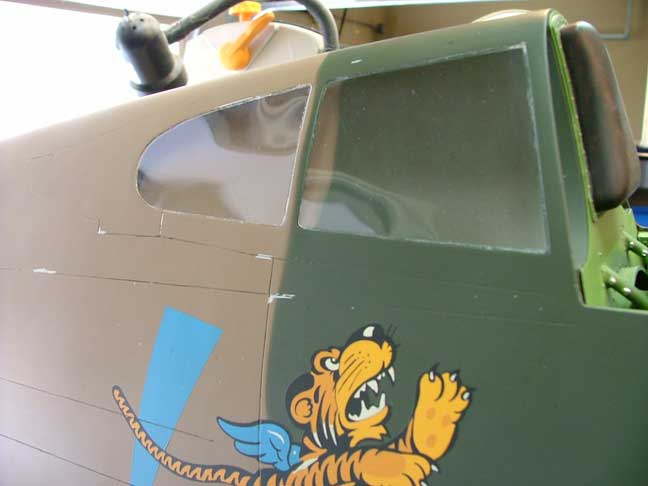
Stencil for the flying tiger placed in position
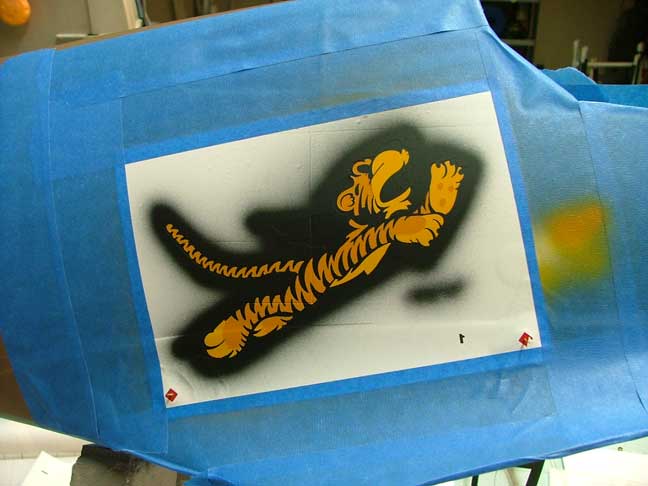
After spraying stencil 1 in black, 2 in light yellow and 3 in dark yellow.
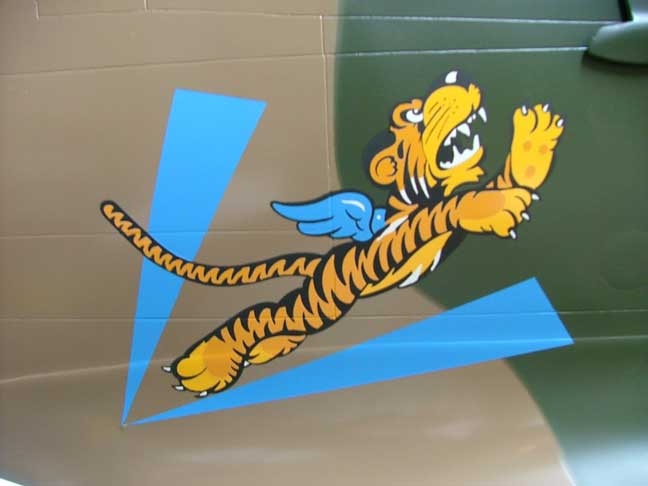
Finished tiger after adding the blue and white details.
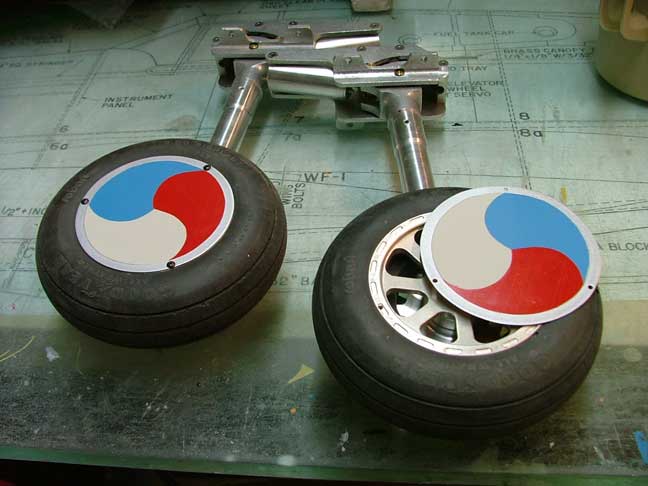
Hubcaps made from .020 fliteskin and painted in the AVG pinwheel design.
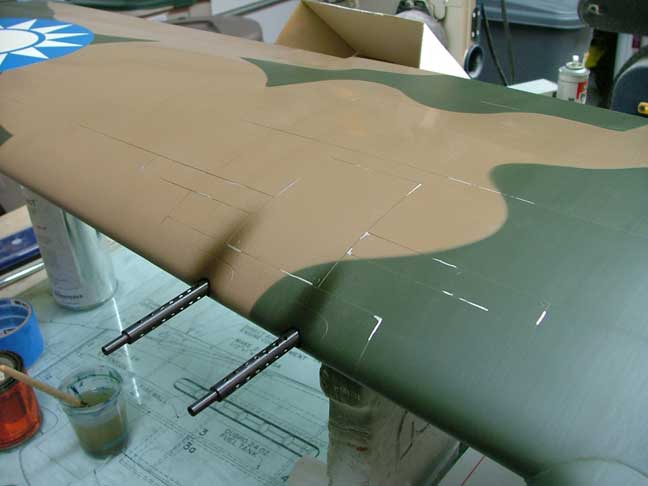
Right wing gun area after adding a few details and some subtle weathering.
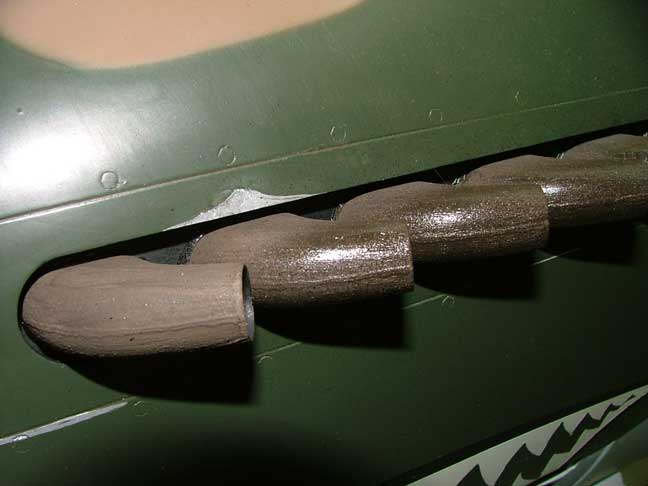
Exhaust stubs painted and installed. These are available from RCfinaltouch.com also
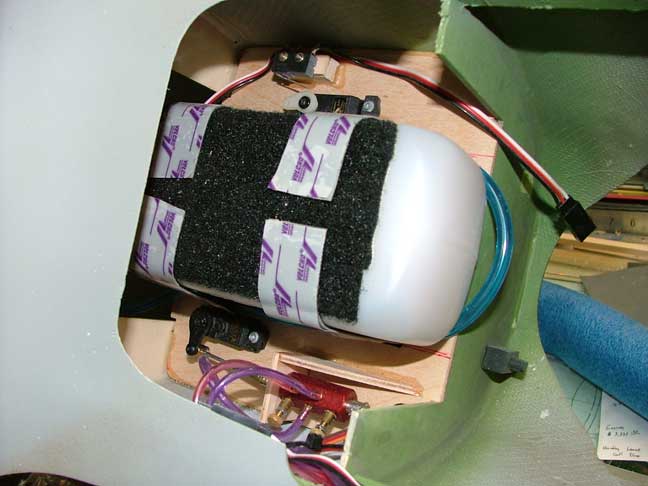
Fuel tank, retract servo and valve, and servo operated ignition kill microswitch installed just forward of the cockpit.
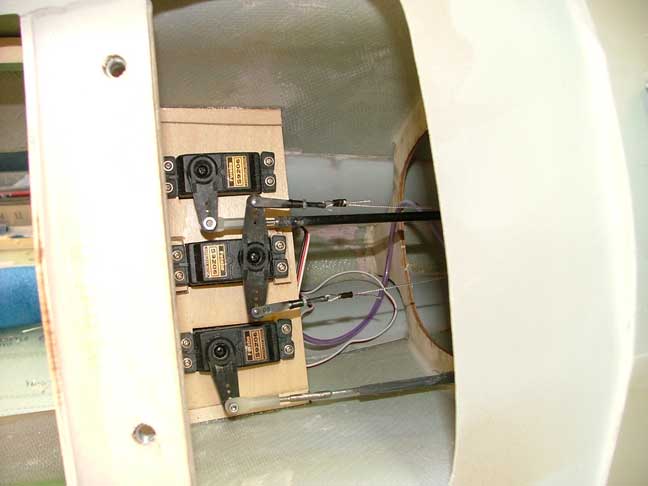
Behind the cockpit are the 3 tail servos, elevator, rudder and tailwheel steering. All 3 are Futaba 9206. The rudder servo is elevated .5" so that the long servo arms will clear the elevator pushrod.
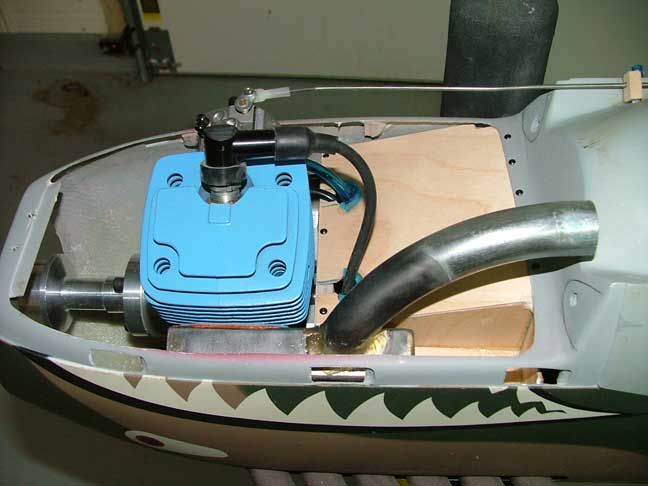
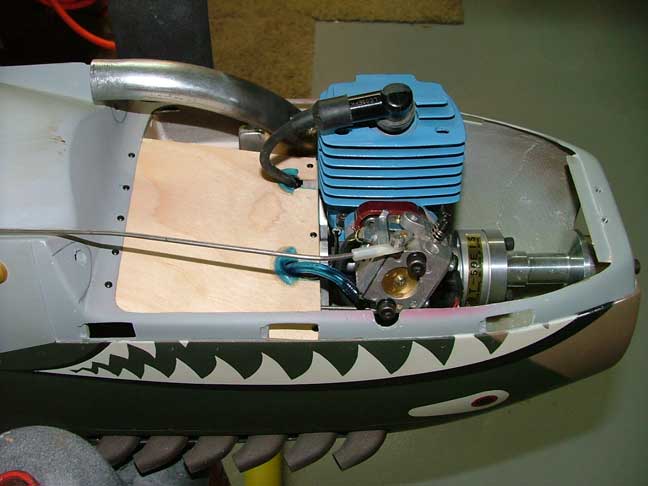
Fuji 50 installed along with homemade muffler. The brown carb spacer was milled down about 1/8" to bring the carb inside the cowling. The engine fits with nothing sticking out.
Visible also is the 5/8" prop spacer made from an old 3w prop hub.
Muffler is made from 1" square steel tubing and a pre-bent piece of electrical conduit.
4-40 rod on top is the choke actuation lever. Also visible is the 1/16th ply plate that keeps hot air out of the fuselage and directs it out of the cowl flaps.
Another 1/16th ply plate attached to the cowl directs all incoming air to the cylinder head.
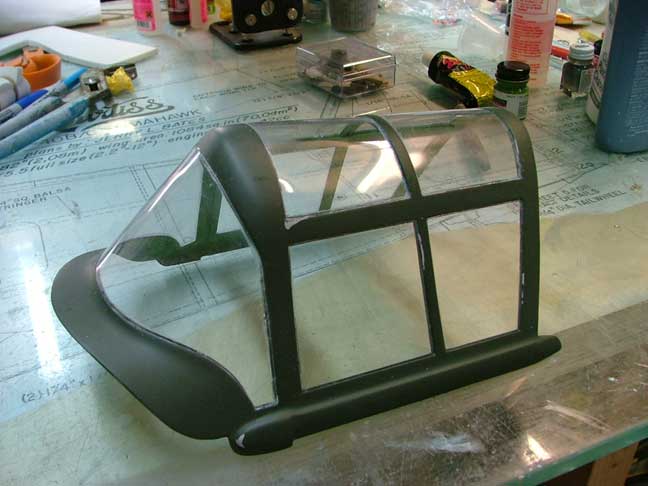
Rear windows in place. They are individual cut to fit pieces and flush with the framework.
Seven individual clear plastic panels make up the forward canopy and are also flush with the framework.
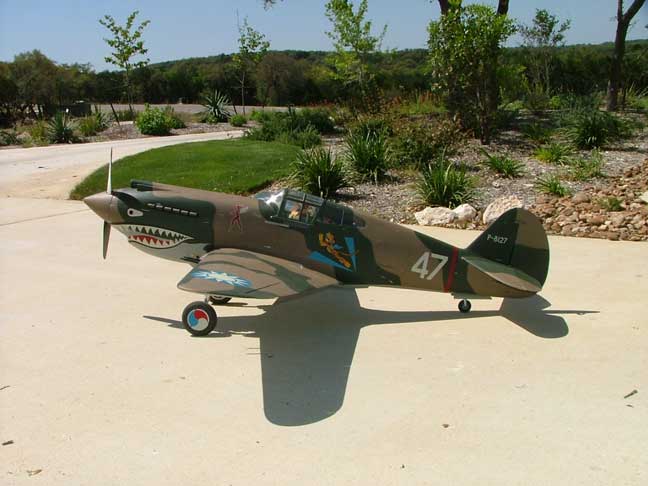
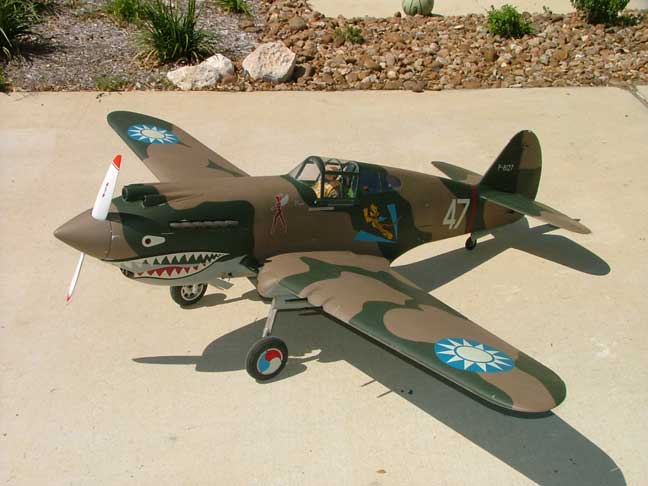
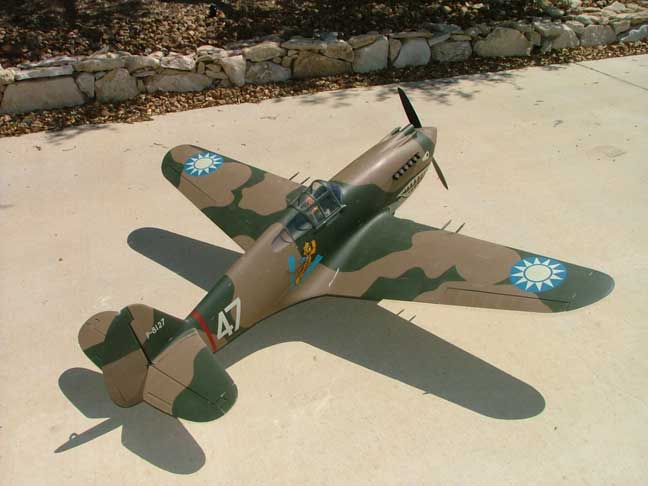
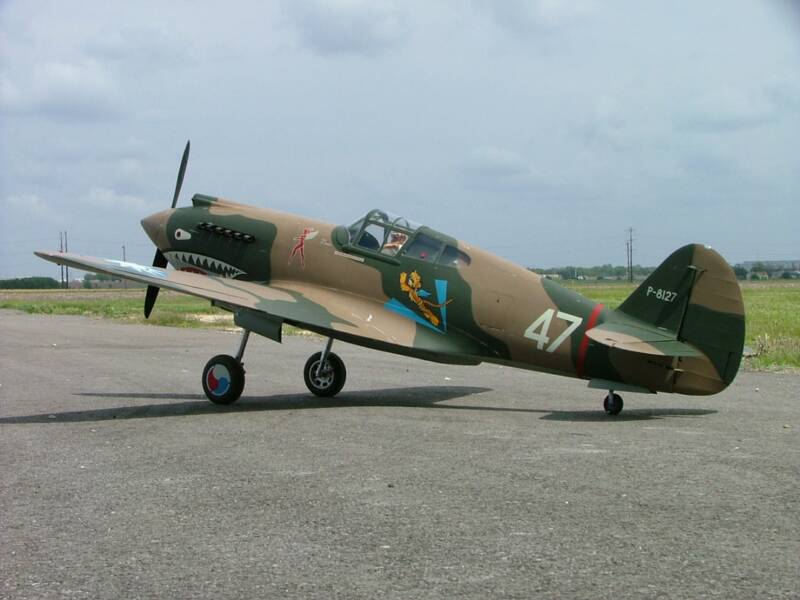
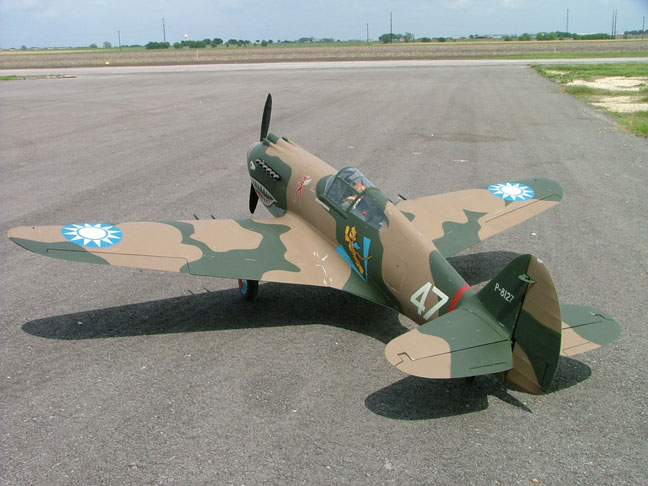
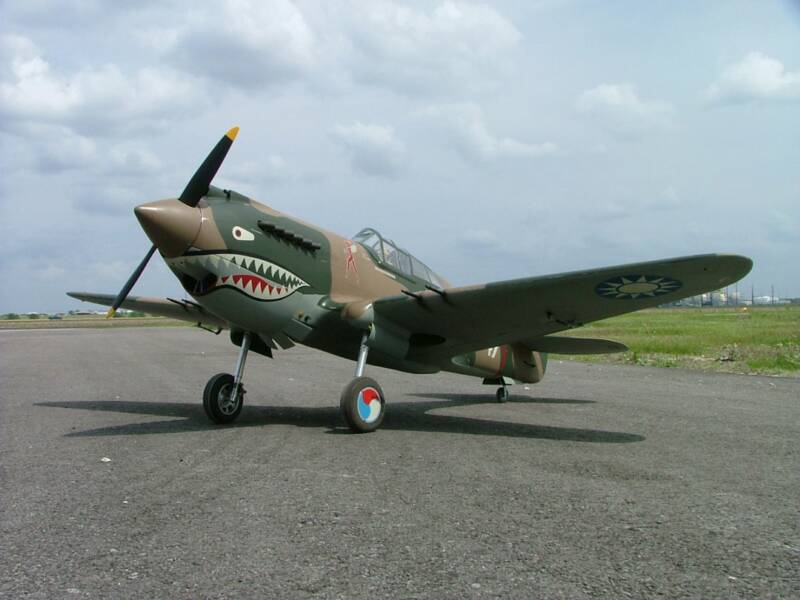
Bates P40 B all finished and ready to fly.
Finished weight is 25.5 lbs RTF
Maiden flight went very well. Definately a keeper!