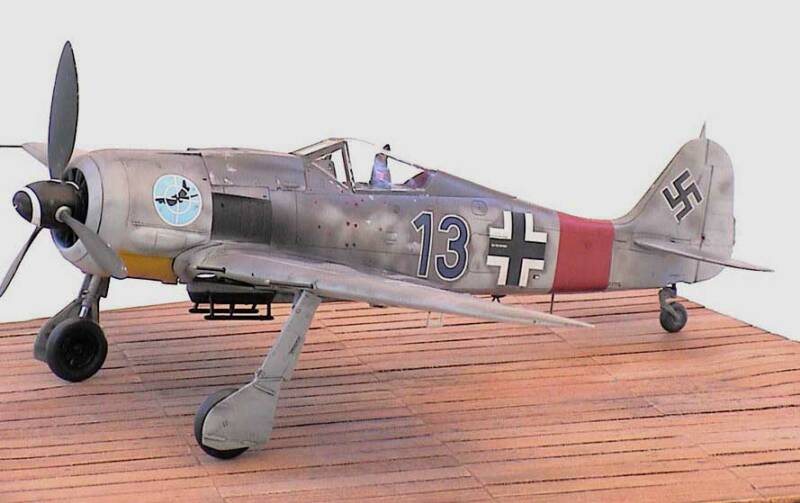
This will be an online build of an all composite 1/5th scale Fw190A8 to be painted in the colors of Major Walter Dahl's Blue 13 from JG 300. The kit is made in Germany and is of the utmost quality with all of the major detail already molded into the airframe. The above is a picture of a 1/32 plastic model built by Jerry Crandall of Eagle Editions. I plan to use his decal sheets as the basis for my color scheme.
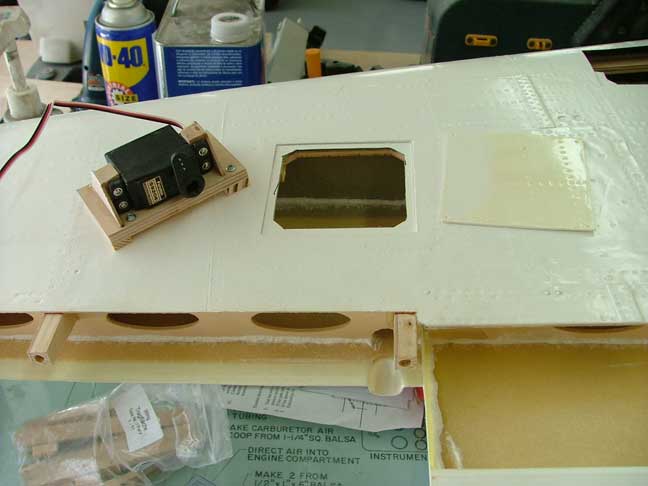
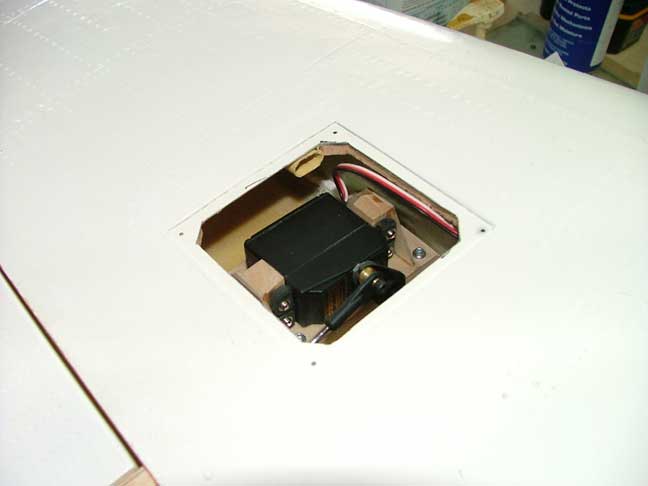
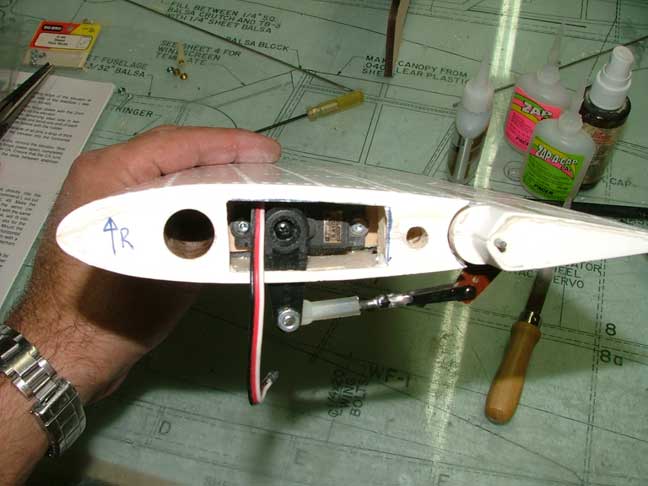
I started by fabricating the aileron servo mounts and installing the aileron hinge point blocks into each wing half.
Here is the aileron servo installed. This way the aileron servo is firmly fastened to the interior wing structure but can still be removed for servicing.
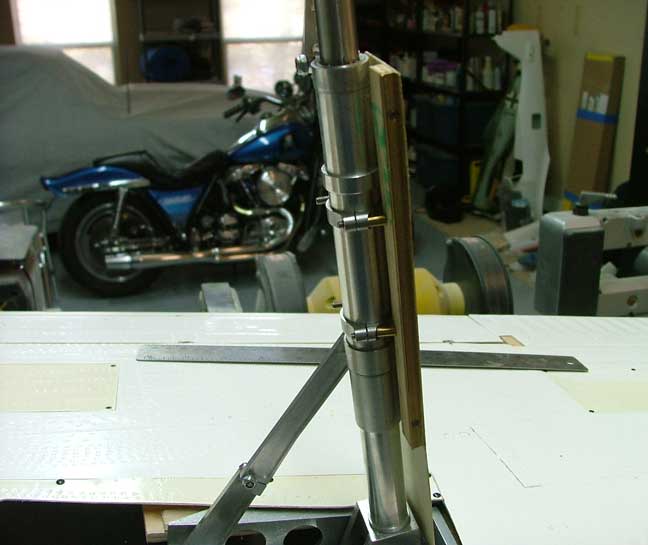
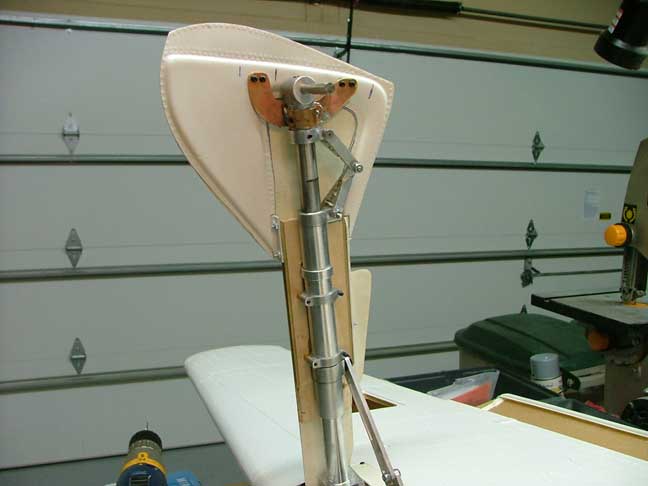
Next is the fitting of the gear doors. The doors are 2 piece like the full size. The lower door will go up and down with the oleo while the upper door will remain attached to the upper strut.
The upper doors have 2 brass channels that act as rails for the lower door to ride upon while it travels up and down with the oleo
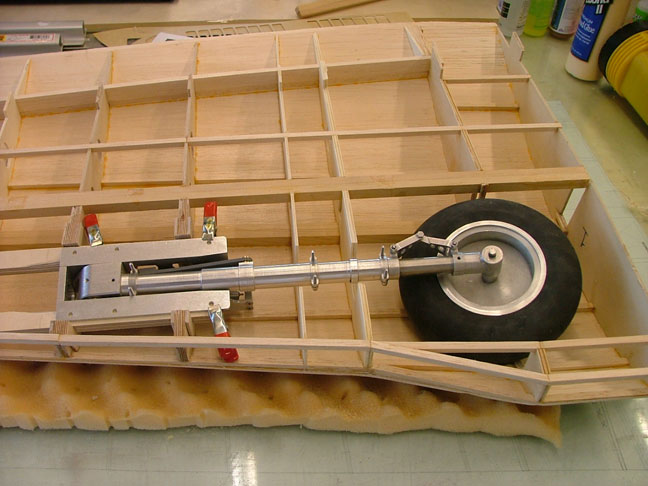
Lower gear door with the supplied abs plastic liner being installed.
Gear extended showing both doors installed. The brass bracket holding the lower door to the strut was fabricated from .015 brass sheet.
Shot of the gear retracted with supplied fiberglass covers installed.
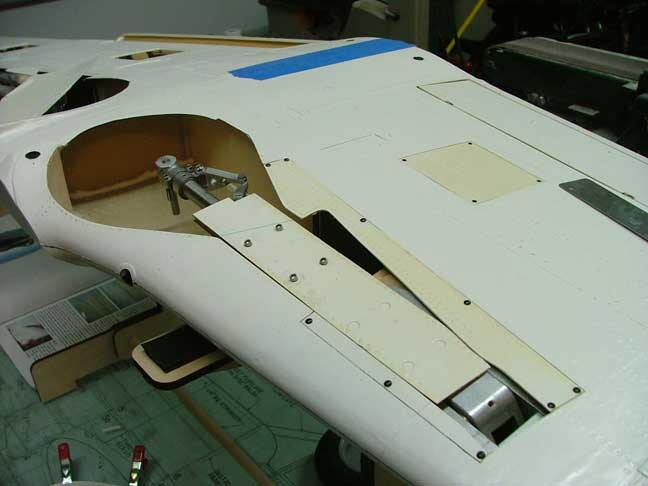
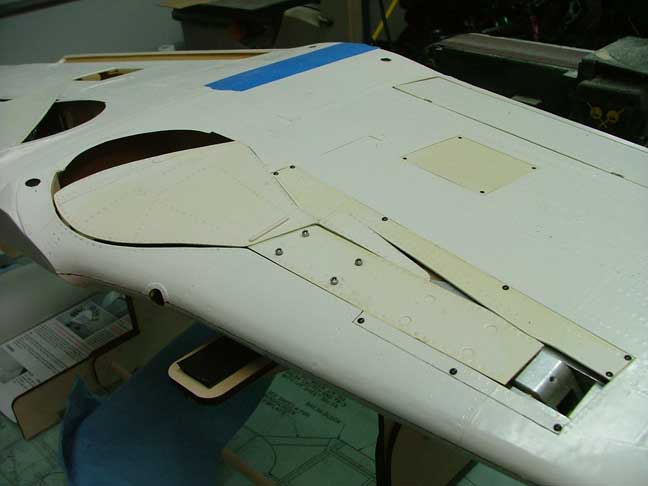
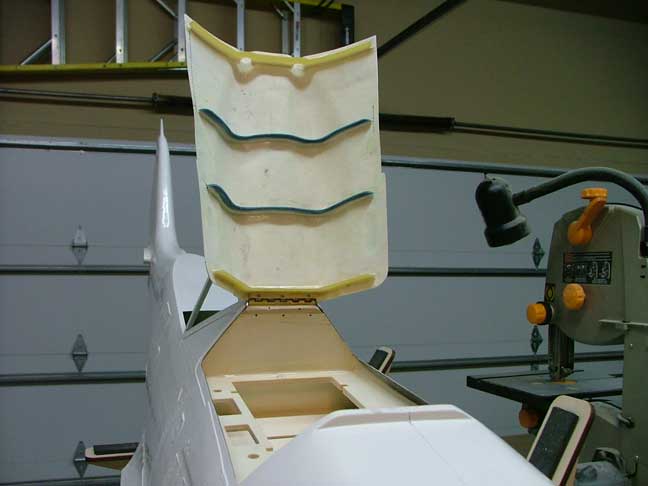
Gunhood hinged and installed. The gunhood area will house the fuel tank and retract servos and both fuel and air fills.
Gunhood closed. A bvm hatch latch will be installed in front to secure the gunhood closed for flight.
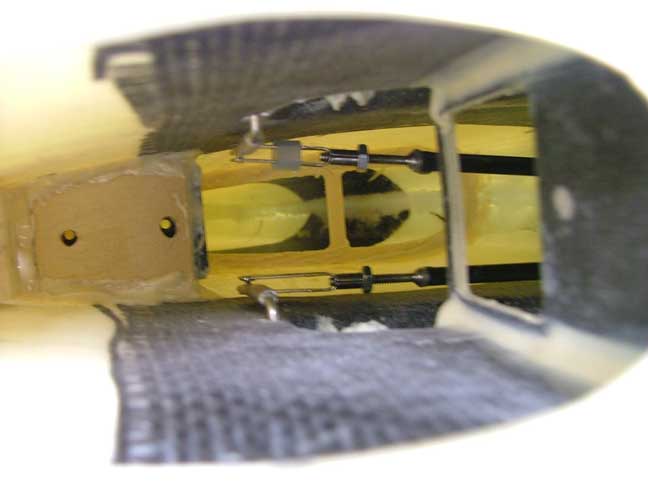
Elevator servo mounted in the stab. The stab halves are removable for servo access and ease of transport.
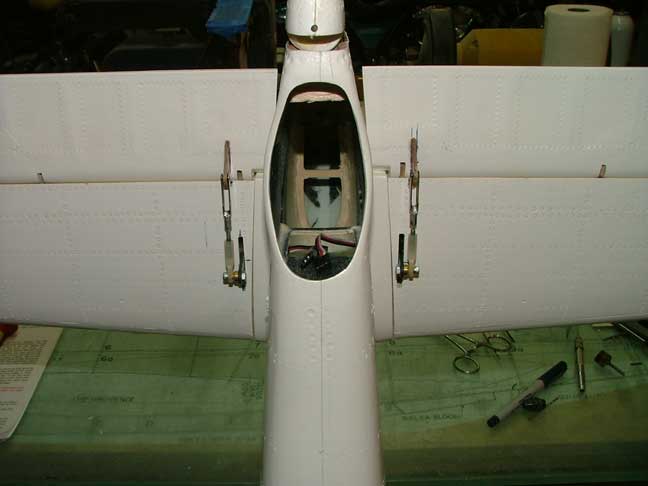
Both stabs and elevators mounted and servos installed. Linkages are external unfortunately, but there is very little room in the tail and with a full cockpit going in, no room for long pushrods.
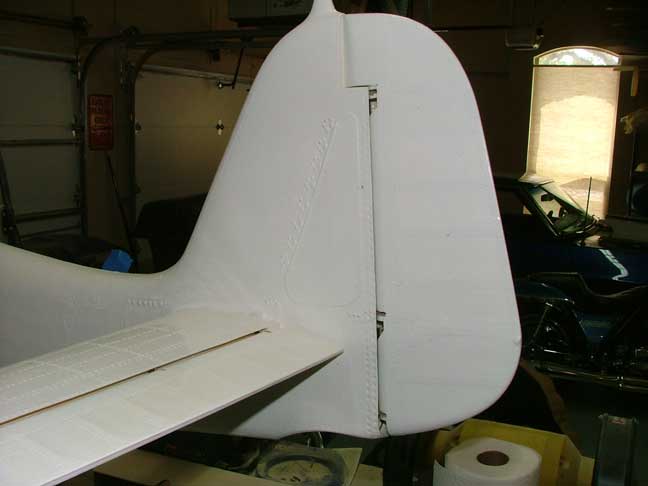
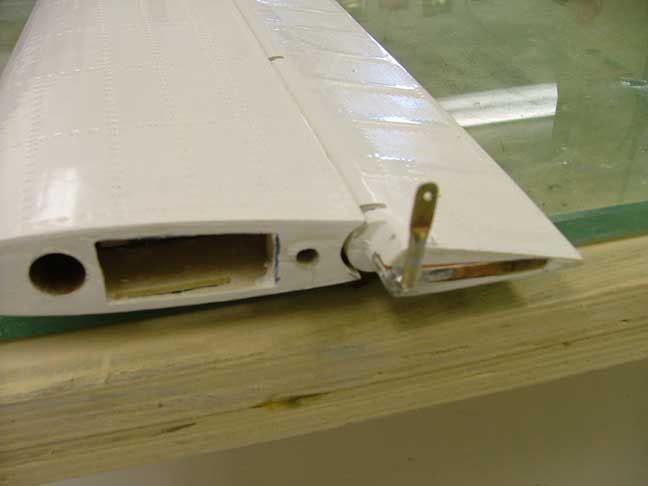
Rudder hinged and installed.
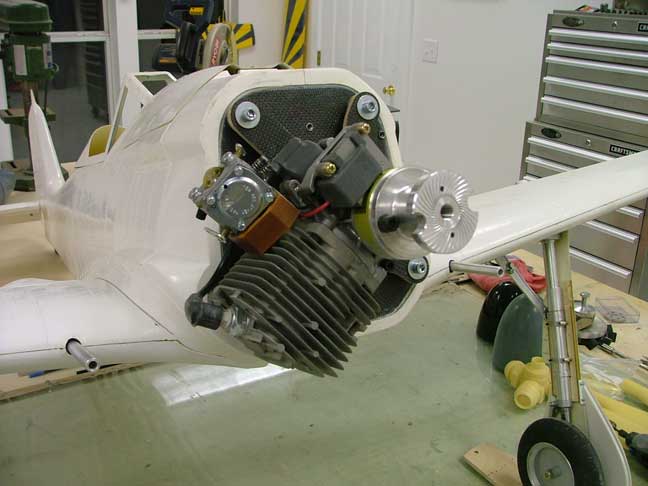
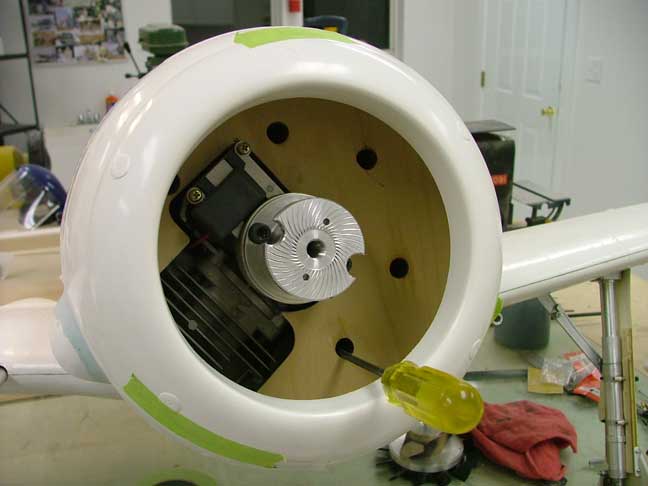
After a short delay, (moving into a new house and building a new workshop), work continues on the Fw190. Here the G62 is now mounted on the firewall.
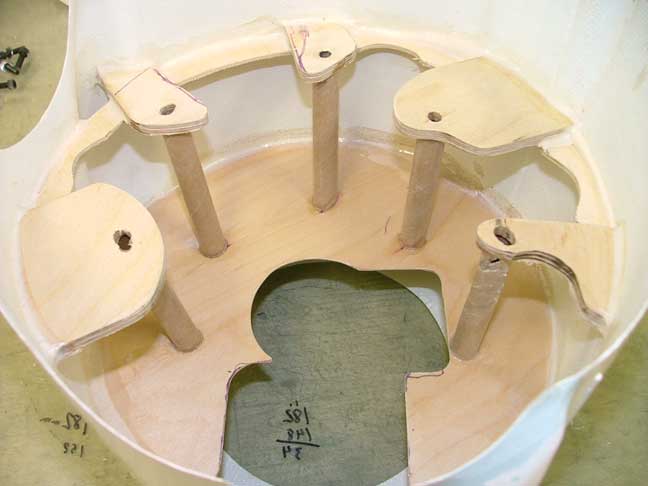
Mounting tabs were made for the cowl out of 1/4 ply and aeropoxied into the cowling. Short pieces of model rocket tube direct the ball driver to 5 10-32 screws that hold the cowling on.
The front plate is 1/16th ply and serves as a baffle to force incoming air over the cylinder head.
This way all the cowl mounting screws will be hidden and still accessible behind the spinner and fan.
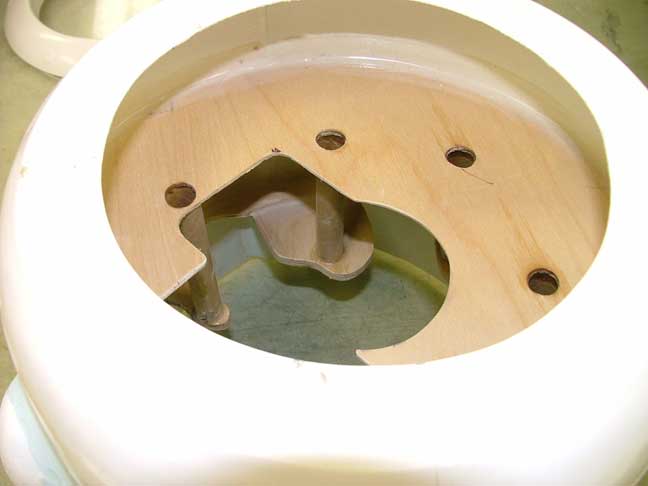
Ball driver and engine baffle plate.
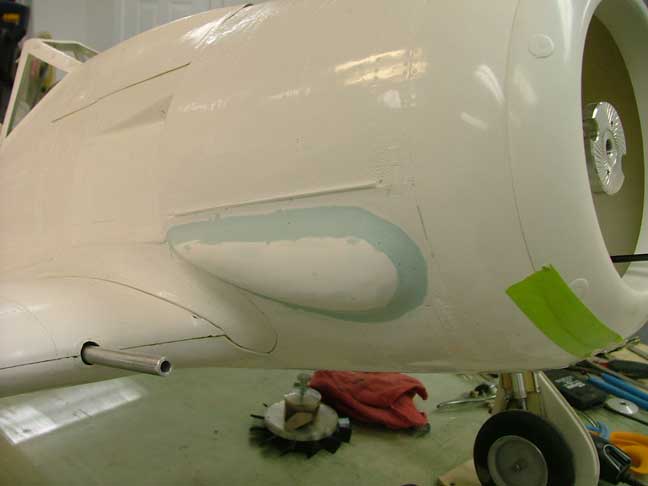
To get the G62 to fit entirely within the cowl, I removed the left side cowl blister and extended it about 1/4" to clear the spark plug.
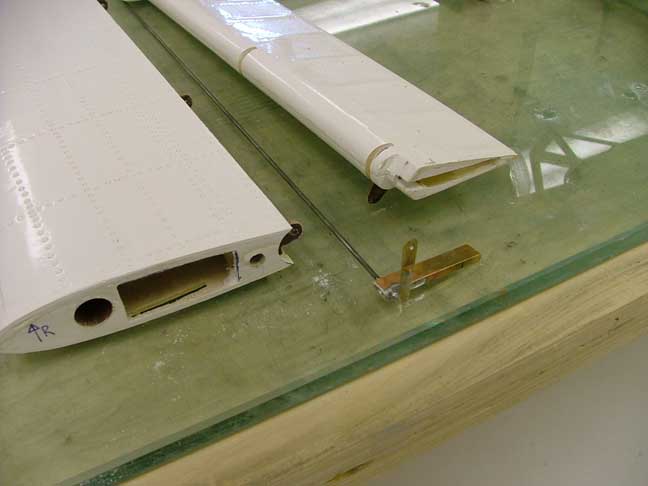
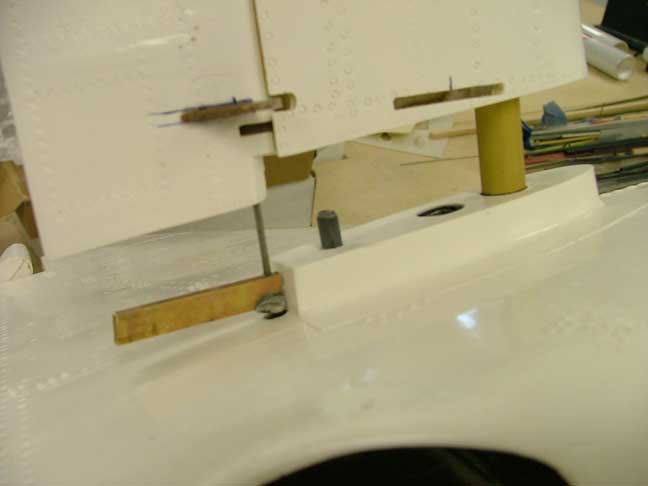
One change that I did was to move the elevator servos to the nose section in anticipation of the model coming out tail heavy. (Others have reported needing alot of lead). Since you cant have an elevator joiner wire inside the fuse (interferes with the retractable tail wheel) I made 2 seperate elevator control arms by using the original elevator hinge wires.
A small piece of brass channel is silver soldered onto the hinge wire and corresponds to a channel cut into the elevator half. The end of the wire is bent 90 deg and has small piece of brass tubing silver solderd onto it. The end of the tube is crimped with a hole drilled, serving as the control arm. The arm goes inside the fuse and will connect to the elevator servo with a long carbon fiber pushrod.
Here you can see the channel in its slot in the elevator half.
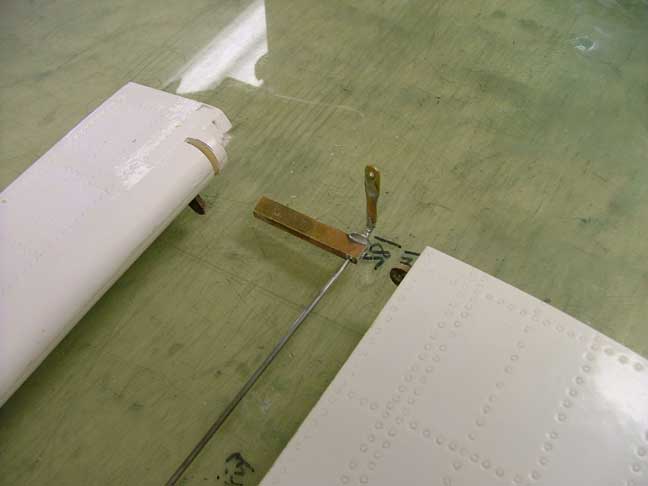
The 2 pushrods can now be connected to the elvator control arms and not interfere with the retractable tailwheel.
Here is a shot showing the elevator/stab assembly being slid onto the aluminum tube. The old control arm on the elevator will be removed and the slot for the old servo location filled for a clean install.
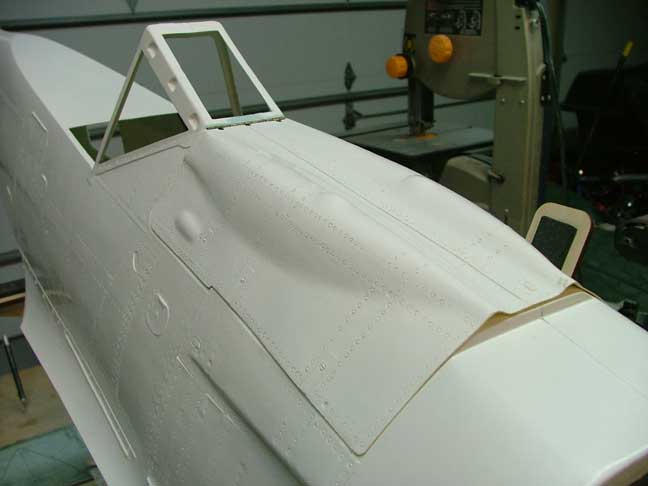
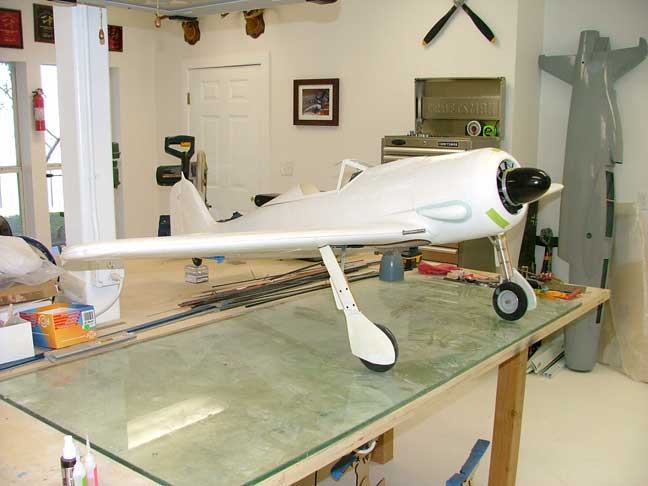
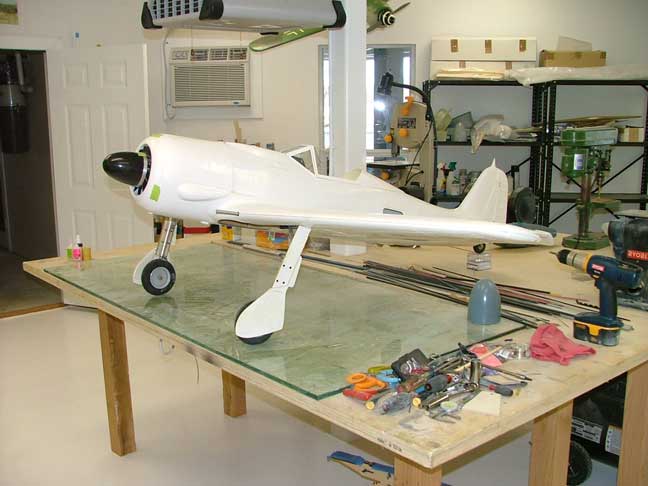
Well, that's it for the assembly process. Paint/ detaililng is next.