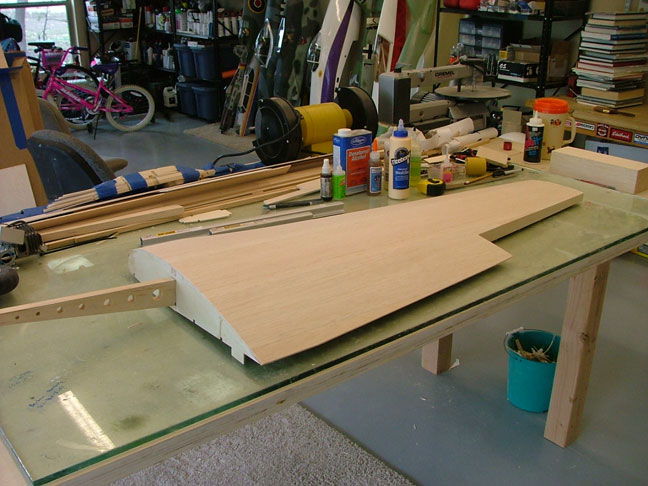
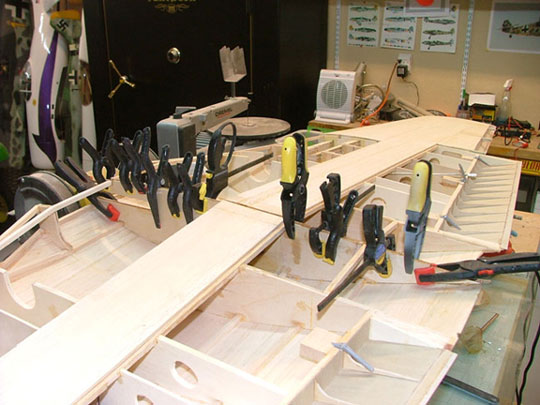
Checking the fit up against the wing with top and bottom skins on.
Hinge made from 1/16th music wire and brass tubing.
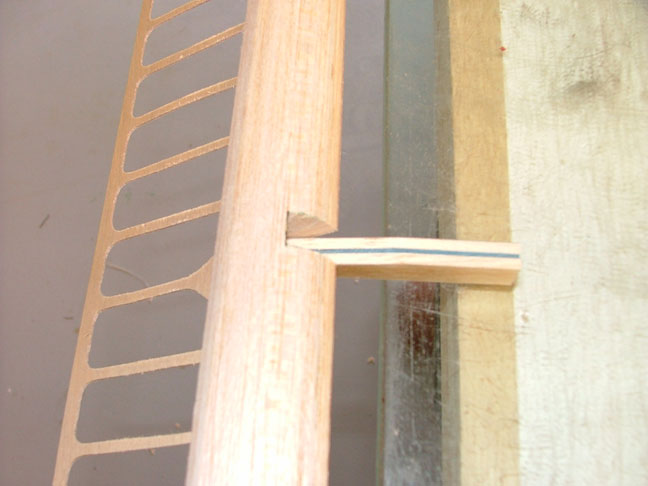
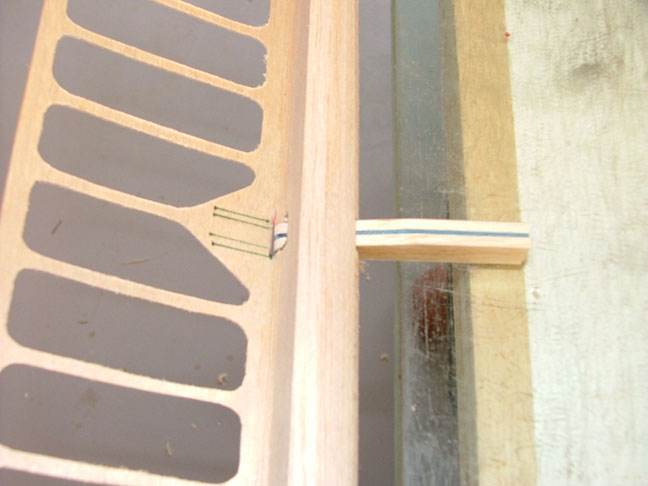
Hinge pivot made from 1/16th G-10, balsa and 1/64th G-10.
Hinge pivots, brass tubing and wire checked for fit.
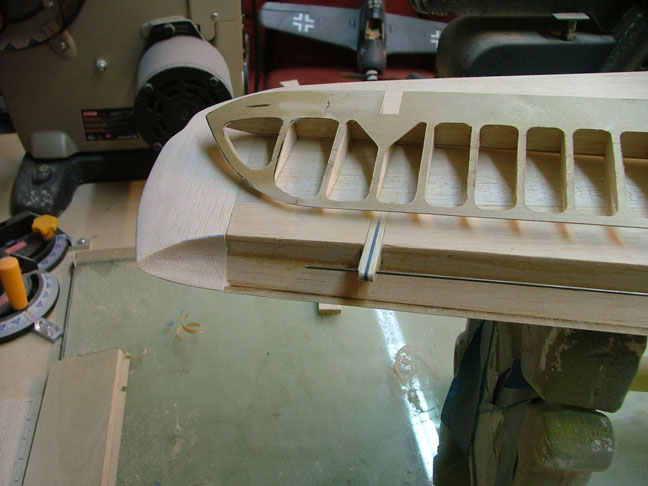
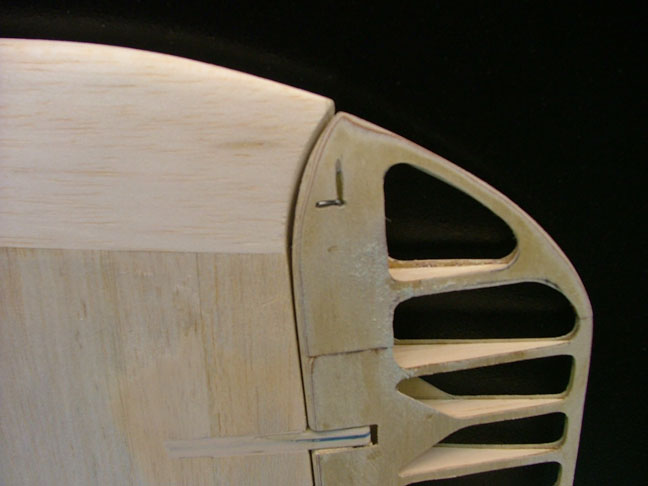
Cutouts in the leading edge of the aileron to clear the hinge pivot block.
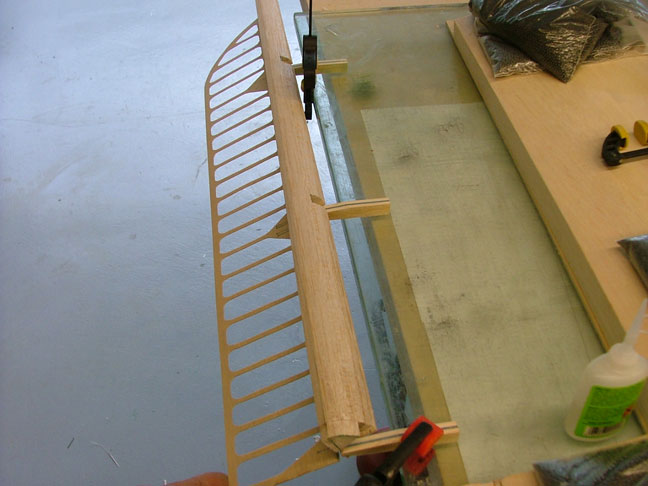
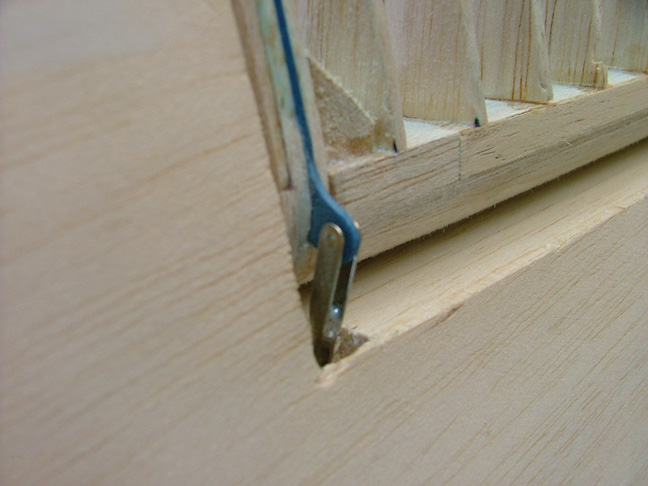
Checking for throw.
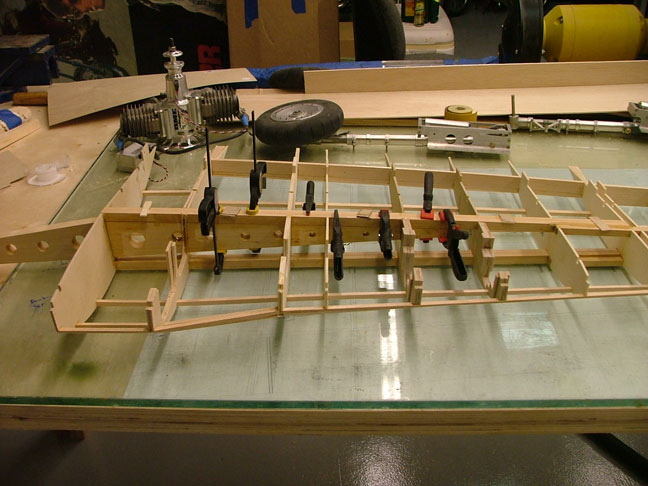
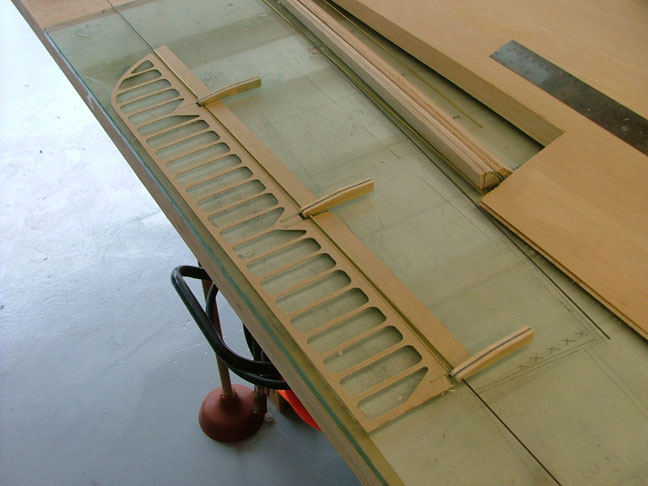
Hinge pivot blocks clamped to the table and the aileron at full down deflection.
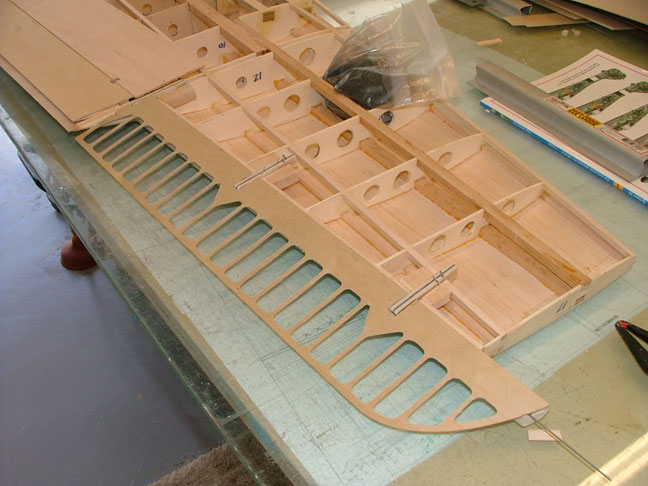
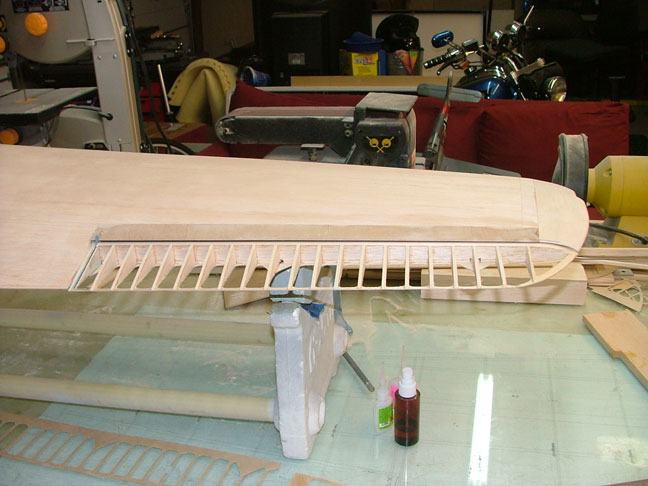
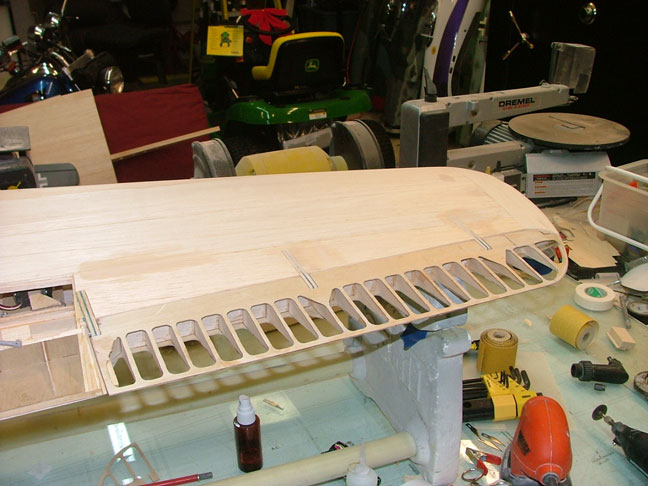
Pivot blocks permanently attached to the wing.
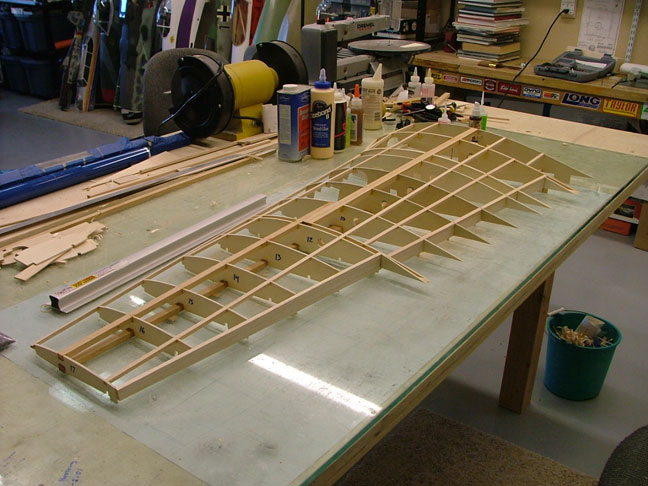
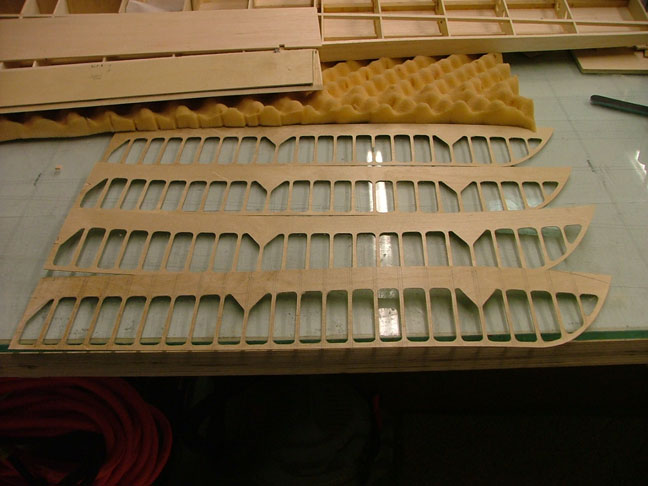
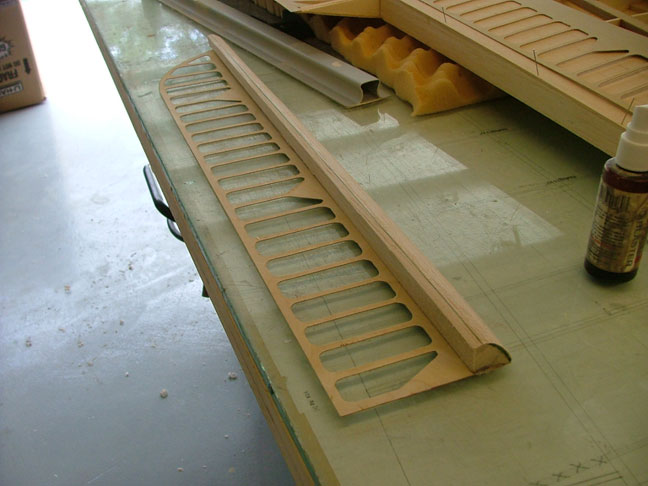
Ribs made from 1/8th balsa. Still lacking the top skin.
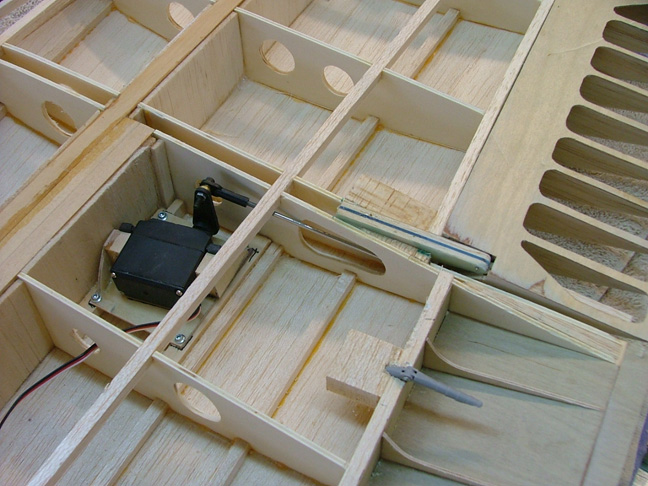
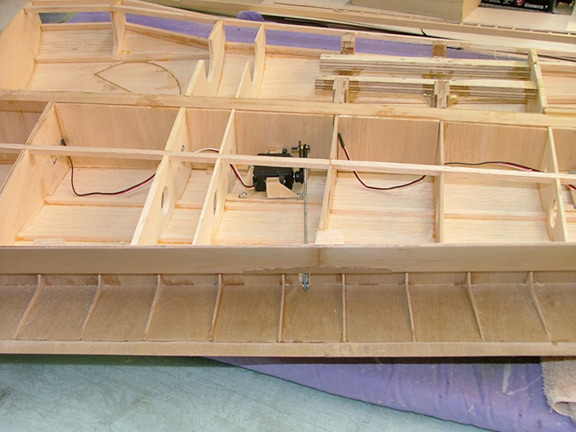
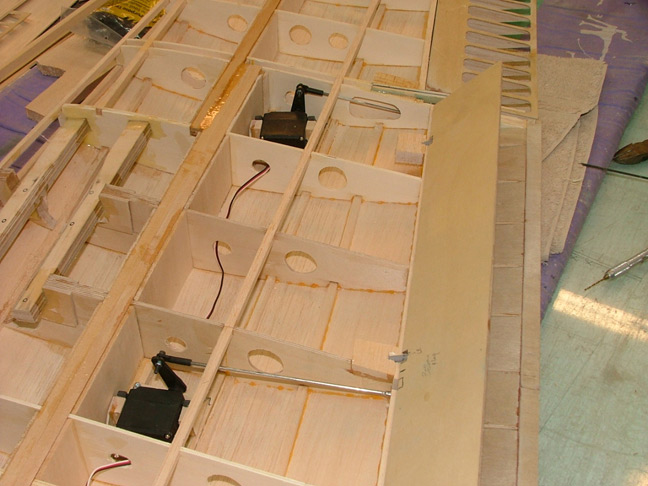
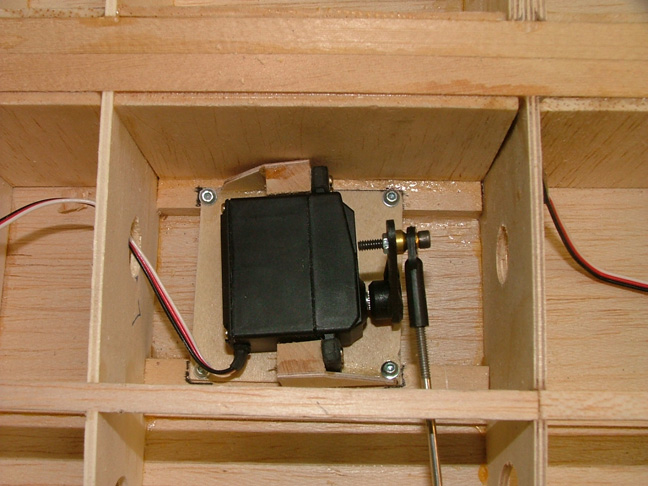
Aileron servo mounted in the wing. Servo is removable and both servo and control rod are fully concealed.
Pushrod exits near the top sheeting. Control horn is made from G-10
Flap servo and control horn are also concealed.
Flap horn made from G-10.
Both servos will be accessible by hatches in the bottom wing skin.
View of the aileron servo on its removable plate.
In order to finish the aileron tips, I decided to sheet the outboard wing sections and add the wingtips.
At this point, the 2 wing halves were permanently joined.
New tips were added onto the ailerons to match the carved wingtips.
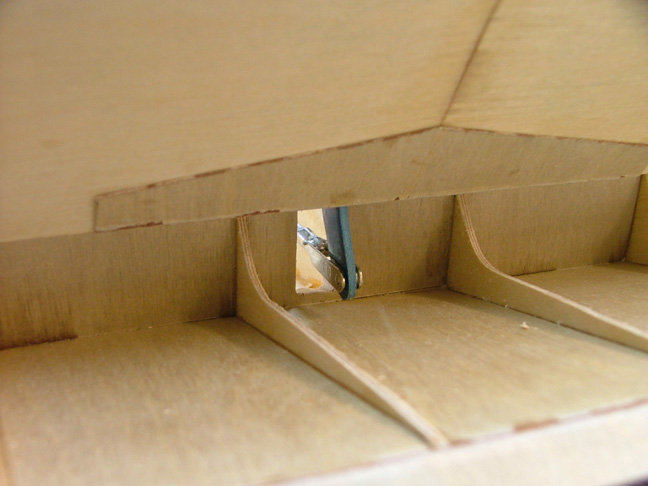
Close up of the aileron and wingtip showing where the hinge rod exits.
Wing trailing edge with 1/64th ply shroud covering the aileron leading edge.
Bottom surface of the wing and aileron.
Aileron at full up deflection.
Aileron at full down deflection.
Wingtip carved from balsa block.
Hardwood blocks installed in the trailing edge for wing holdown bolts.
Blocks epoxied in place.
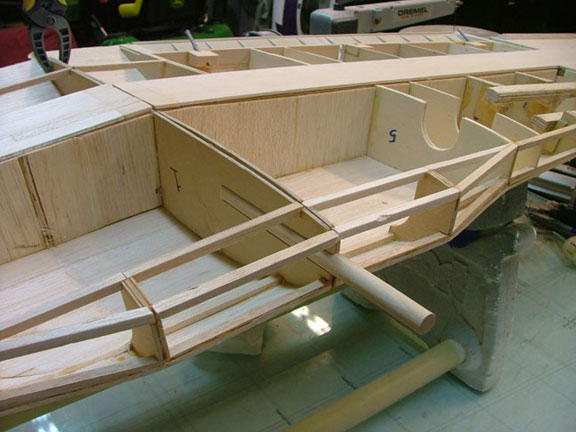
Wing bottom mostly sheeted.
Gear bays left open for further detailing.
Hardwood dowl installed in center rib for wing retention.
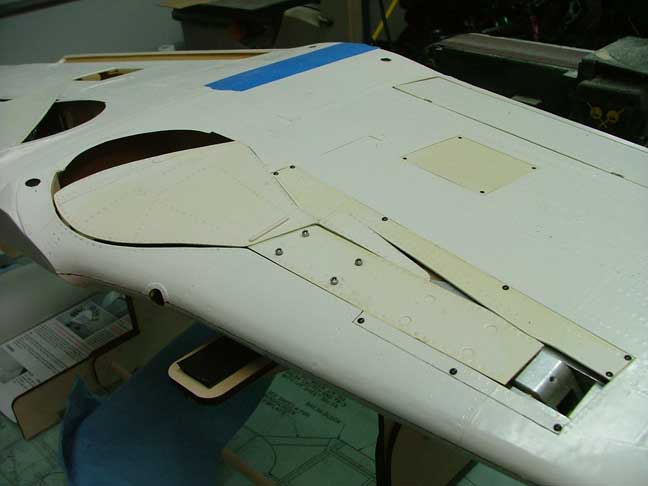
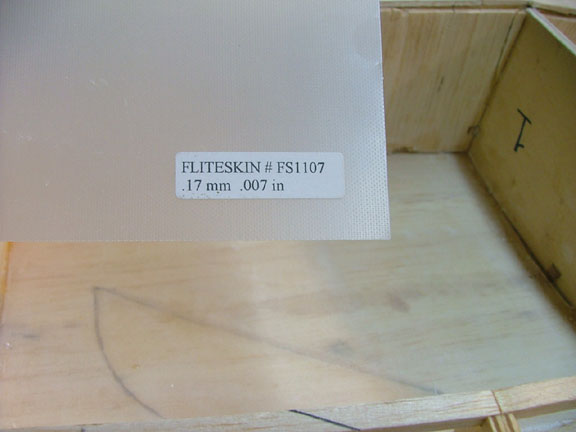
Fliteskin epoxied to tops of gear bays for strength and for a smooth paint surface.
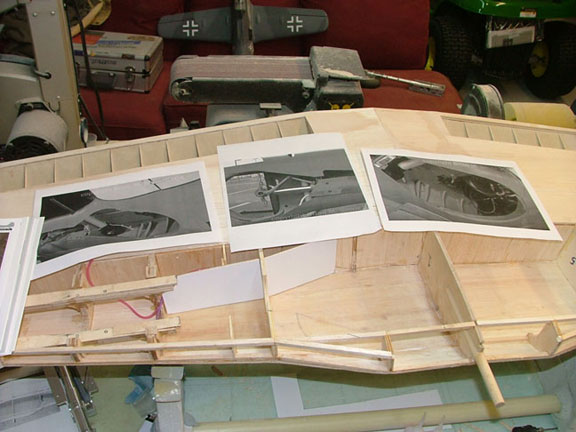
Pictures of Yellow 10's gear bays used for reference in detailing.
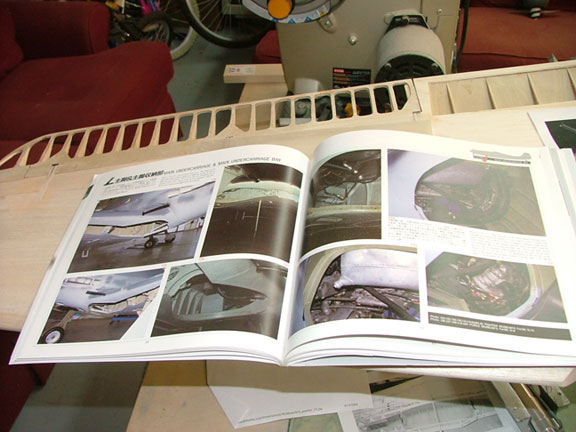
Pics from Aero Detail no. 2 are also used.
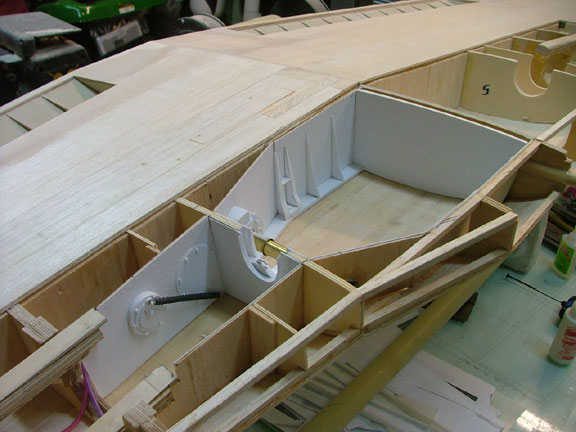
1/16 balsa laminated with .010 styrene plastic is used to rough form the gear bays.
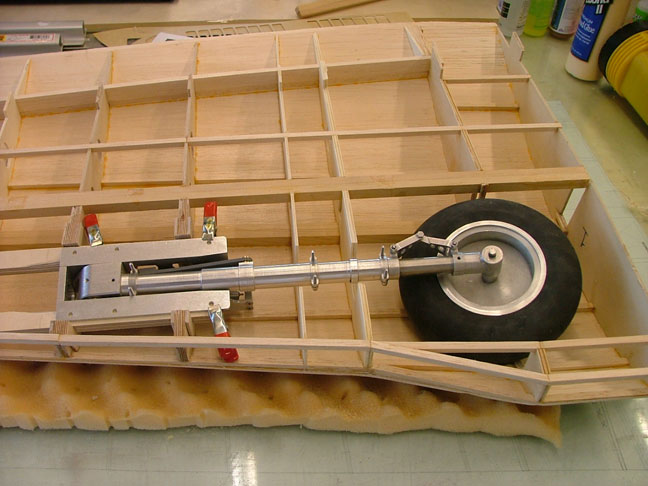
Gear checked for fit in gear bays.
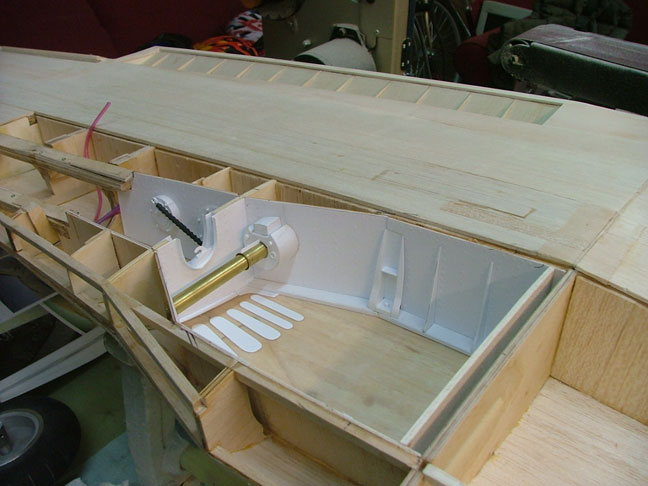
Cannon boss, ribs, spar details and glue drop rivets added to wheel well.
Details are made from styrene plastic and brass tubing.
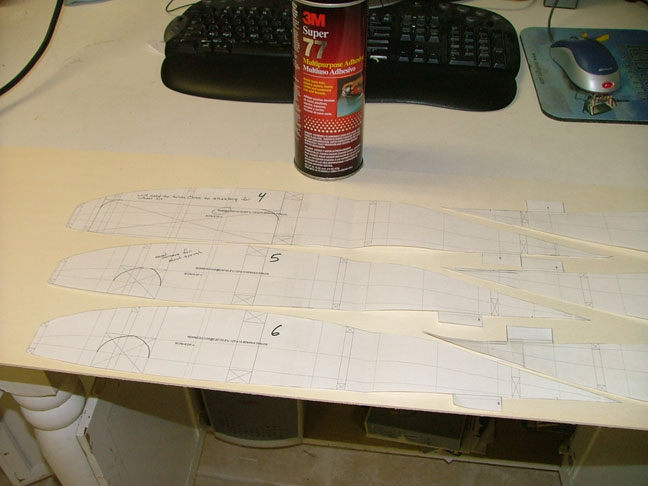
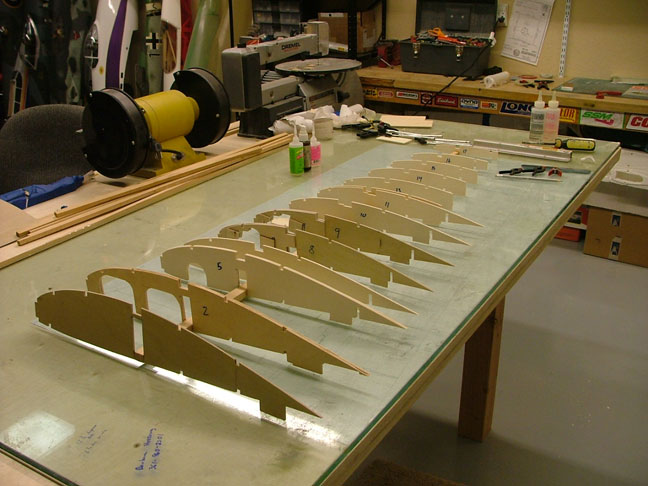
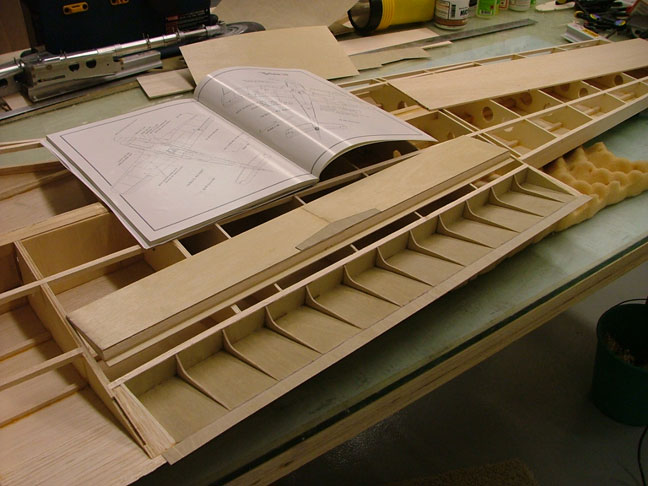
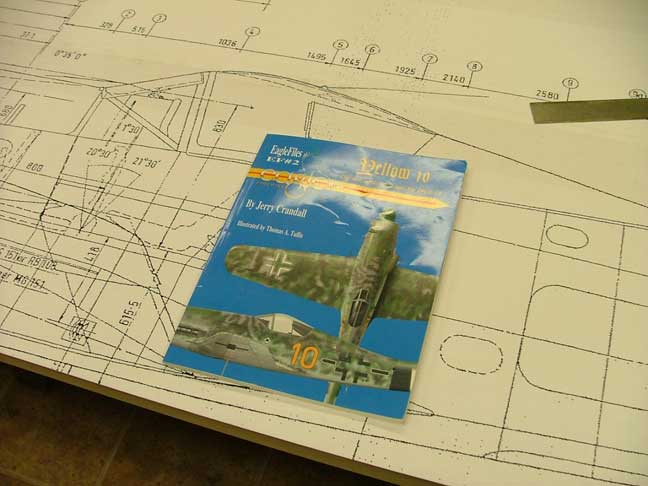
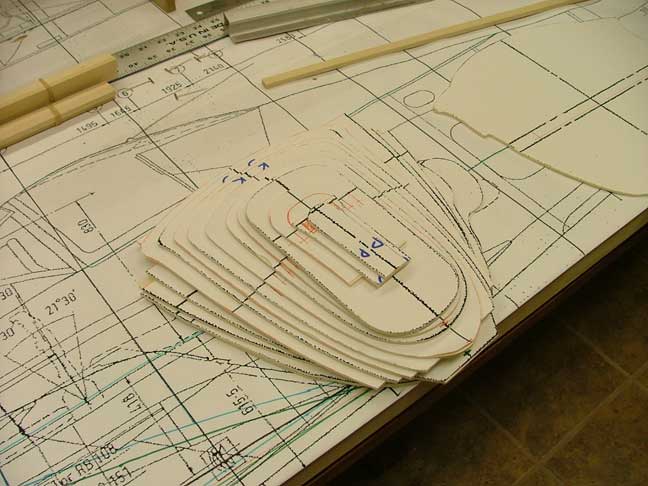
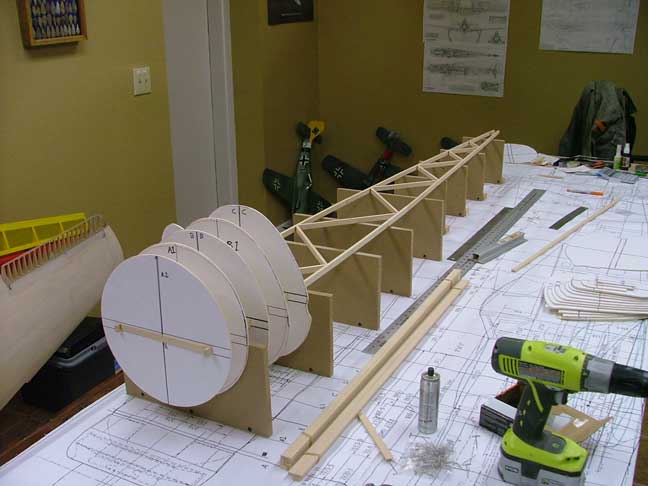
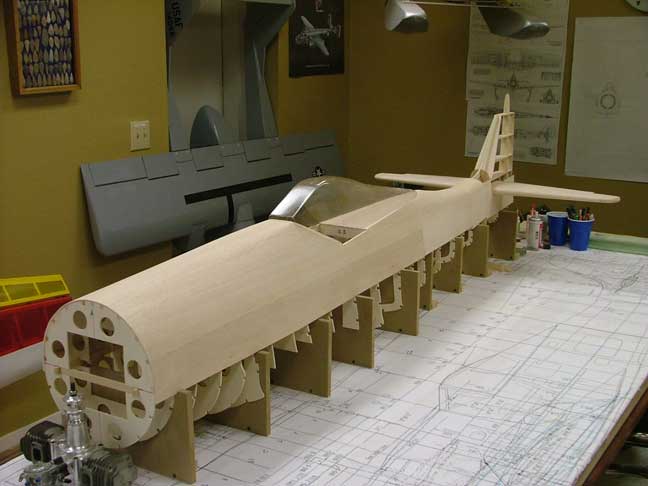
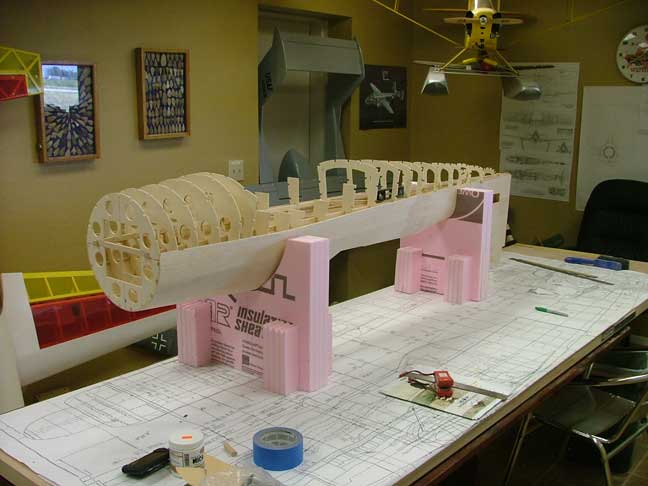
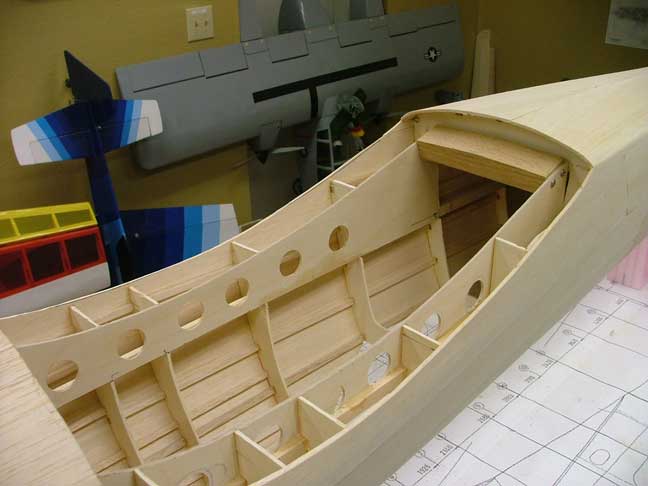
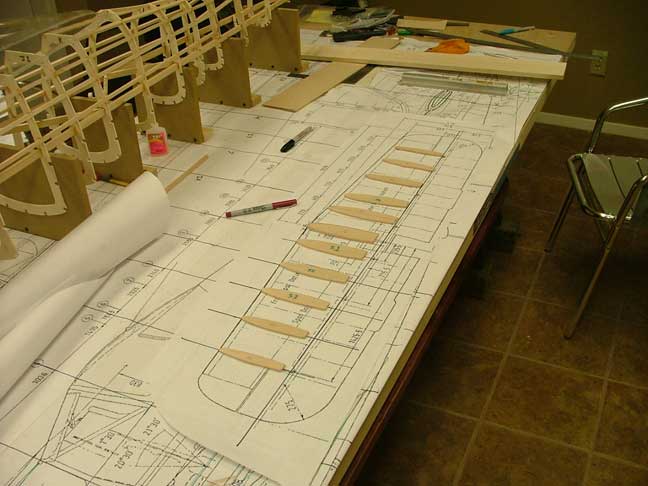
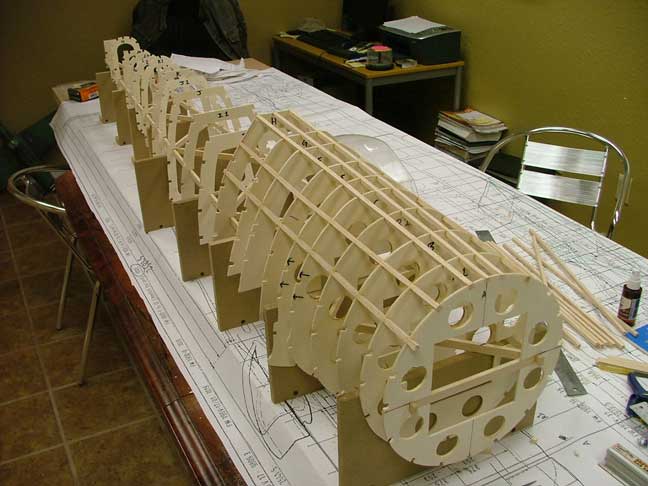
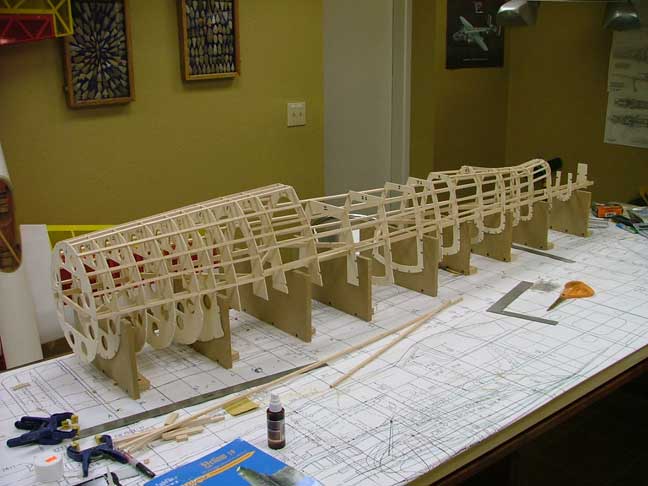
Work on the big Dora has finally started up again. I have decided to scratch build the fuselage from the original drawings. I blew up the 1/20th scale drawings to 1/4 scale and cut fuselage formers from the excellent drawings provided in Jerry Crandall's Yellow 10 book
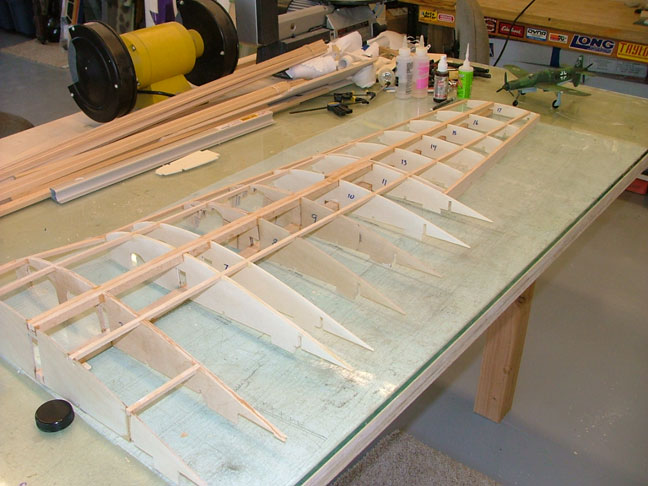
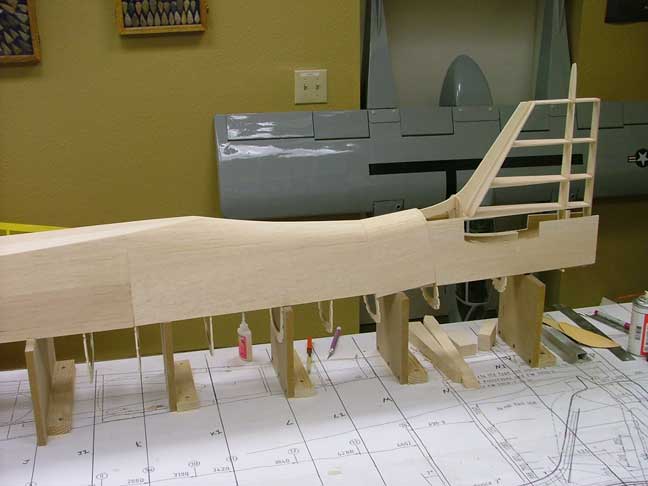
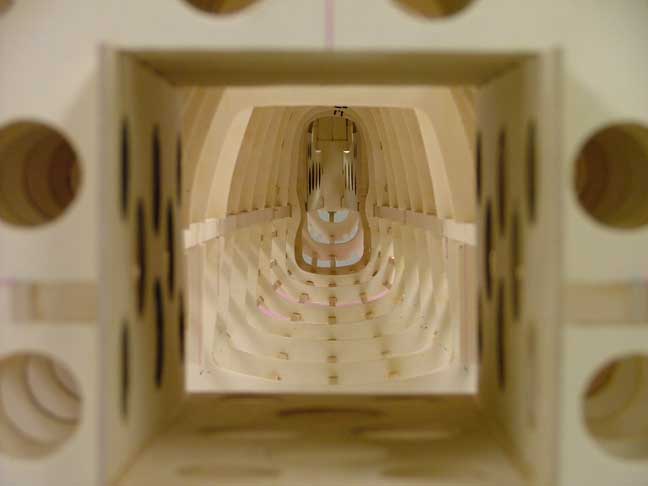
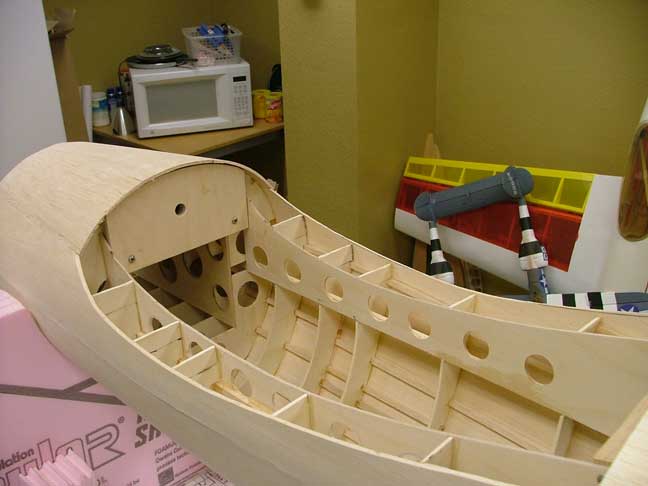
I also constructed a crutch from 1/4 x 3/4 basswood and supported it with MDF boards along its entire length. This is to keep the formers elevated from the building table and all lined up on a centerline.
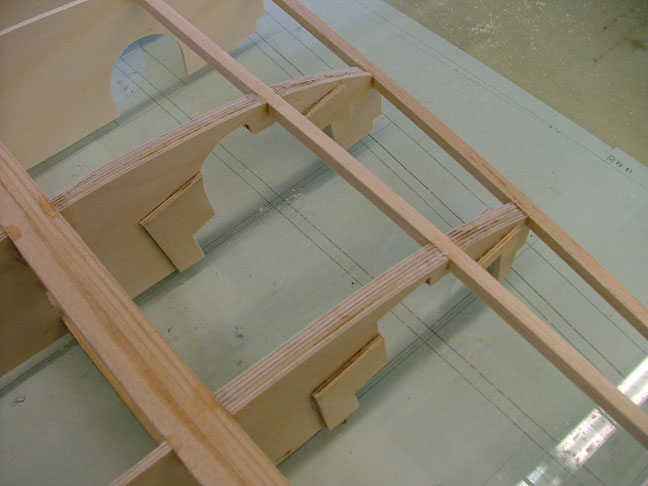
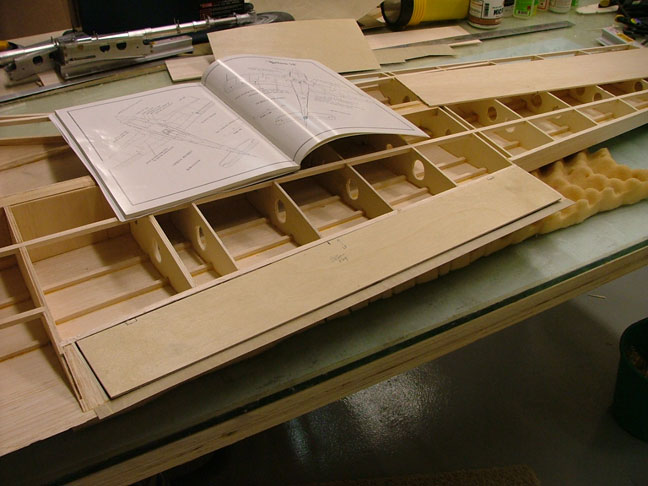
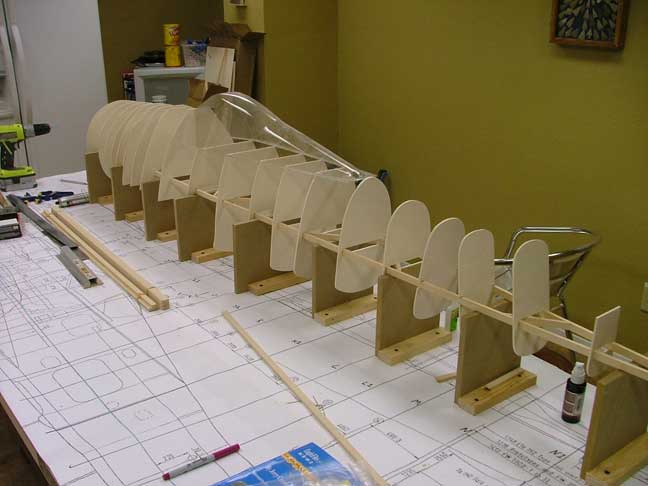
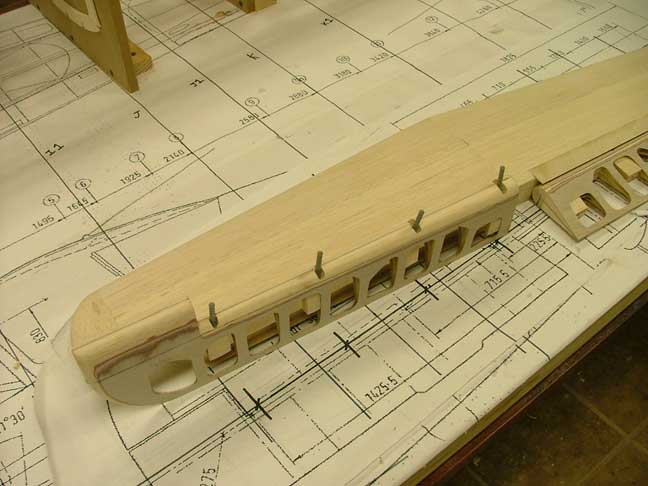
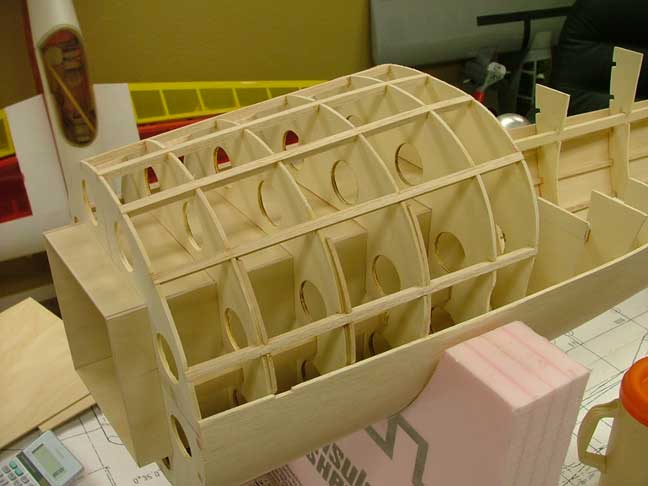
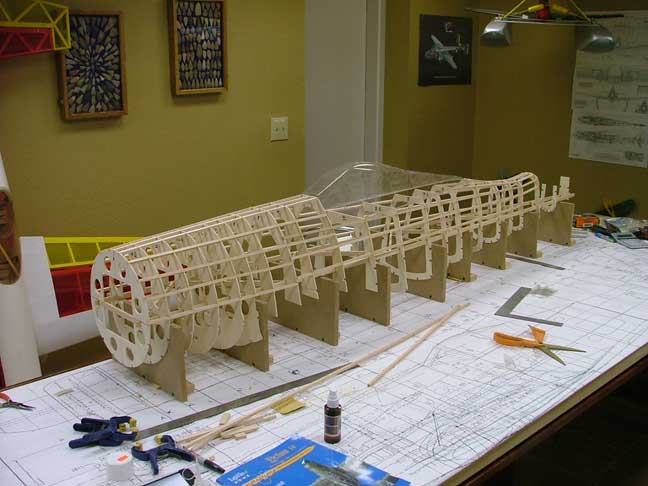
Once all the formers are in the correct position, 1/4 balsa stringers are installed.
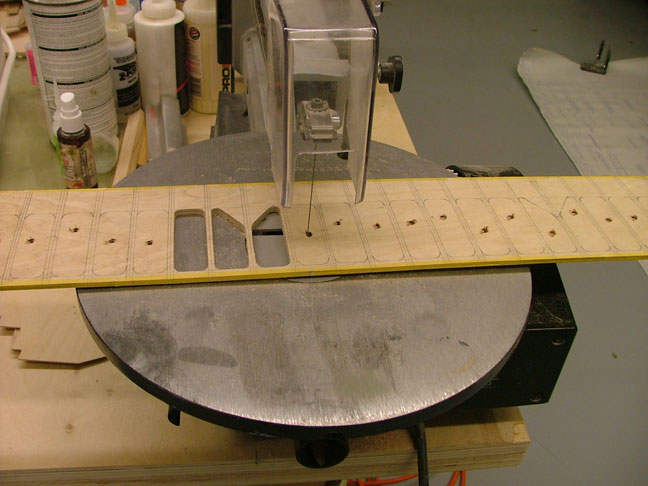
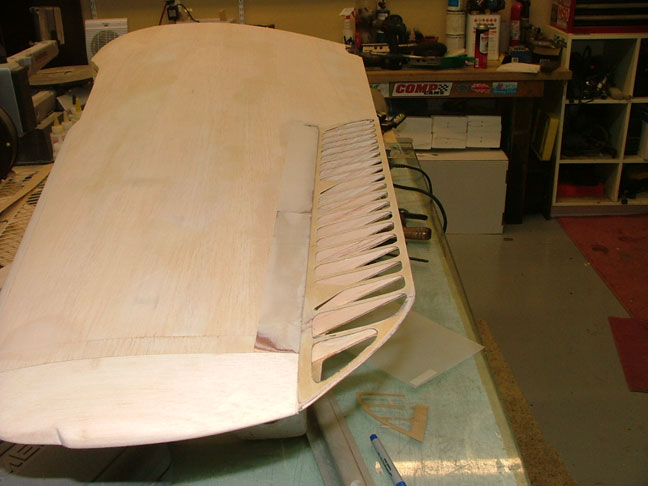
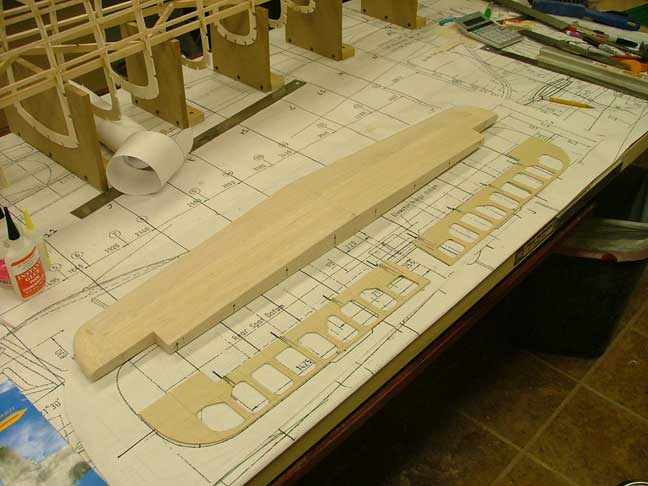
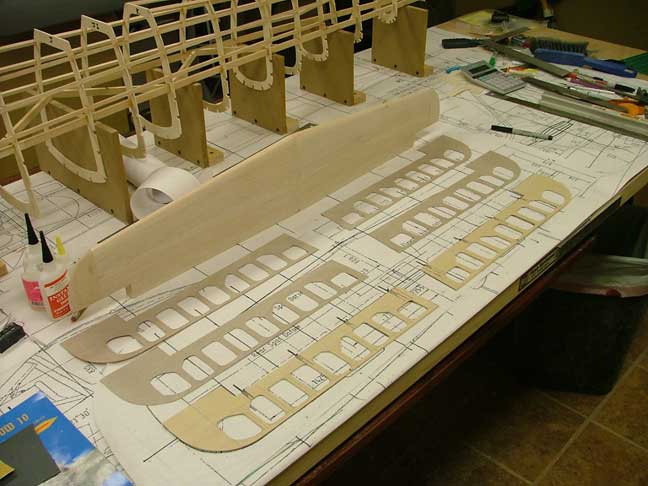
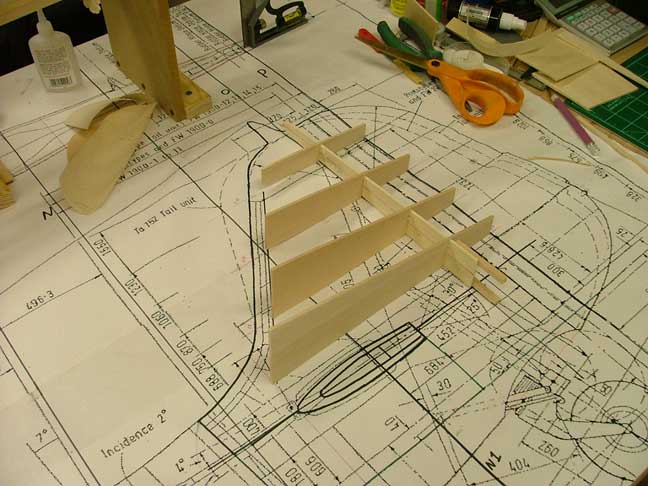
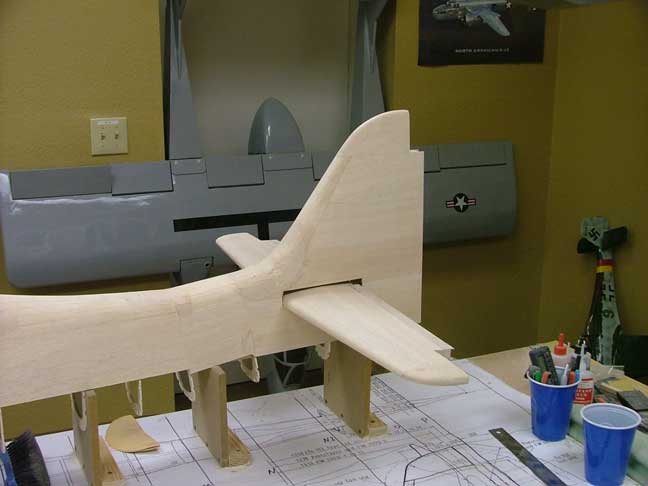
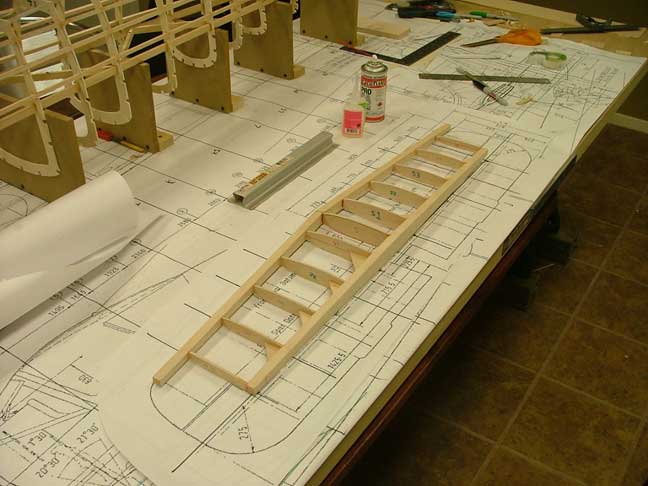
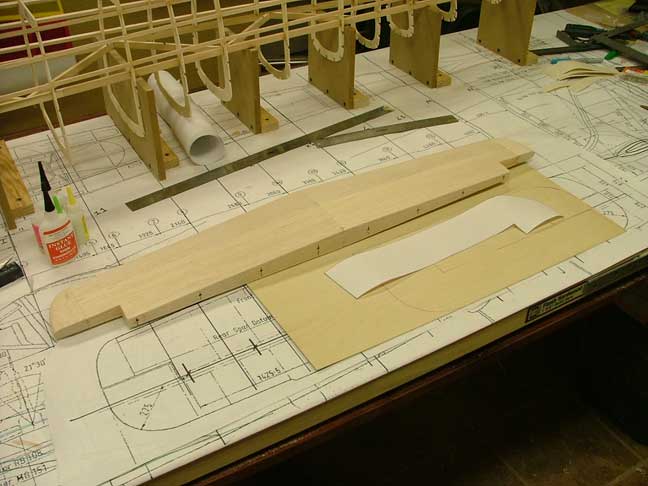
Horizontal stab ribs are drawn from the plan and used to make up the stab.
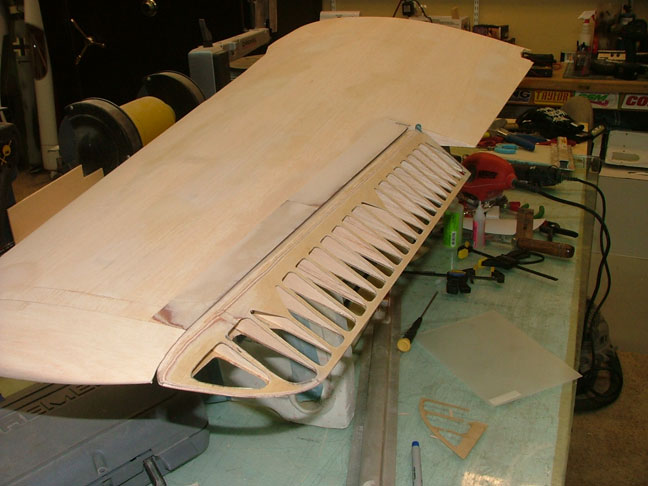
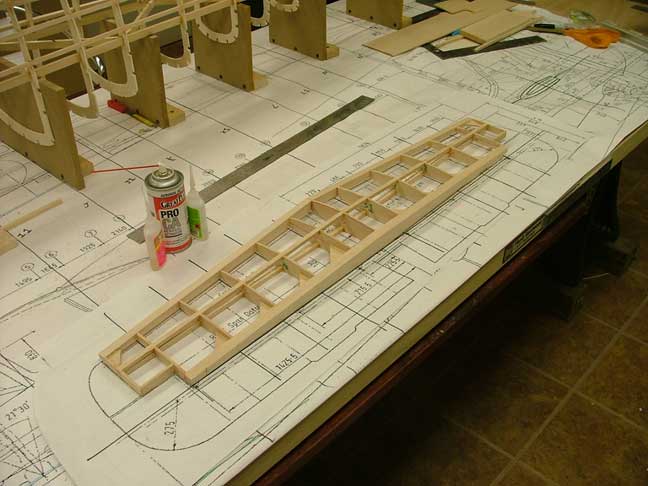
Elevators are then framed up out of balsa and ply.
Elevators hinged and a stab saddle made on the fuselage.
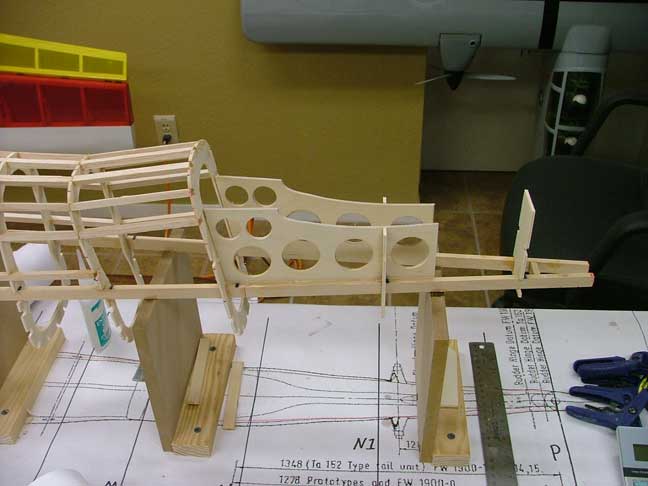
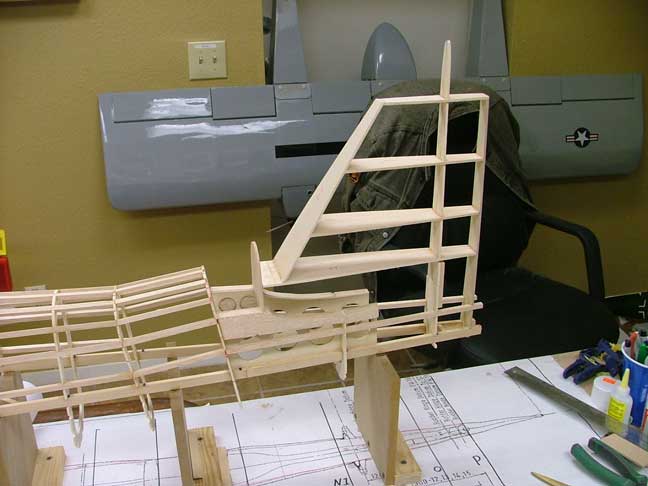
Vertical stab framed up and mounted to the fuselage.
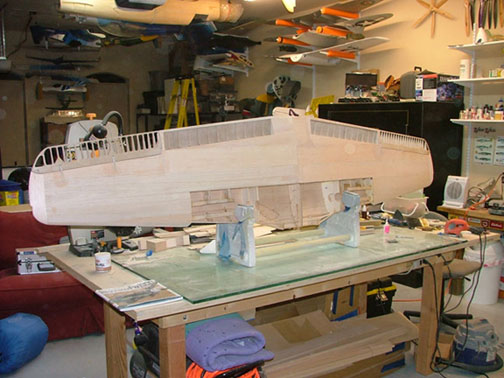
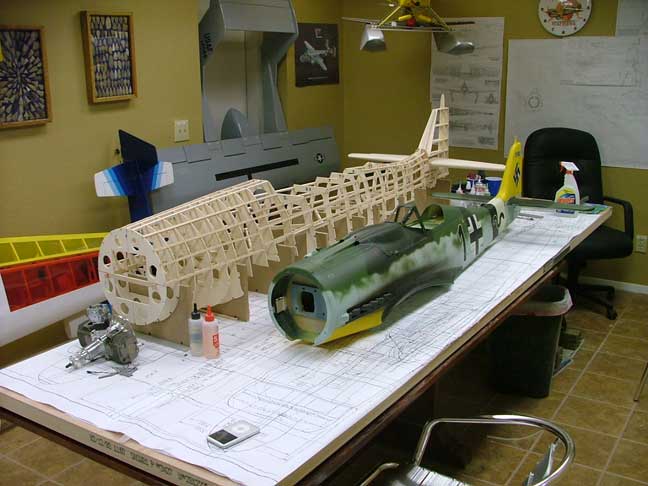
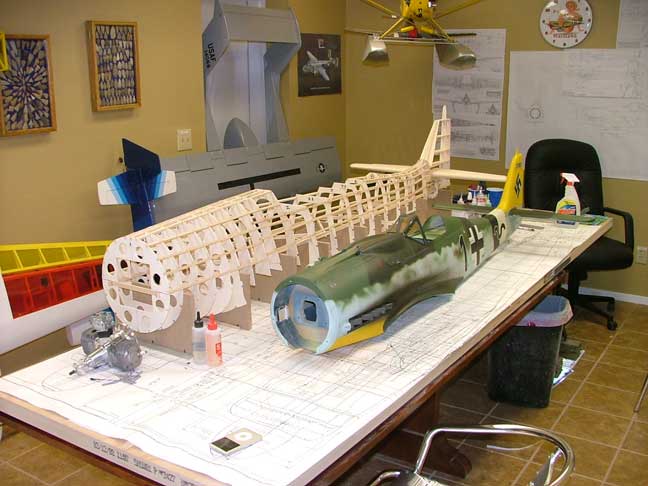
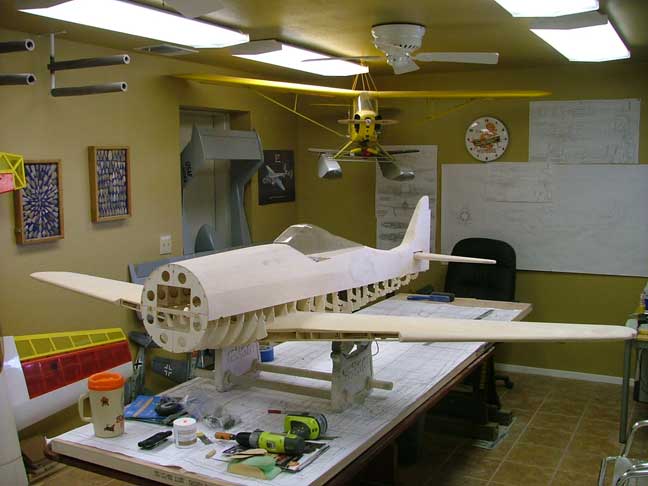
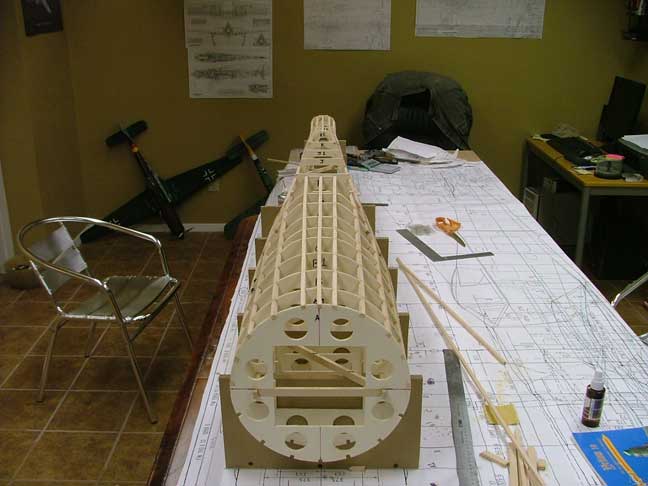
Fuselage of my 1/5 scale FW190D9 next to the 1/4 scale D13.
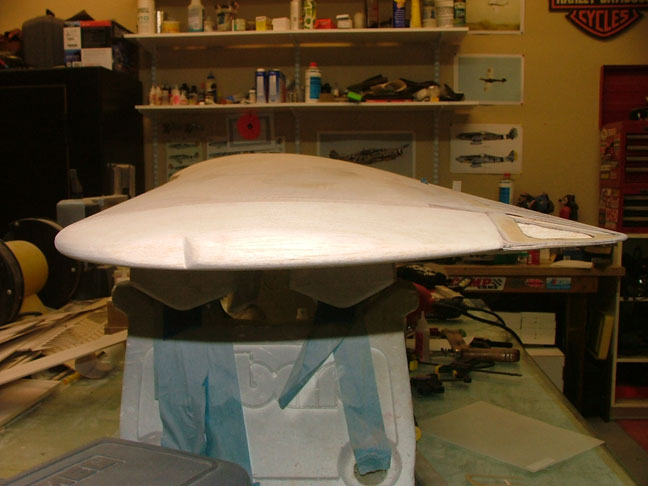
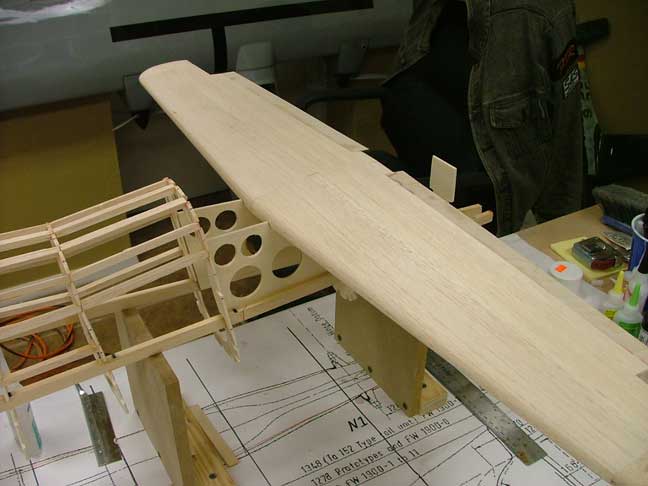
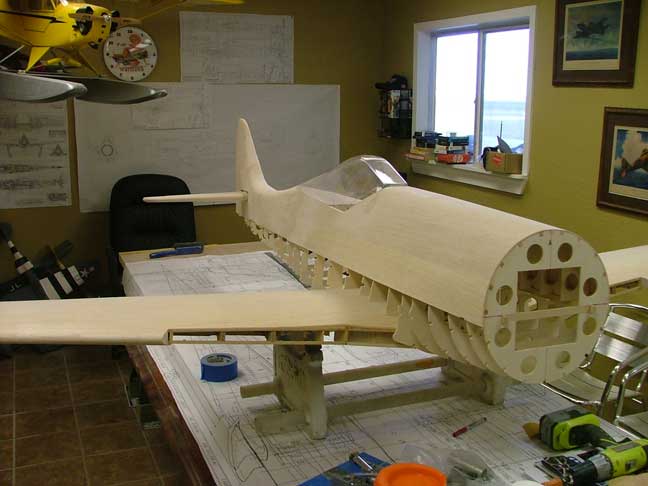
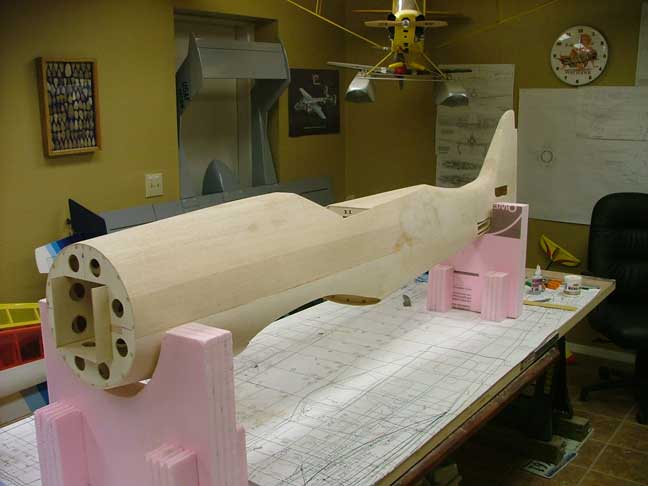
Sheeting the fuselage while still attached to the crutch support.
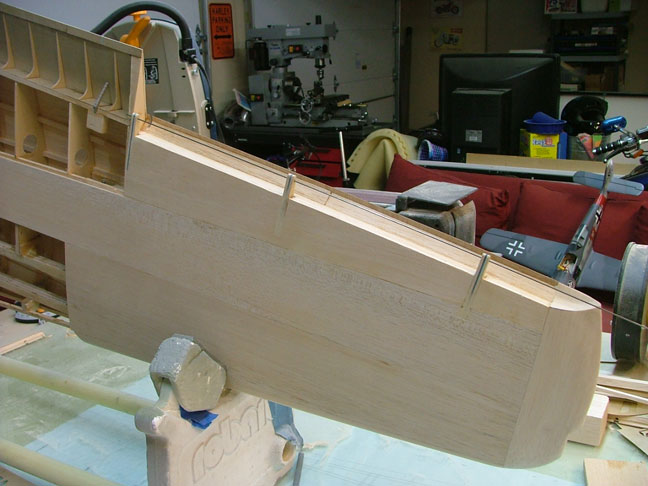
Checking the fit of the wing to the fuselage.
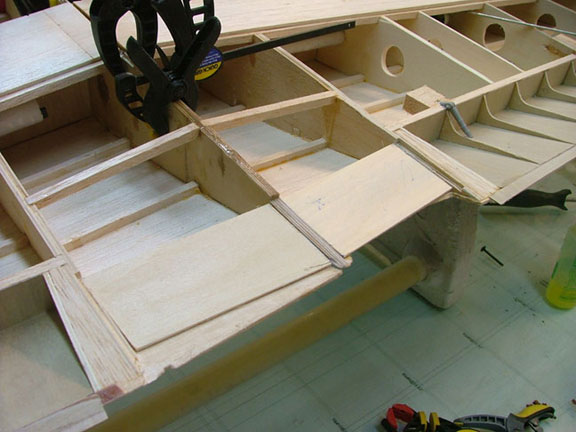
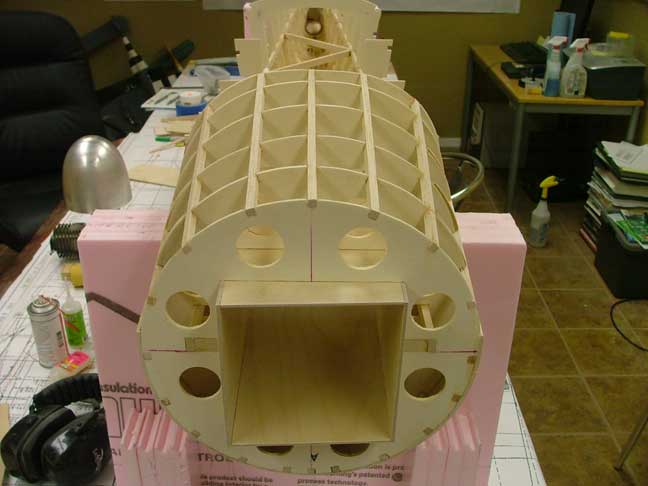
Bottom of the fuselage with stringers and motor box installed.
Fuse is now fully sheeted and with the wing saddle fabricated and installed.