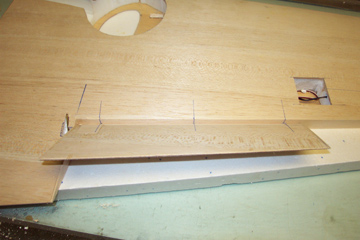
Flaps are hinged with robart hinge points and the hidden control horn is installed in the root end of the flap.
Top view of flap
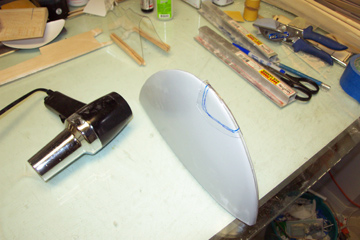
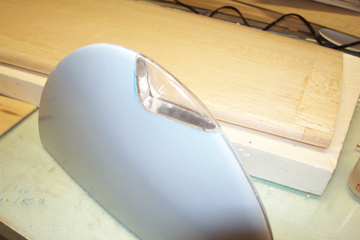
Ram navigation lights are to be installed on this model so scale navigation light covers have to be made. The fiberglass wingtip is glued to the glass table and clear acetate is heated with a heat gun and stretched over the wingtip to get the correct shape.
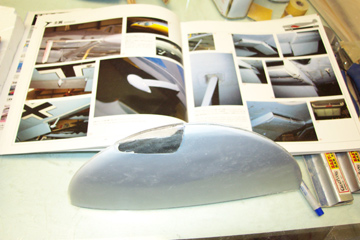
The area on the fiberglass wingtip is then cut away and the clear plastic cover is shaped to fit in the cutout. Later, an interior light bulb base made from wood and covered with reflective aluminum tape will be installed to hold the colored light bulb. The shape of the original is shown in the book on the upper left page. Book is Aero Detail Bf109. The bulb in this wing will be red for portside.
wingtip ready for light bulb installation.
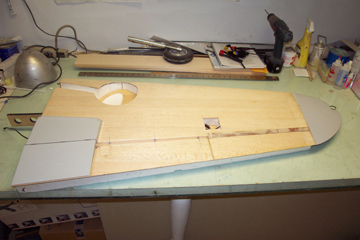
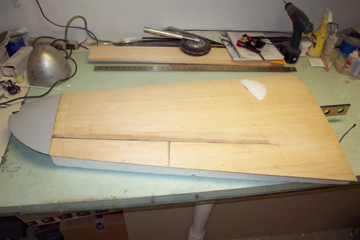
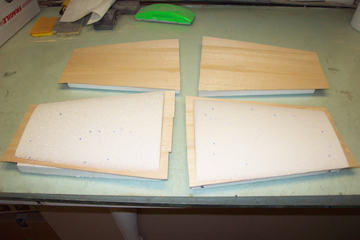
Bottom of left wing ready for glassing
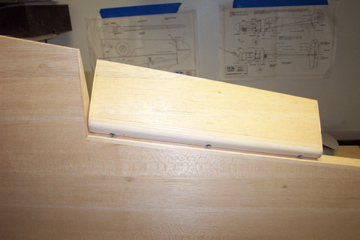
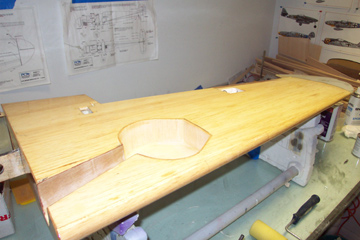
Top of left wing ready for glassing. Small blister is to clear retracted wheel.
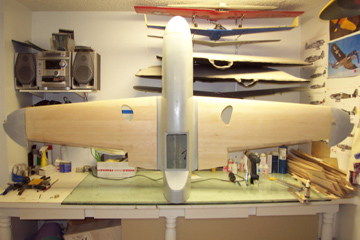
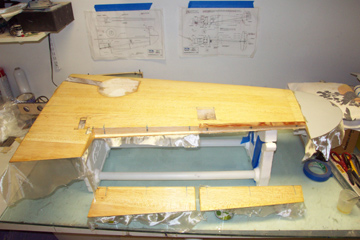
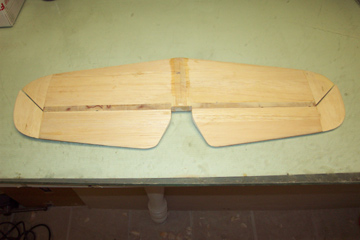
Both wings are now complete and ready for fiberglassing. This bird is starting to get BIG!
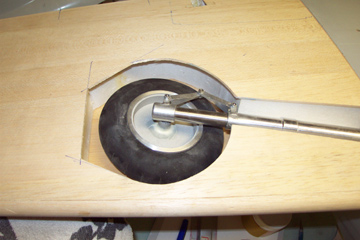
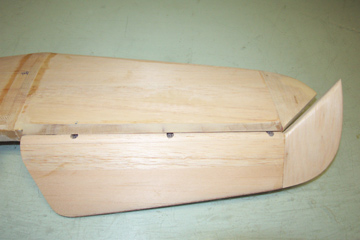
Wheel wells being cut to shape.
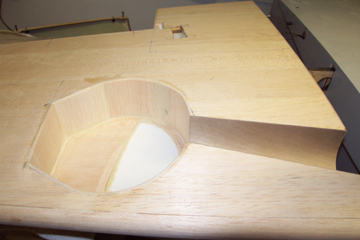
Wheel well finished out with 1/8th balsa and 1/64th ply. White area is the underside of the blister
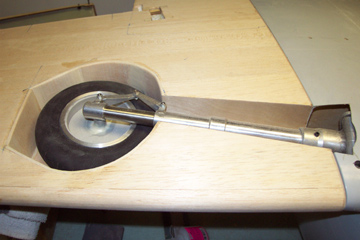
Perfect fit
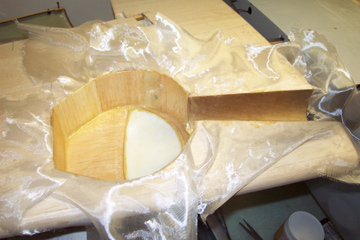
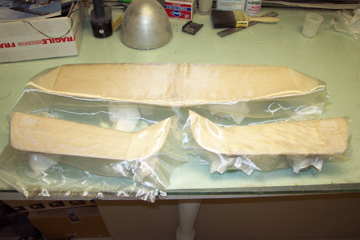
Wheel well in the process of fiberglassing for strength and for sealing of the wood for painting and detailing.
Left wing , flap and aileron were finish sanded with 400 grit and fiberglassed with .75oz cloth.
Second coat of epoxy resin for the right wing.
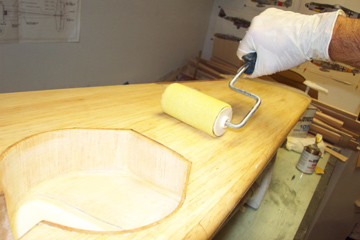
Second resin coat is applied with a foam roller. The roller is available from Cst sales.
Using the roller ensures a uniform coat of resin in addition to speeding up the application process.
Horizontal stabilizer is sheeted the same as the wing. 1/16th balsa sheets are edge glued to make sheets to cover the entire stab half.
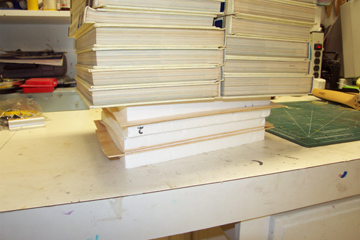
Stab halfs and sheeting are put back into the foam shucks and weight is applied to ensure good bonding. Encyclopedias are great for this.
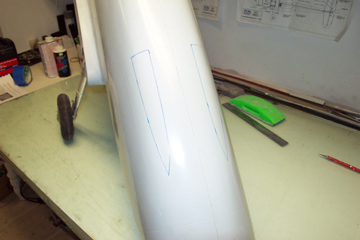
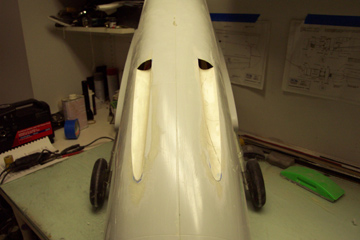
Gun trough locations are marked on the fuselage for cutting.
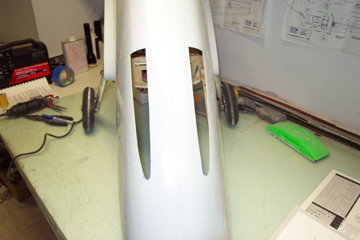
Troughs are cut using a dremel with a cutoff wheel.
I used posterboard to make the gun troughs. The poster board is curved to put into the location and then Ca'd in place. The excess is trimmed off and then both sides of the paper are fiberglassed.
Small scale machine guns will reside in the holes. Starting to look mean!
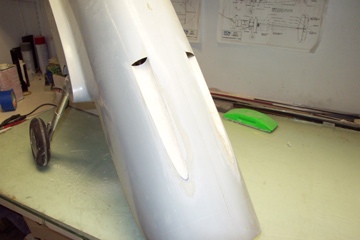
Here the troughs are fiberglassed for sealing and strength.
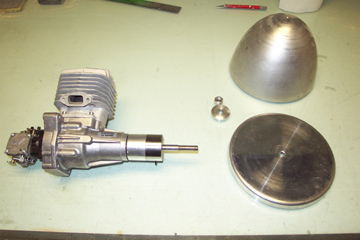
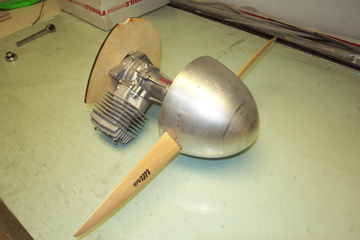
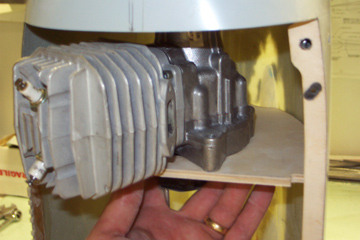
Powerplant for the Bf109 will be a 3W 75i twin spark. Size of the spinner is evident here.
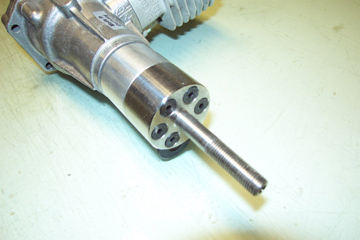
A special hub extension was made by Tru-turn to allow the engine to be moved 1 inch further back in the nose. This allows the engine to fit better in relation to the cowling.The extension is machined from solid stainless steel and converts from the standard 3w six bolt hub to a single prop bolt.
If you do alot of fiberglass sanding, You have to get one of these. It makes short work of any sanding job you may have.
After lots of carving and sanding, the stab and elevators are ready for fiberglass.
Elevators are shrouded the same way as the ailerons. Robart hinge points are installed with the hinge point extended into the elevator and reliefs are cut to pass over the hinge.
More fiberglassing.
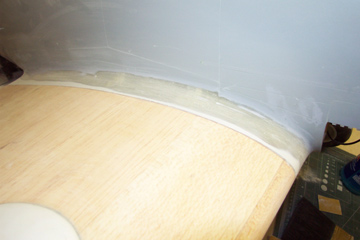
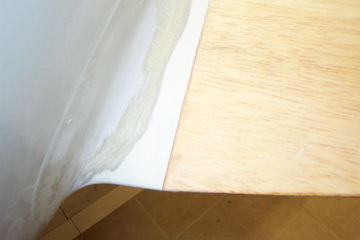
Evercoat is used to create a smooth transition from fuse to wing.
Evercoat is a polyester filler that is light weight and is ready to sand in 15 min.
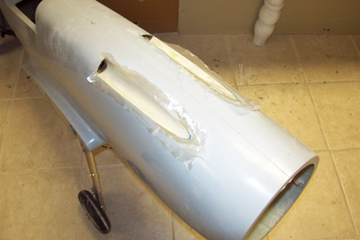
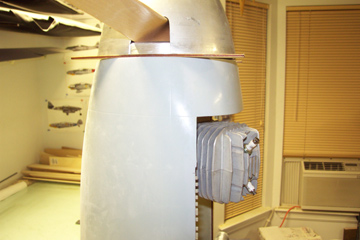
The spinner has been cut to fit the prop and the firewall cut out to clear the rear carb of the 3w75i.
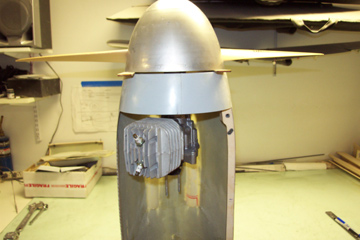
The motor is then attached to the spinner while inside the fuselage. The spinner is spaced away from the front of the fuse to provide clearance and the whole assembly is hung inside to determine firewall location
The firewall is then checked for fit and location inside the fuselage.
The engine will be placed offset to the right side of the fuse so the protruding cylinder head will be less visible.