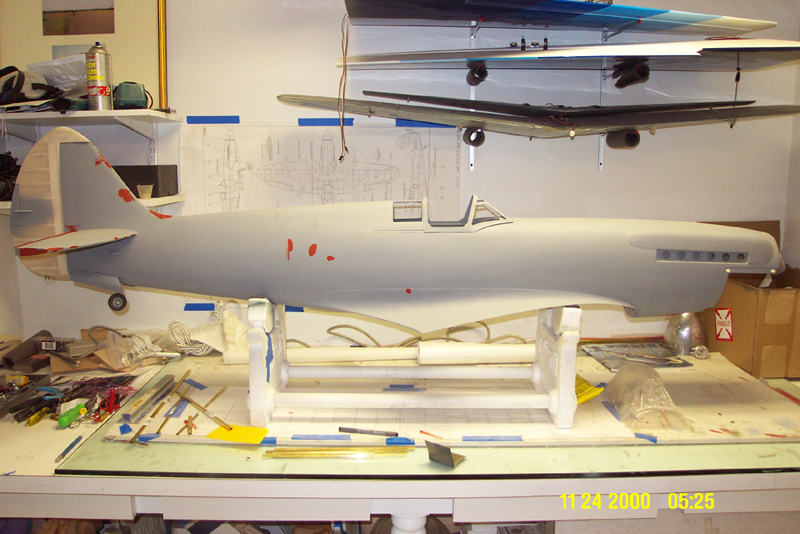
First step after primering the entire fuse is to fill in all the small pinholes. Yellow aircraft kits have polyester resin fuselages. My particular fuse only had very few pinholes to fill. Trouble spots are already filled in with nitro stans putty. I intend to make the canopy operational so the next step is to install the rectangular brass channels for the canopy to slide on. You can see examples of these on the table under the fuse. You can also see the wings for my Radiocraft Extra 330lx hanging on the wing rack. Some pics of that project are coming soon.
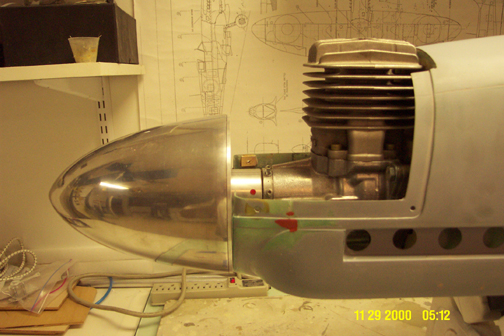
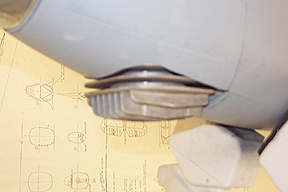
3w-60i installation. Only the top of the cylinder head and spark plug cap will protrude from the bottom of the cowl. The carb is located in the rear so it wont be seen at all.
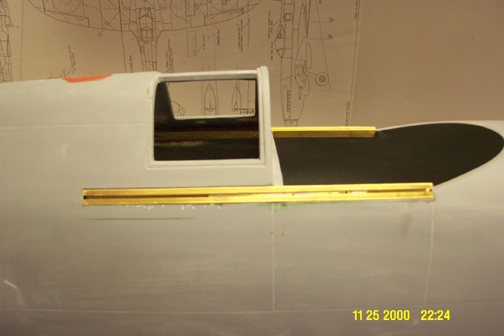
Rectangular brass channels installed in the fuselage sides for the operation of the sliding canopy. You can see the interior slider with the screw holes on it for the attachement of the canopy.
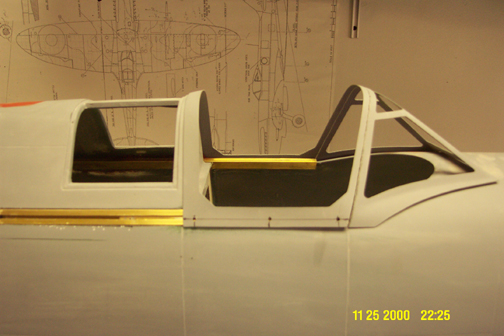
Canopy frame installed on slider rails
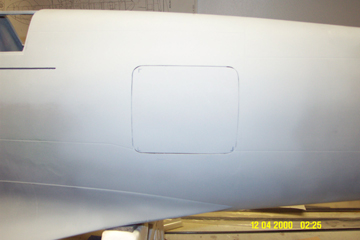
Hatch installed in the port side of the fuselage to house switches,
retract filler and pressure gauge.
The door was made the same way as the gear doors, by taping monokote to the fuselage and laying up several layers of fiberglass and epoxy resin to match the fuselage curvature. Hinges are sonic tronics door hinges.
Picture of the door in the closed position. All thats left is to install the BVM carbon fiber hatch latch.
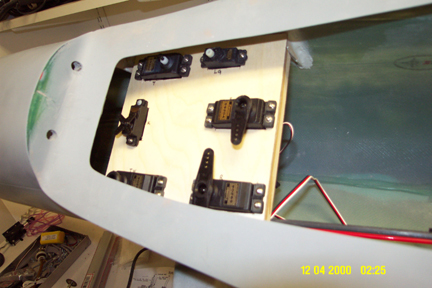
Removable servo tray installed. Servos are installed as far forward as possible to counter the natural tail heavyness of yellow spitfires. I made the tray removable to access the carb, fuel tank and ignition module.
Servos are:
elevator
rudder
tailwheel
throttle
gear
kill switch
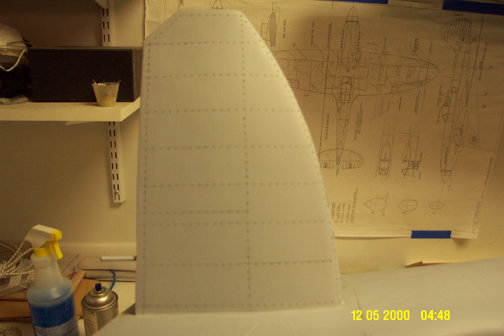
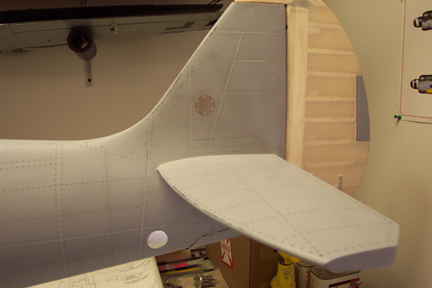
Left stabilzer upper surface.
Fuse and stabilizer have been given another coat of laquer primer and wet sanded. Now its time for more rivets.
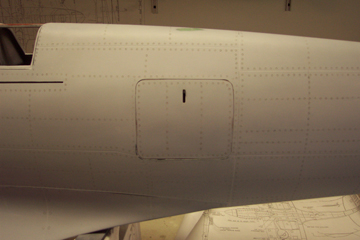
Hatch with latch installed and rivets done.
Tail section with rivets and panels done
3w-60 installation
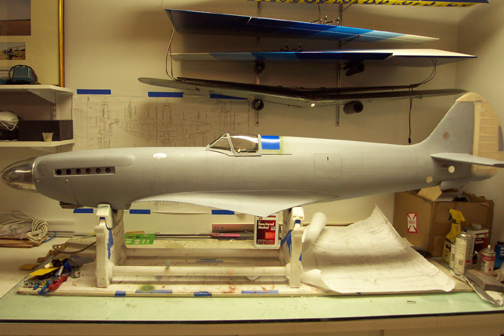
Fuselage fully sanded, riveted and
ready for paint. Check out Spitfire page no.3 coming soon for the painting process.